Beef Tacos for Busy Summer Nights


Are your summer days packed with activities and dinner becomes a big headache? The 3T crew is busy with ranch construction projects, fixing fences, transporting cattle to summer pastures and the kids have their own summer activities. Plus, we have decided to get not one, but two puppies.. I know, who does that? Their parents are great cattle working dogs and we could always use help to work our cows. So, I don't know about you, but by dinnertime, I'm pretty tired.
Here is an easy summer recipe, so you can enjoy dinner on your deck or patio. Nobody wants to spend a couple of hours making dinner. Even better.. The InstaPot or CrockPot will do the cooking for you in this recipe, so you can enjoy a Margarita while dinner is cooking on its own!
Ingredients:
- 3 lbs 3T Ranch Beef Roast (you can also use flank or skirt steak)
- 1 tablespoon dry oregano
- 1 tablespoon salt
- 1/2 tablespoon ground pepper
- 1 diced medium sweet onion
- 1 diced bell pepper
- 1/4 cup canola oil
- 4 chopped garlic cloves
- 1 can (7.76 oz) LaCostena Chipotle Sauce or Chile in Adobo Sauce (if using Chile in Adobo Sauce - use two peppers and scrape out the seeds, then use all of the sauce from the can and discard the rest of the peppers It would be too spicy to use all of the peppers).
- 1 cup beef broth (2 cups of beef broth for CrockPot version)
Directions for InstaPot: Preferred 3T method
- Cut up your roast into bigger chunks. (I think the beef cooks better vs just putting in the whole roast).
- Set your InstaPot on "sear" and pour in 1/4 cup of canola oil.
- Dry off your beef chunks with a paper towel and season with salt and pepper.
- Now, that the pot is hot, sear the beef chunks on all sides. Take out the beef.
- Time to sauté the onion and bell peppers. Give it a couple of minutes to sauté the veggies before adding the garlic. You don't want the garlic to burn. Cook until all veggies are tender.
- TIP: if your onion is getting a little burned before being tender add a little bit of water to the pot.
- Add oregano, one can of Chipotle Sauce and one cup of beef broth and stir all together.
- Beef goes back in the pot, close the lid and set your InstaPot on "Beef Stew". Depending on your InstaPot setting, your beef will be done in about 60 minutes. If you are using steaks, you can cut down the cooking to 35 minutes.
Directions for CrockPot: This recipe
- You can certainly use CrockPot for this recipe as well.
- Dry off your beef chunks with a paper towel and season with salt and pepper.
- Heat your skillet and add 1/4 cup of oil.
- Sear the beef in a skillet on all sides. Take out.
- Time to sauté the onion and bell peppers. Give it a couple of minutes to sauté the veggies before adding the garlic. You don't want the garlic to burn. Cook until all veggies are tender.
- TIP: if your onion is getting a little burned before being tender add a little bit of water to the pot.
- Put in the CrockPot - oregano, one can of Chipotle Sauce and two cups of beef broth and stir all together.
- Beef goes in the CrockPot.
- Set you CrockPot for high for 4 hours. (I don't like to cook my beef on low in the CrockPot. I think the beef gets too dry on the low setting).
- Make sure to check your liquid levels during cooking.
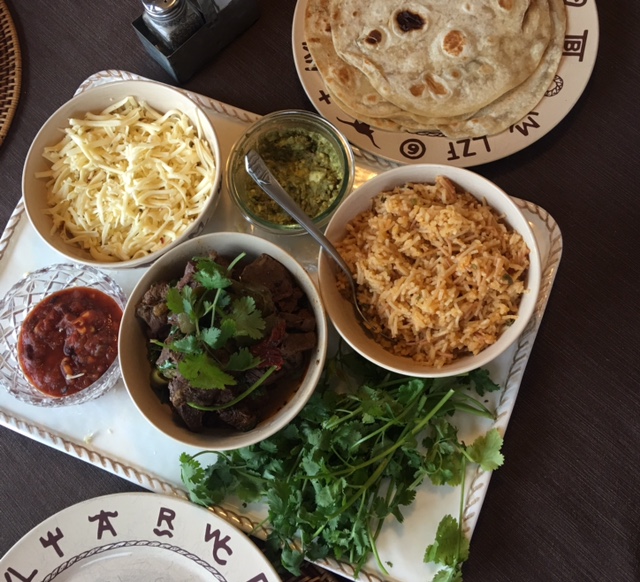
Beef is done, time to serve it to your crowd. You can certainly shred the beef, but we do like the beef in chunks. You can cut the beef into bitesize chunks. The beef is juicy and tender, you can discard the sauce the beef was cooking in. (Or you can certainly skim off the fat and reduce the liquid in a sauce pan. It will have a kick. The beef on its own is not spicy). I typically serve the beef with rice, guacamole, salsa, pepper jack cheese and Costco uncooked flour tortillas. I know it adds another step to your cooking, but it is so worth it! And if you really want to step it up.. Here is a recipe for Homemade Corn Tortillas!
Homemade Corn Tortillas:
Ingredients:
- 1 1/2 cups masa harina, more for dusting
- 1/2 teaspoon salt
- 2 tablespoons fat such as melted lard, butter or canola oil
- 1 cup hot water, plus more as needed
Directions:
- Place masa and salt in a bowl and throughly combine with the fat, mixing with fingers or a whisk. (KitchenAid works great for this). Slowly stream in the water while mixing until the dough comes together into a ball.
- Turn the dough onto a lightly floured surface and knead until smooth, about 1 minute.
- Divide the dough into 12 portions and form each into a smooth ball.
- Place masa balls on a baking sheet, cover with plastic, rest for 30 minutes.
- After the dough has rested, preheat a cast iron skillet over medium-high for 5 minutes, then reduce heat to medium.
- If the dough has dried slightly during resting, wet hands and roll each ball again to moisten. Place the dough between two sheets of plastic wrap and place directly in the center of the tortilla press. Press down firmly, then durn the tortilla 90 degrees and press again.
- Transfer it into the hot skillet. Cook the tortilla until brown spots appear on the bottom, about 1 minute. Flip with a thin metal spatula, and do the same on the other side.
TIP: Sur La Table has many great gadgets how to keep you tortillas warm while you are cooking the rest. The homemade tortillas might sound intimidating, but they are really easy. I have taken a class at Sur La Table with my friend and the tortillas were piece a cake to make and the flavor was amazing!!
Dobrou Chut!
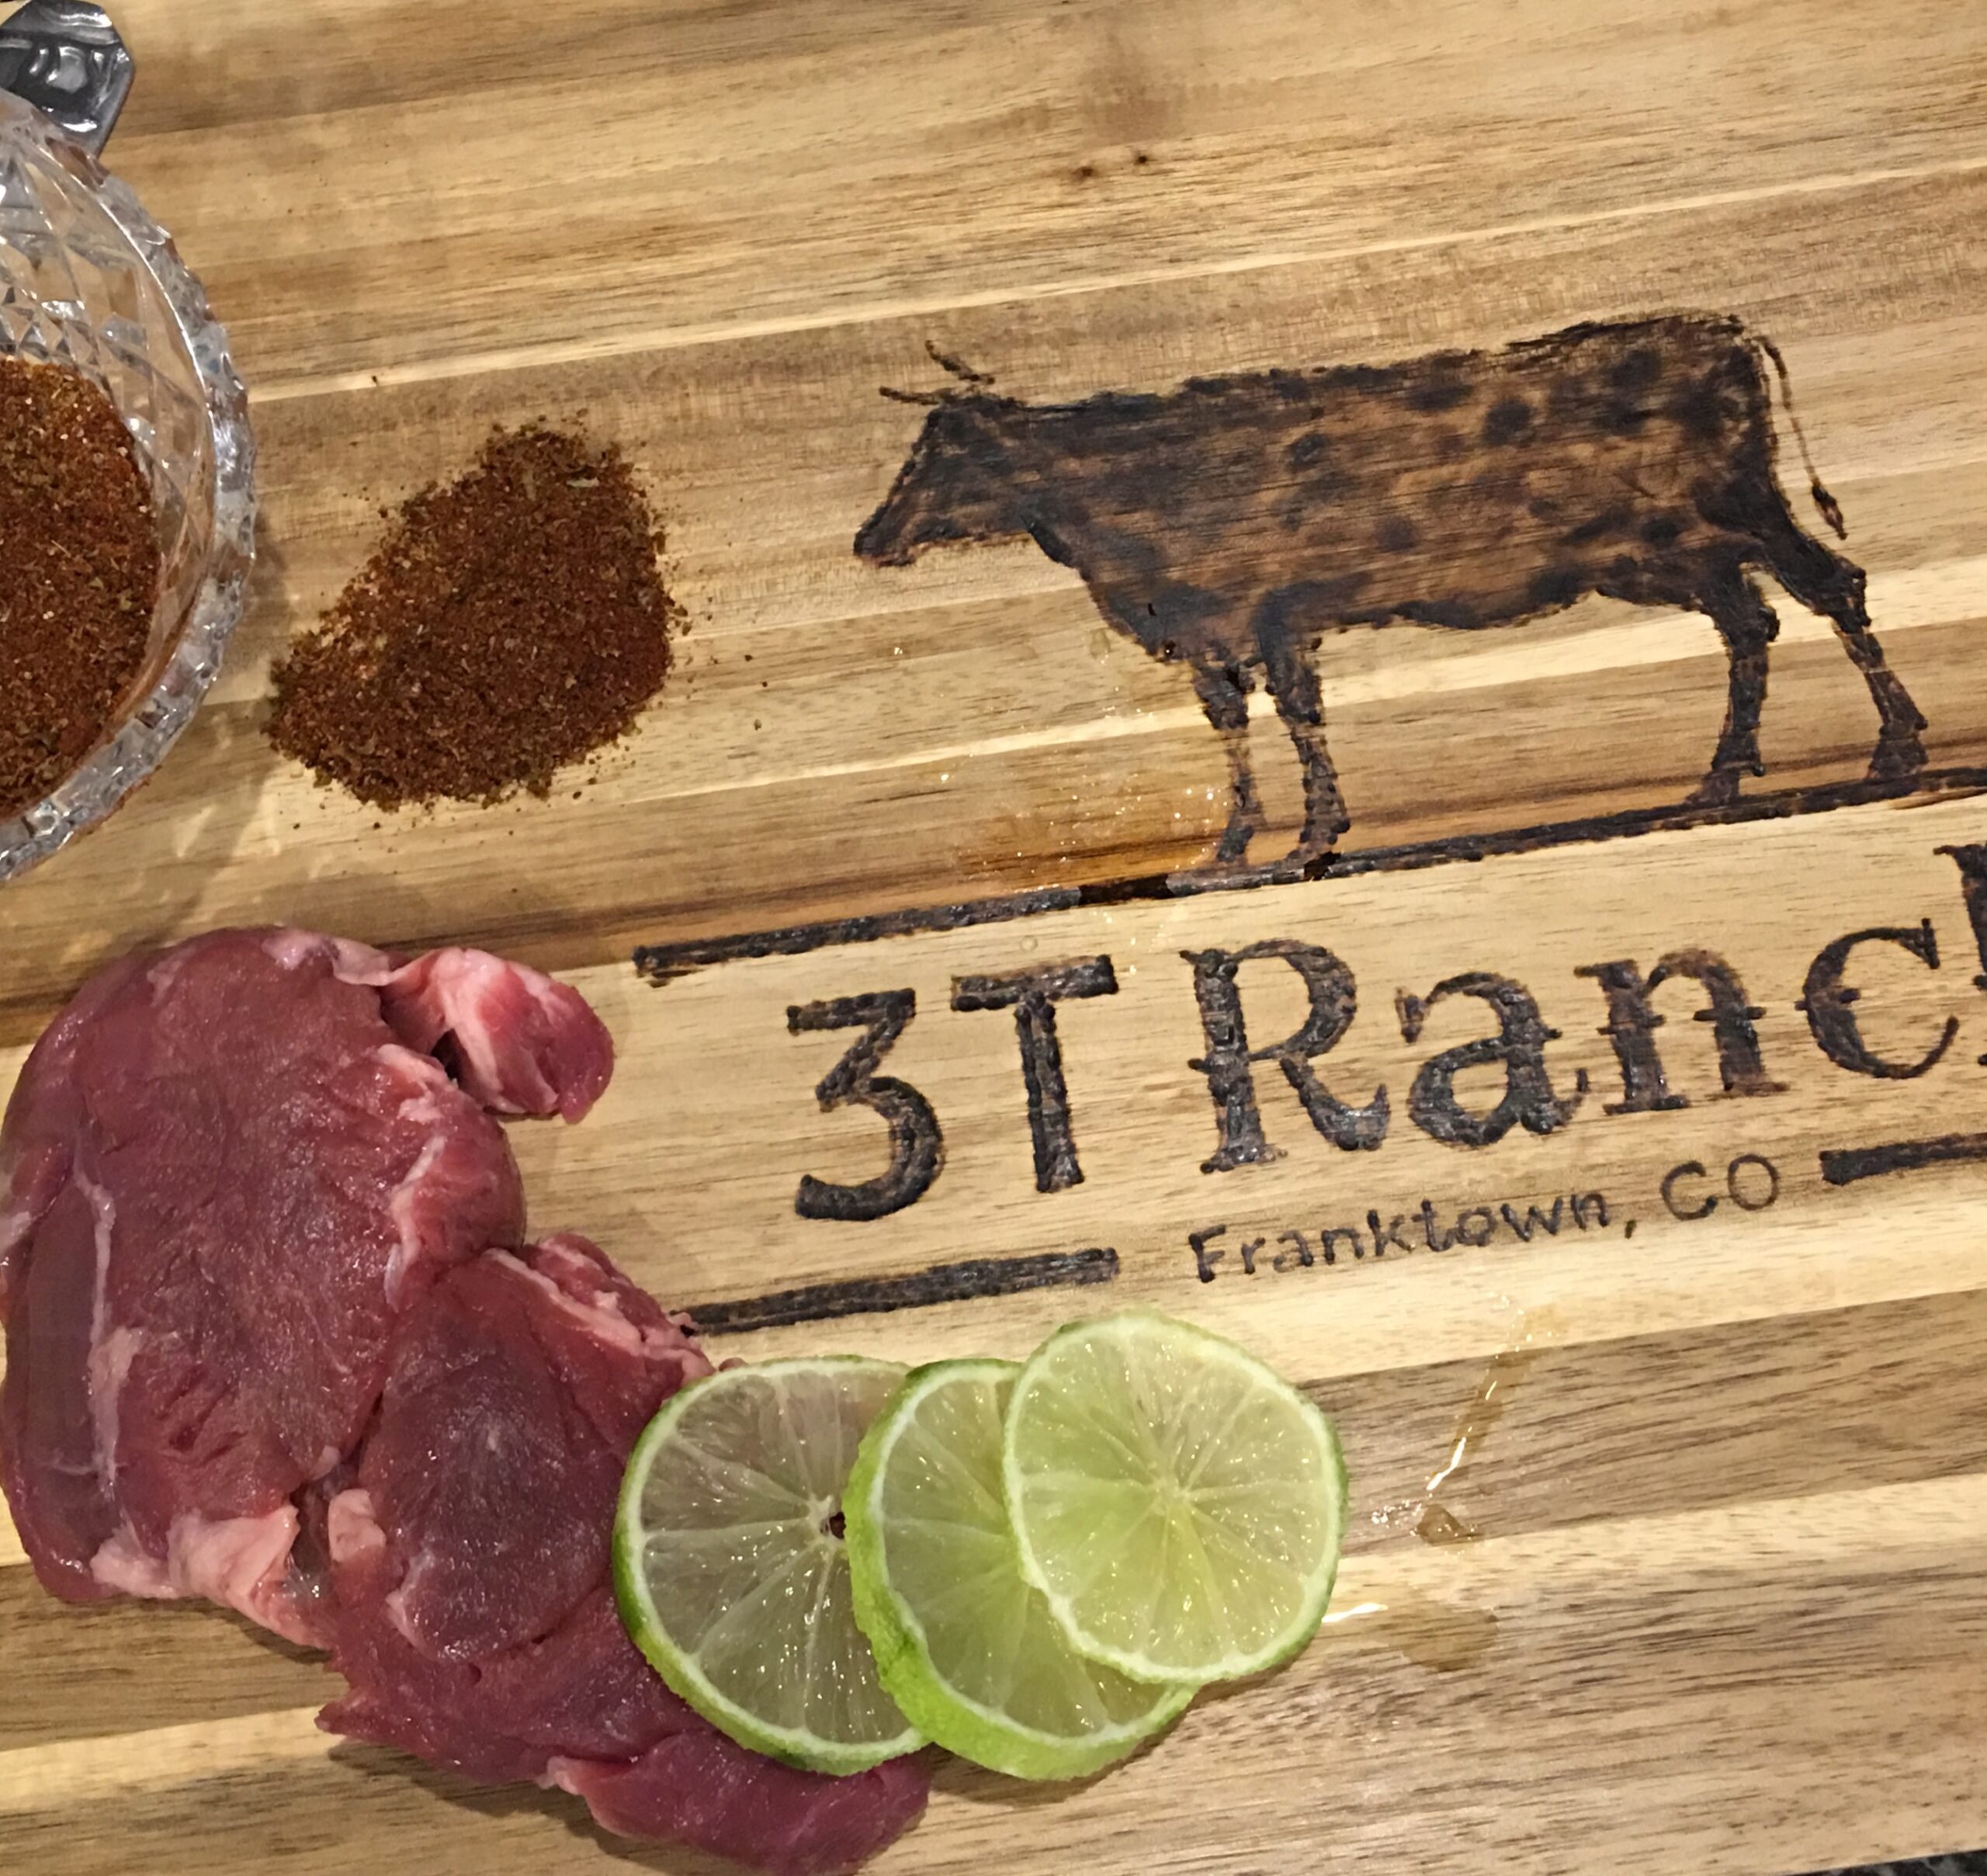
Summer Steak Dry Rub

We are right in the middle of the grilling season and I wanted to share with you our new favorite dry rub. It is tasty on all steak cuts, the citrus in this recipe is a nice refreshing touch. I have found that many dry rubs included sugar or brown sugar. Stay away from that sweetness! Sugar burns and you are left with a charred taste on the steak. The rub doesn't need any sugar. The flavor of the beef and the spices are the perfect match.
Ingredients:
- zest of 1 lime
- 1 tablespoon chili powder
- 1 teaspoon cumin
- 1 teaspoon chipotle chili powder
- 1/2 teaspoon salt
- 1/4 teaspoon pepper
Few things to remember when cooking beef:
- Beef should be room temperature. Take the beef out of the fridge 30 minutes prior to cooking and rub that tasty seasoning mix on the meat.
- Let the meat rest after cooking. Don't cut in to the beef right away.

Upside-down Cheesesteak Sandwich

Ever had a soggy cheesesteak sandwich? Not on this outfit! The key to a crispy roll is to broil your bun, melt the cheese, then loan up with veggies and steak. You will be surprised how easy and fast this recipe is!
Ingredients:
- 3T Ranch steak - sirloin and flat iron steak are good choices - thinly sliced
- Salt and pepper to taste or your favorite steak seasoning (3T steak is plenty of flavorful on its own). I have only used salt and pepper.
- 1/2 thinly sliced onion
- 1 thingy sliced green pepper
- Pepper Jack cheese
- Hoagie rolls
- Arugula
- Onion rings or fries
- Canola oil
Directions:
- I found that the best way to cook thinly sliced 3T meat for this dish is in my wok pan, but you can certainly use a cast iron skillet as well.
- Get all of your prep-work done ahead of time. Slice your veggies, cheese and meat. While the pan is heating up. Keep your thinly sliced beef on a paper towel. I like the meat to get air dried a little bit. You don't want to steam your meat. The meat should be dry before hitting the pan.
- Coat your pan with canola oil and sauté your veggies. Once they are done, keep them warm on a cookie sheet in the oven. I keep the oven about 250 degrees.
- Wipe the pan dry, coat your pan once more with the canola oil and let it heat up again.
- I did my meat in batches, again you don't want to steam up your meat by overcrowding the pan. Single layer for the meat. It literary took 30 seconds on each side for the beef to cook. Put meat in the oven to keep warm and continue with your meat batches until done.
- Now, it is time to broil your buns, then put two cheese slices on each of the buns and melt it in the oven. Sequencing is a key with this dish. You don't want to serve a cold cheesesteak sandwich. I even heated up my plates in the oven. It sure helps to keep the meal warm.
- Take the meat out of the oven and chop it up into small pieces. You can see it in the picture. I find it easier to eat it. Not as messy!
- Time to assemble. Veggies and meat go on top of the bun with the melted cheese. This really prevents the sogginess.
- Little bit of arugula on the top. The pepper taste of the greens pairs nicely with the beef.
- Serve with onion rings or fries!
Dobrou chut!