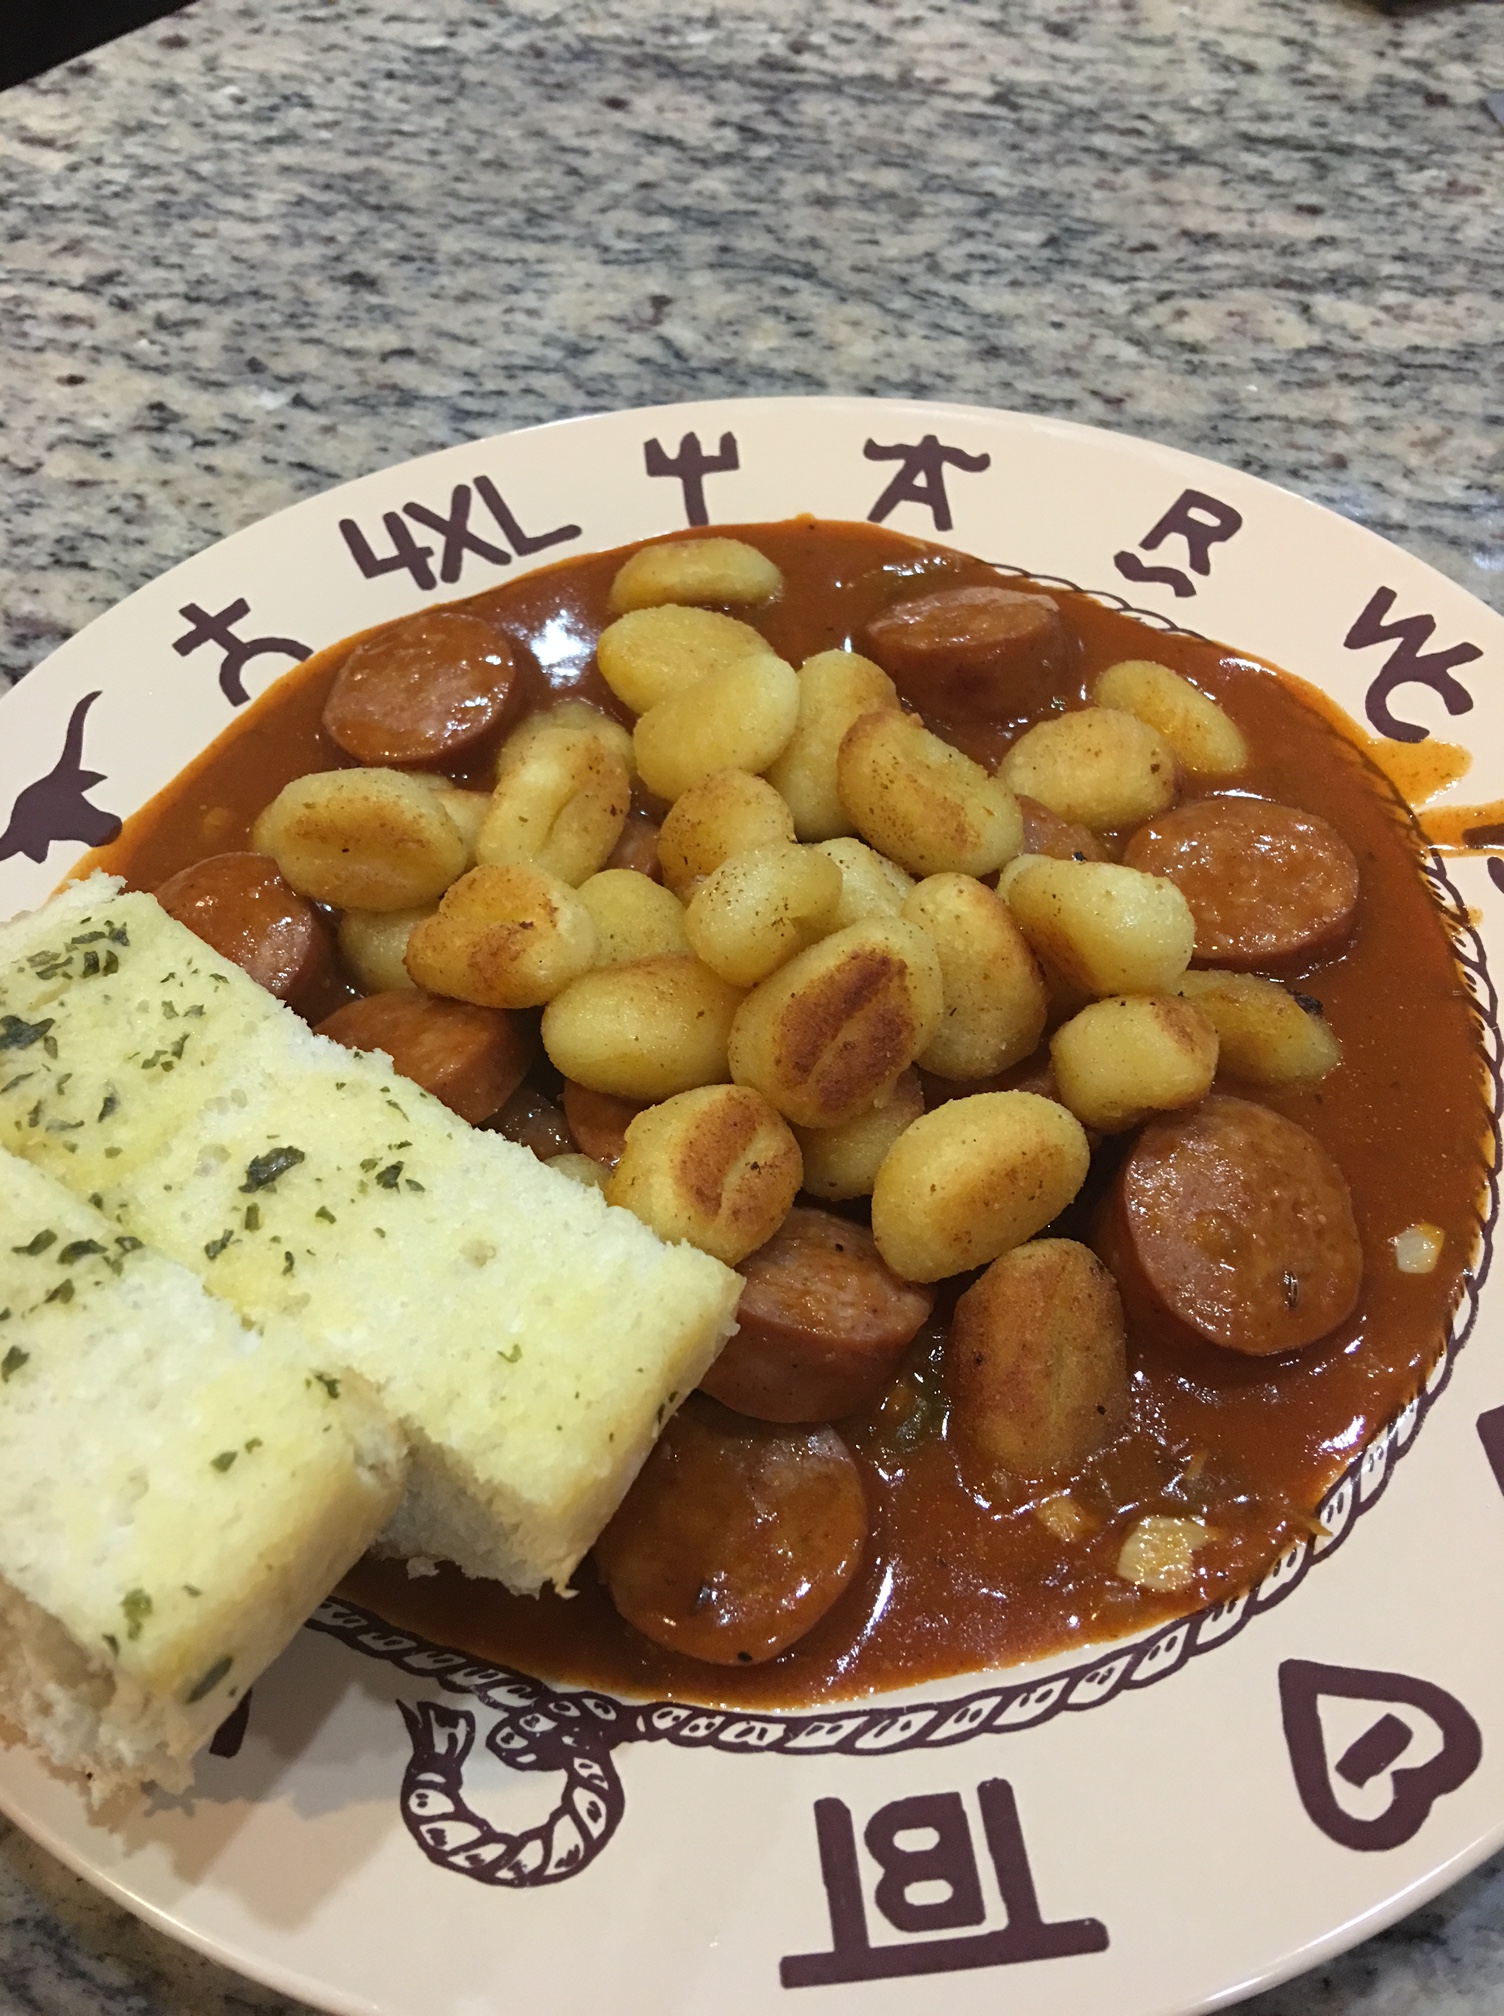
Gulas -Polish Sausage with Gnocchi - Dinner under 30 Minutes
What is Gulas? It is a traditional Czech meal, tasty savory sauce that is easy to make and will become a staple in your home. Gulas is typically served with beef stew meat, but we have found out that Polish sausage is even better and faster to prepare. Dinner is served under 30 minutes.

Things to have on hand:
- 3T Ranch Polish sausage - cut up
- 1 onion - small dice
- 1 green pepper - small dice
- 4 cloves of garlic - chopped up
- 1 tablespoon paprika (Hungarian Paprika is the best)
- 1 teaspoon caraway seeds (no biggie, if you don't have it, but adds a nice flavor)
- 2 tablespoon canola oil or naturally refined coconut oil
- 1 tablespoon flour
- 5 cups of liquid (water, chicken stock or beef stock - use whatever you have at home)
- 2 pkgs dry gnocchi (you can buy these in the pasta isle)
- 1 tablespoon butter
- parsley for garnish
- salt and pepper to taste
- garlic bread - Who doesn't like to dip bread into a tasty sauce?!
Let's get cooking:
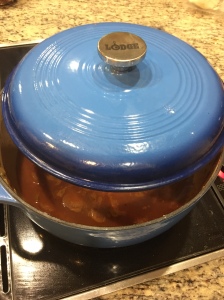
- I love my new cast iron pot that I got for Christmas, but you can use any big frying pan that will hold all of the food.
- Cut up onion, pepper and garlic.
- Sauté the veggies in one tablespoon of oil until translucent. Take it out of the pan, add another tablespoon and sauté the sausage. My guys like to have a nice crust on both sides.
- Put the veggies back into the pot, add 1 tablespoon of flour and stir until the flour has nice light brown color.
- At this time also add your spices, but keep stirring! Paprika, caraway seeds, salt and pepper.
- Slowly add the liquid and continue stirring until flour and spice mixture is absorbed into the liquid, no lumps. The flour will help to thicken your sauce.
- Simmer for about 20 minutes. The sauce should have consistency of a pasta sauce. You can certainly add more water, if your sauce becomes too thick.
- OK, now onto the gnocchi. Melt one tablespoon of butter in a frying pan (again cast iron works the best) and sauté the gnocchi. This will take about 8 minutes. We like to have a nice light brown crust on the gnocchi. We prefer this method of cooking vs boiling it. You will end up with crunchy outside and soft inside.
- You are ready to serve! Garnish with parsley. I forgot, but it was still a hit!
Dobrou chut! Bon Appetite!

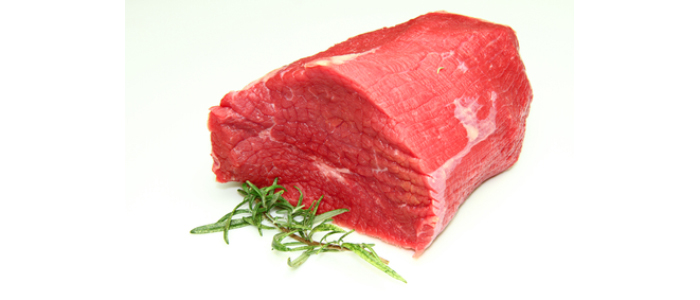
Tips for Cooking Grassfed Beef

We are currently in the process of getting our beef certified through the American Grassfed Association!
American Grassfed Association (AGA) defines grassfed animals as those that have eaten nothing but grass and forage from weaning to harvest, have not been raised in confinement, and have never been fed antibiotics or growth hormones. In addition, all AGA-Certified Producers are American family farms and their livestock is born and raised in the U.S.
As I was filling out our application, I came across a few handy tips on cooking grassfed meat. It sure makes a difference to cook the meat properly!
We will keep you posted on our certification progress!
Tips for Cooking Grassfed Beef!
http://www.americangrassfed.org/wp-content/uploads/2011/11/Tips-for-Cooking-Grassfed-Beef.pdf

Does a Calf Need a Checkup?
The two weeks over Christmas and New Year are sure busy on the 3T Ranch. We scramble last minute like everybody else to get the last Christmas presents, get few more things from the grocery store, cook a delicious meal or two, "OD" on the Christmas cookies, enjoy our awesome presents and watch plenty of College Football Bowl games. This year, we have also celebrated Peanut's 1st birthday. We threw a big ladybug bash for her and her little friends. She was our surprise Christmas baby last year! OK.. I'm getting to the point of this post! But, there is a "little" bit more for us to do..
No matter the season, weather or how tired we are, we still have to tend to our animals, everyday, twice a day! It has been cold, snowy and just not nice, so we have been postponing the weaning of our calves. Our animals do best with minimum stress, so we try to work them in the most gentle manner. Some of our calves are reaching the point of 800 lbs and such a "big baby" doesn't need to be nursing anymore. As all of us moms know, nursing takes a lot of calories and we needed to make sure that mama cows are gaining good weight over the wintertime to prepare for the birth of their new babies in the springtime. Some of the cows are starting to wean on their own as they mostly eat grass, hay in the winter time, but some of them still didn't want to give up their tasty milky snacks. (Peanut.. hint, hint.. Neither does she want to give up her tasty milky snack)!
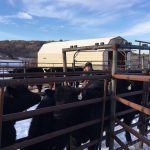
The sun finally started to shine and we've decided that it was a good day to wean the calves. The cowboys patiently waited over a couple of hours to separate the calves from the cows as they came one by one into the corrals to water. Much easier to separate them in a peaceful manner then herd everybody in the same spot and then separate them. Their is plenty of times when we need to herd the older cows, but we needed to be gentle with these "big babies". Every calf went through his or her checkup. What is a calf checkup? We check their coats, all of them get their deworming solution, pinch them with a needle to deliver their vaccines and everybody gets a tasty probiotic to help their guts adjust to their new only grass diet. As you can see from the picture below, the cowboss was very happy with the weight of the calves, 800 lbs calf is a stellar achievement not just for any mama cow.It pays off to do things the right way, without hormones or antibiotics, we can still produce some fine animals!
After their checkups the calves get their own pasture with a never empty hay feeder to allow them to graze anytime of the day, so they can keep putting on weight even during the wintertime. We have found out that the best way to wean calves is to keep them close to the mamas. The two pastures are separated only by our corrals. This allows the cows and the calves to come and check on each other anytime of the day. It helps that they can see and smell each other.
As you can see, working cows is a family production, everybody contributes. Well, Peanut and I were mostly just for the "looks" this year, but pretty soon our small cowgirl will start her own training.. Well, she already did.. Grammy and Papa got her a cow rocker that she loves and rides all the time.
Ranch life is the best! Happy New Year from the 3T Ranch!


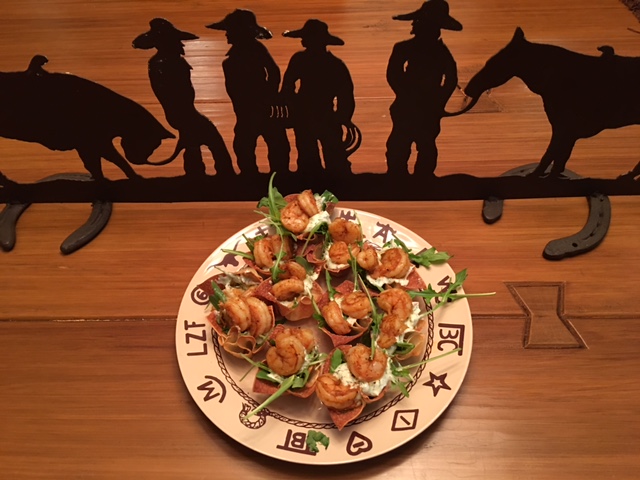
Shrimp Appetizer

I'm always trying to come up with new recipes to add to our "3T Ranch Food Rotation". The new item has to be approved by my cowboys before it can make it to this prestige list! Trust me, when I say my guys love my cooking, but they are also picky on what they add to our list. I got a shrimp dip recipe from my best friend Carrie many years ago that has been our staple for holidays and family celebrations. I thought that maybe I can tweak it and make it a little bit more festive to serve to my family as we ring the New Year. My practice run has turned out even better than I expected! The shrimp cups didn't last very long. Easy, festive and delicious.. you should give it a try!
Ingredients:
- 24 uncooked shrimp
- 2 scallions - chopped
- 1 tablespoon of fresh dill - chopped (you can use dry dill, but fresh is much better)
- 1 cup of arugula
- 1/2 block of cream cheese - softened
- 2 tablespoons of milk
- 12 wonton wrappers
- cooking spray for mini muffin tin
- 1 tablespoon of olive oil (garlic olive oil is great for this recipe, but any olive oil will do)
- 1/2 tablespoon of Wildtree Spicy Carne Asada seasoning (variation: 1/2 teaspoon of chili powder, 1/2 teaspoon of cumin and 1/2 teaspoon of garlic powder)
- salt and pepper to taste
Directions:
- Pre-heat oven to 350 degrees. Spray mini muffin tin with cooking spray and arrange wonton wrappers in the 12 cups. Spray the wontons again with the cooking spray. Bake for about 5 to 7 minutes until golden brown and crisp.
- In a bowl combine softened cream cheese, scallions, dill, salt and pepper. Use electric mixer to combine all ingredients for nice smooth texture. Add one tablespoon of milk at a time to make the dip nice and smooth, but don't make it too runny!
- Pour olive oil into a skillet and turn it to medium heat. Throw in your shrimp along with the seasoning. I have used the Wildtree Spicy Carne Asada as I had some left from one of their parties, but you can certainly make your mix with chili powder, cumin and garlic powder. Cook until pink with a nice crust. (Note: What makes a good crust? Dry your uncooked shrimp in paper towels, so you don't steam your shrimp instead).
- Time to assemble! Put your wonton cups on a plate, on the bottom of the cups put a few leaves of arugula. This will give the cups a nice peppery taste. Next layer is the dip and each cup gets topped with two pieces of shrimp. Serve immediately.
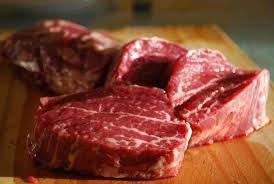
Happy Birthday Cowboss/Prime Rib Roast

It is a weeklong birthday celebration at the ranch. We like to go all out for birthdays. Nothing better than to surprise the Cowboss with few unexpected, non-requested presents and of course great dinner or two or in this year's case.. three great dinners.
We had family over on Sunday to watch the game. Go Broncos! Well, they didn't win, but there is always next time. Our new smoker arrived a few weeks ago and since then the Cowboss have been producing culinary wonders. Smoked ham and chicken, pork green chili nachos, carrot cake, well you get the picture here. Nobody leaves the 3T Ranch hungry!
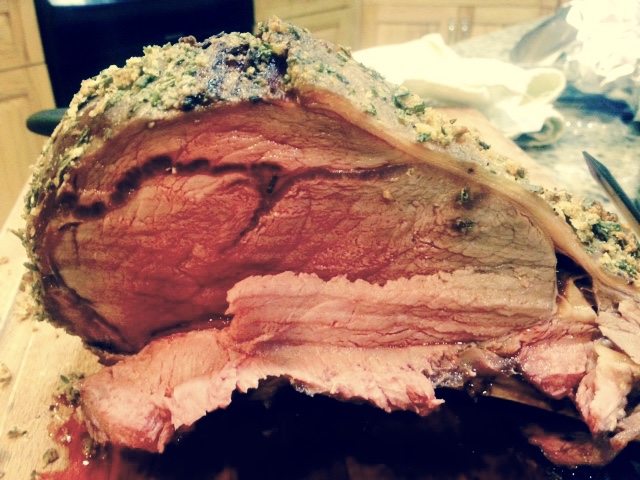
But the awaited meal was delivered on the actual birthday night. We have been saving the Prime Rib Roast for this special occasion. I was a little nervous, little intimidated and very excited. I sure didn't want to mess up this meal! I have read through at least 10 recipes, bought a new meat thermometer and finally went for it!
Our prime rib roasts are about 2 lbs, perfect size for the four of us, second helpings and steak and egg breakfast in the morning.
Prime Rib Roast
- 3T Ranch prime rib roast bone in- 2lbs
- 3 rosemary sprigs
- 3 thyme sprigs
- 5 garlic cloves - minced
- 2 tablespoons of salt
- 2 tablespoons of crushed peppercorns
- 2 tablespoons of olive oil
- Horseradish sauce:
- 2 tablespoons of horseradish
- 1&1/2 tablespoons of mayo
- 2 dashes of Worcestershire sauce
Directions
- Preheat oven to 500 degrees. Pour olive oil all over the roast and rub it like you mean it!
- In a bowl put together chopped up rosemary, thyme, garlic, salt and peppercorns. I have used our small handy dandy mini food processor, but you an certainly chop it up as well. Mix it together and rub it all over the meat. Press the mixture into the meat.
- Put the roast onto a rack in a roasting pan and cook it at 500 degrees for about 15 minutes. This will give the meat a nice crust.
- Lower the temperature to 250 degrees and cook the meat for another hour or until the thermometer is about 140 degrees.
- Our beef is grass fed/grass finished, therefore, very lean. The cooking method should always be low and slow!
- Let the meat rest for about 10 minutes and make sure to cover it with foil. You don't want the tasty juices to run all over your cutting board.
- I have served this culinary wonder with popovers and wild rice.
- Mix the horseradish sauce and serve!
I would say, I made my guys pretty happy. After all, the prime rib was really easy to make. Happy Birthday Cowboss!
P.S. Whiskey tasting dinner is coming up on Thursday. Not a bad week for the birthday boy! Stay tuned for whiskey finger licking recipes!

3 Ingredients that you should add to your kitchen
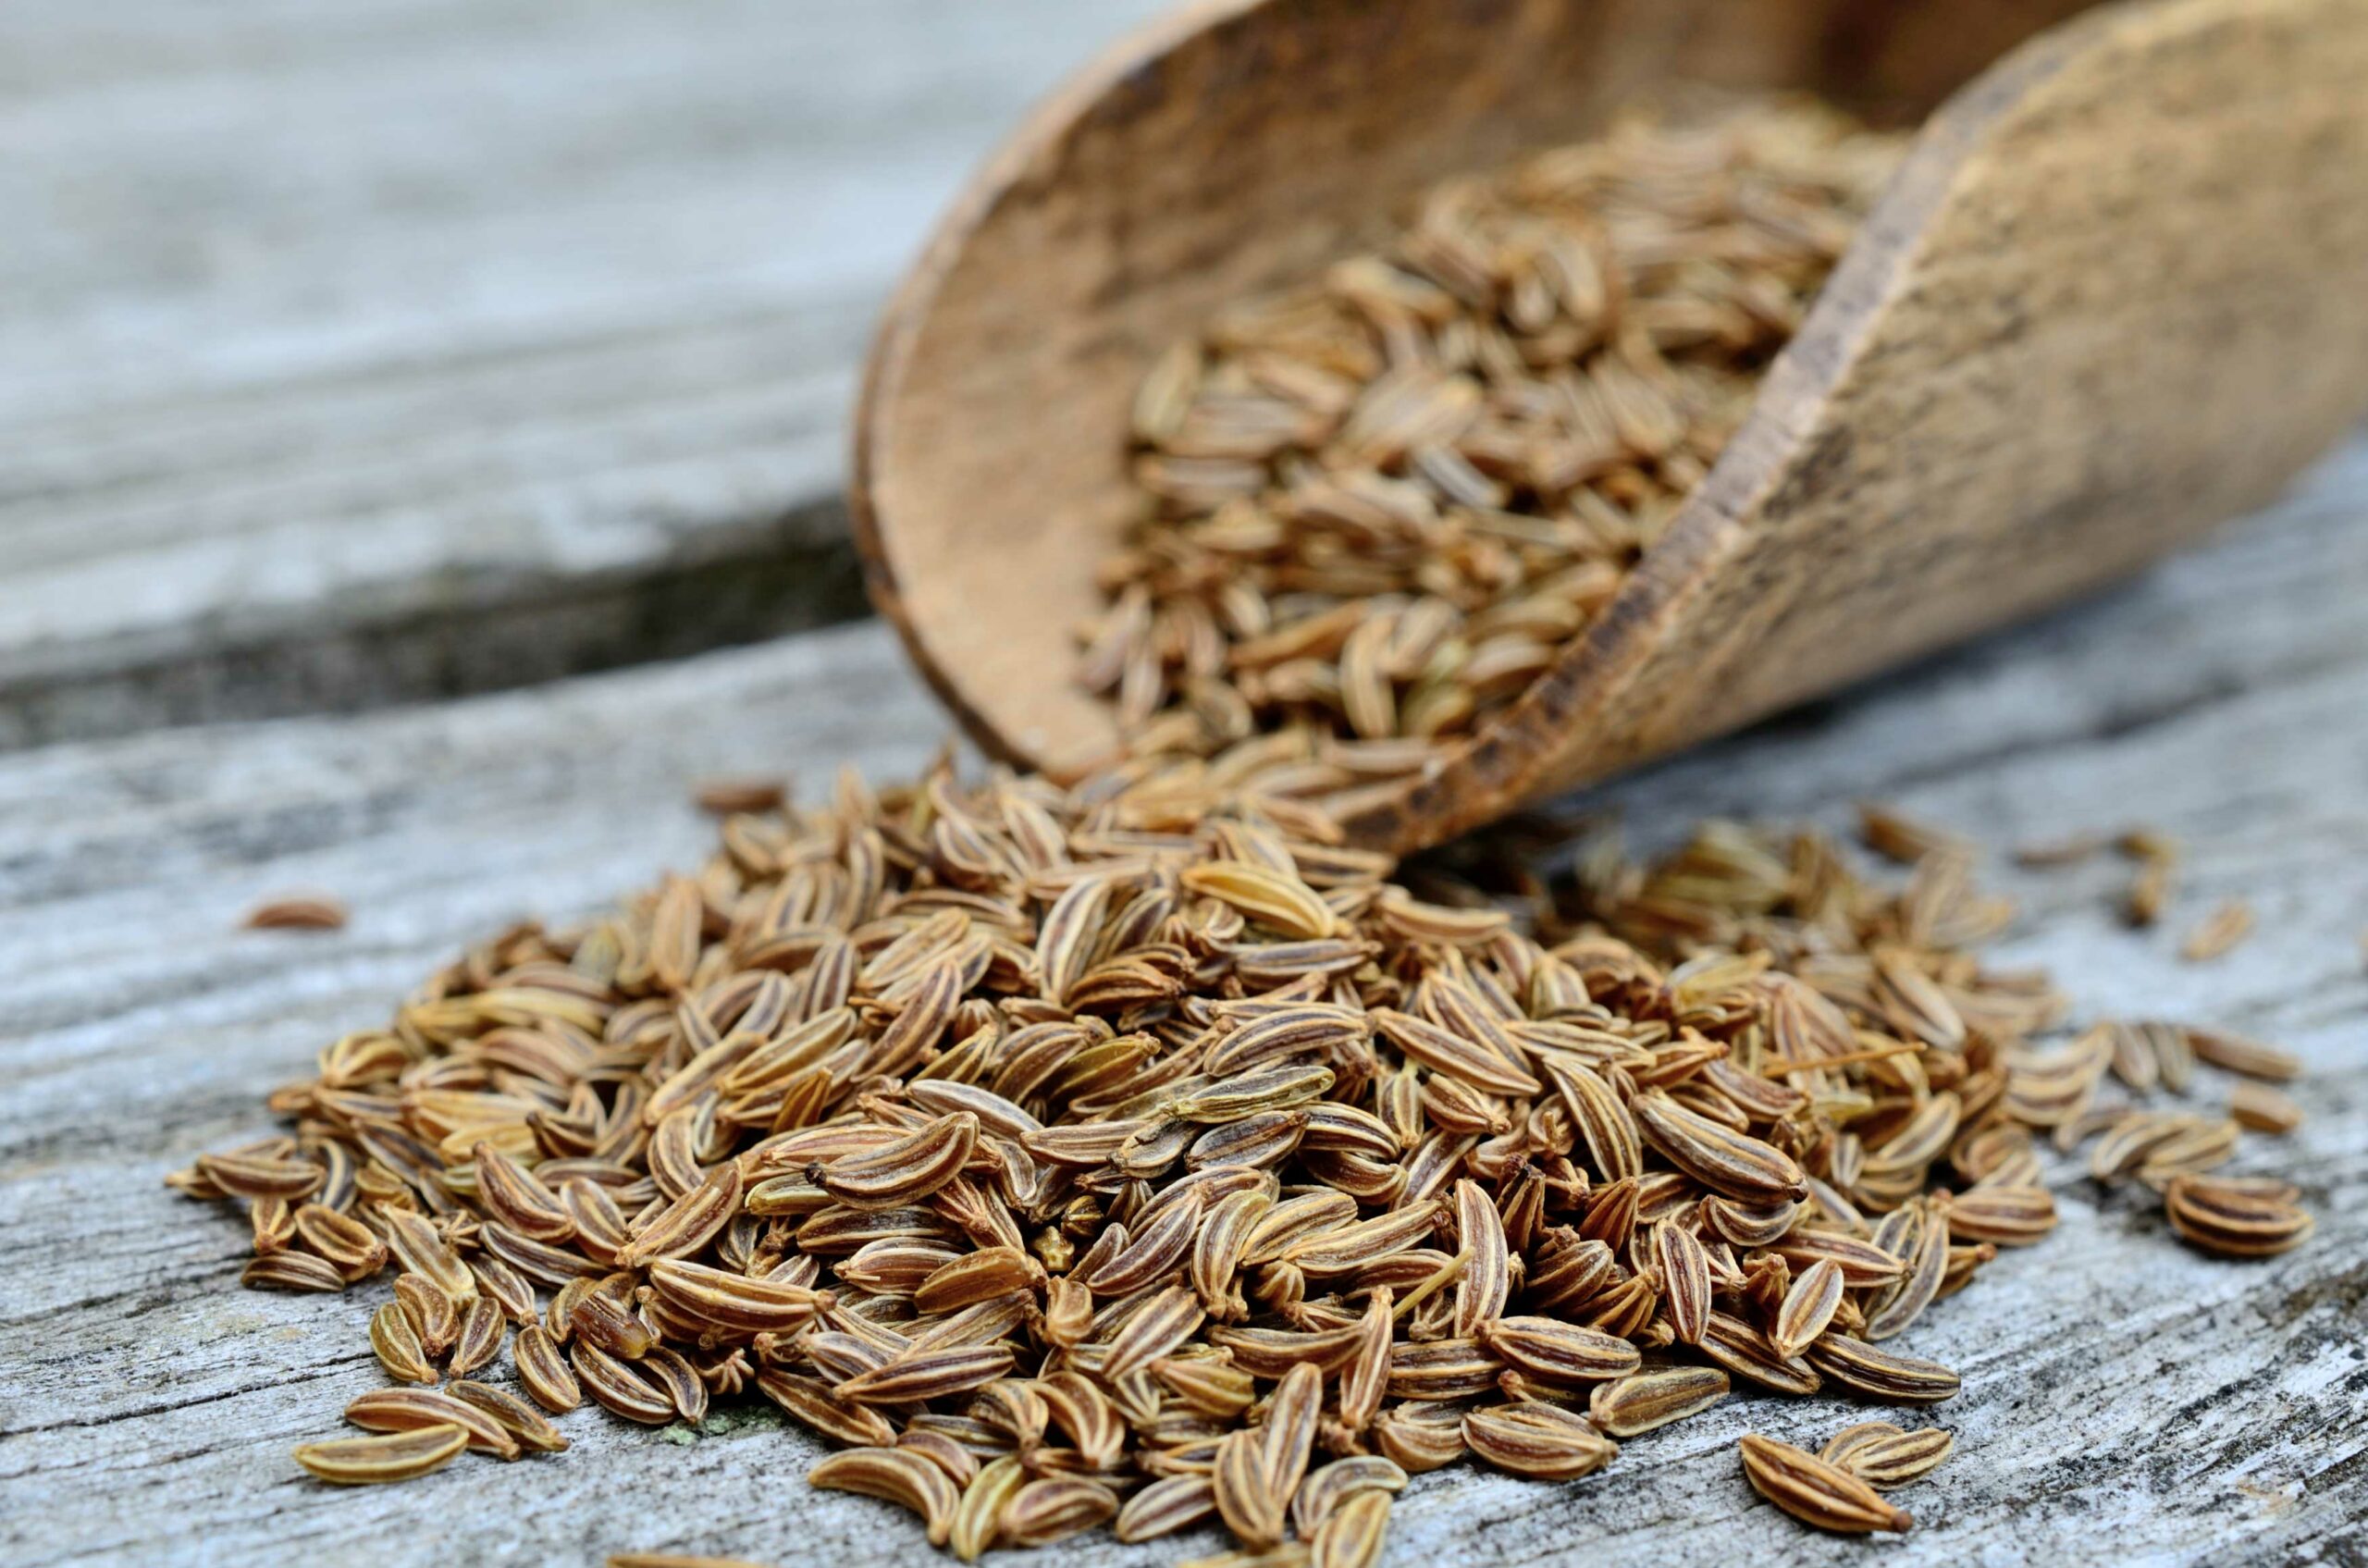
Caraway Seeds

Caraway seeds are a great addition to mashed potatoes. Boil your potatoes and during this process, add about 1 tablespoon of caraway seeds. Caraway seeds have a warm, sweet, and slightly peppery aroma. The seeds will get soft and add a new twist on your mashed potatoes. Check out these health benefits!
Marjoram

The round, light green to light gray-green leaves possess a pleasant aromatic odor and have a warm, slightly bitter taste. I like to use dry marjoram in Potato Latkes. Add about 1 tablespoon of dry marjoram into the shredded potato mixture.
Parsley Root

Parsley root is light beige, shaped like a carrot, but slender like a parsnip. The flavor is described as a taste between celery and carrots with a little parsley leaf and turnip. Parsley root is delicious in potato salads. Peal and cook your parsley root with potatoes and carrots when making a potato salad. Cut up the soft parsley root and include it in your potato salad. Great texture and taste!

What You Can Find at Home Soup

That is what my mom always called this hearty soup. It has so many variations and it never disappoints. Basically, you search through your fridge or pantry to see what you have on hand. It is raining, the baby is sleeping and I have zero desire to hit the store! The Cowboss and Top Ranch Hand are also going to have the Wolfpack football practice tonight in the rain. So, I figured, I better make them a good warm meal that can fight off any cold! Important note: Feel free to substitute for the veggies you don't have from my list. Really, any veggies that you like will do.

Ingredients:
- 1 onion chopped
- 4 stalks of celery chopped
- 4 big carrots chopped
- 1/2 cauliflower small florets
- 1 corn or 1/2 bag of frozen corn
- 4 medium size potatoes cubed
- 1 3T Ranch ham hog
- parsley
- 2 teaspoons of salt
- pepper to taste
- 4 cups of vegetable or chicken stock
- 1 cup of water
- 1/4 cup of milk
- 2 tablespoons of flour
- 1-2 teaspoons of nutmeg
- 2 tablespoons of canola oil and 1 tablespoon of butter to sauté the veggies
Directions:
Sauté onion, celery, carrots, cauliflower until translucent. Add salt, pepper and nutmeg to the veggies. (I usually add just one teaspoon of nutmeg and taste it again before the soup is done, if it needs the additional teaspoon. The nutmeg will bring out the flavor). Add the flour and constantly stir for about a minute until the veggies are all coated. Now it is the time to add the milk. Stir as you are pouring the milk in. The liquid will thicken. Pour in the stock and water, stir to make sure you don't have any lumps. Include potatoes and cauliflower into the liquid. Time for the star of the show the ham hog. It will add so much flavor and some meat will also fall off into the soup. You can peel of the meat from the bone when the soup is done. Cook on low to medium heat for about 45 minutes. Check for seasoning. Depending on the type of your stock, you may need to add more salt. This would be a good time to add the additional teaspoon of nutmeg, if needed. Garnish with parsley. Dobrou chut!
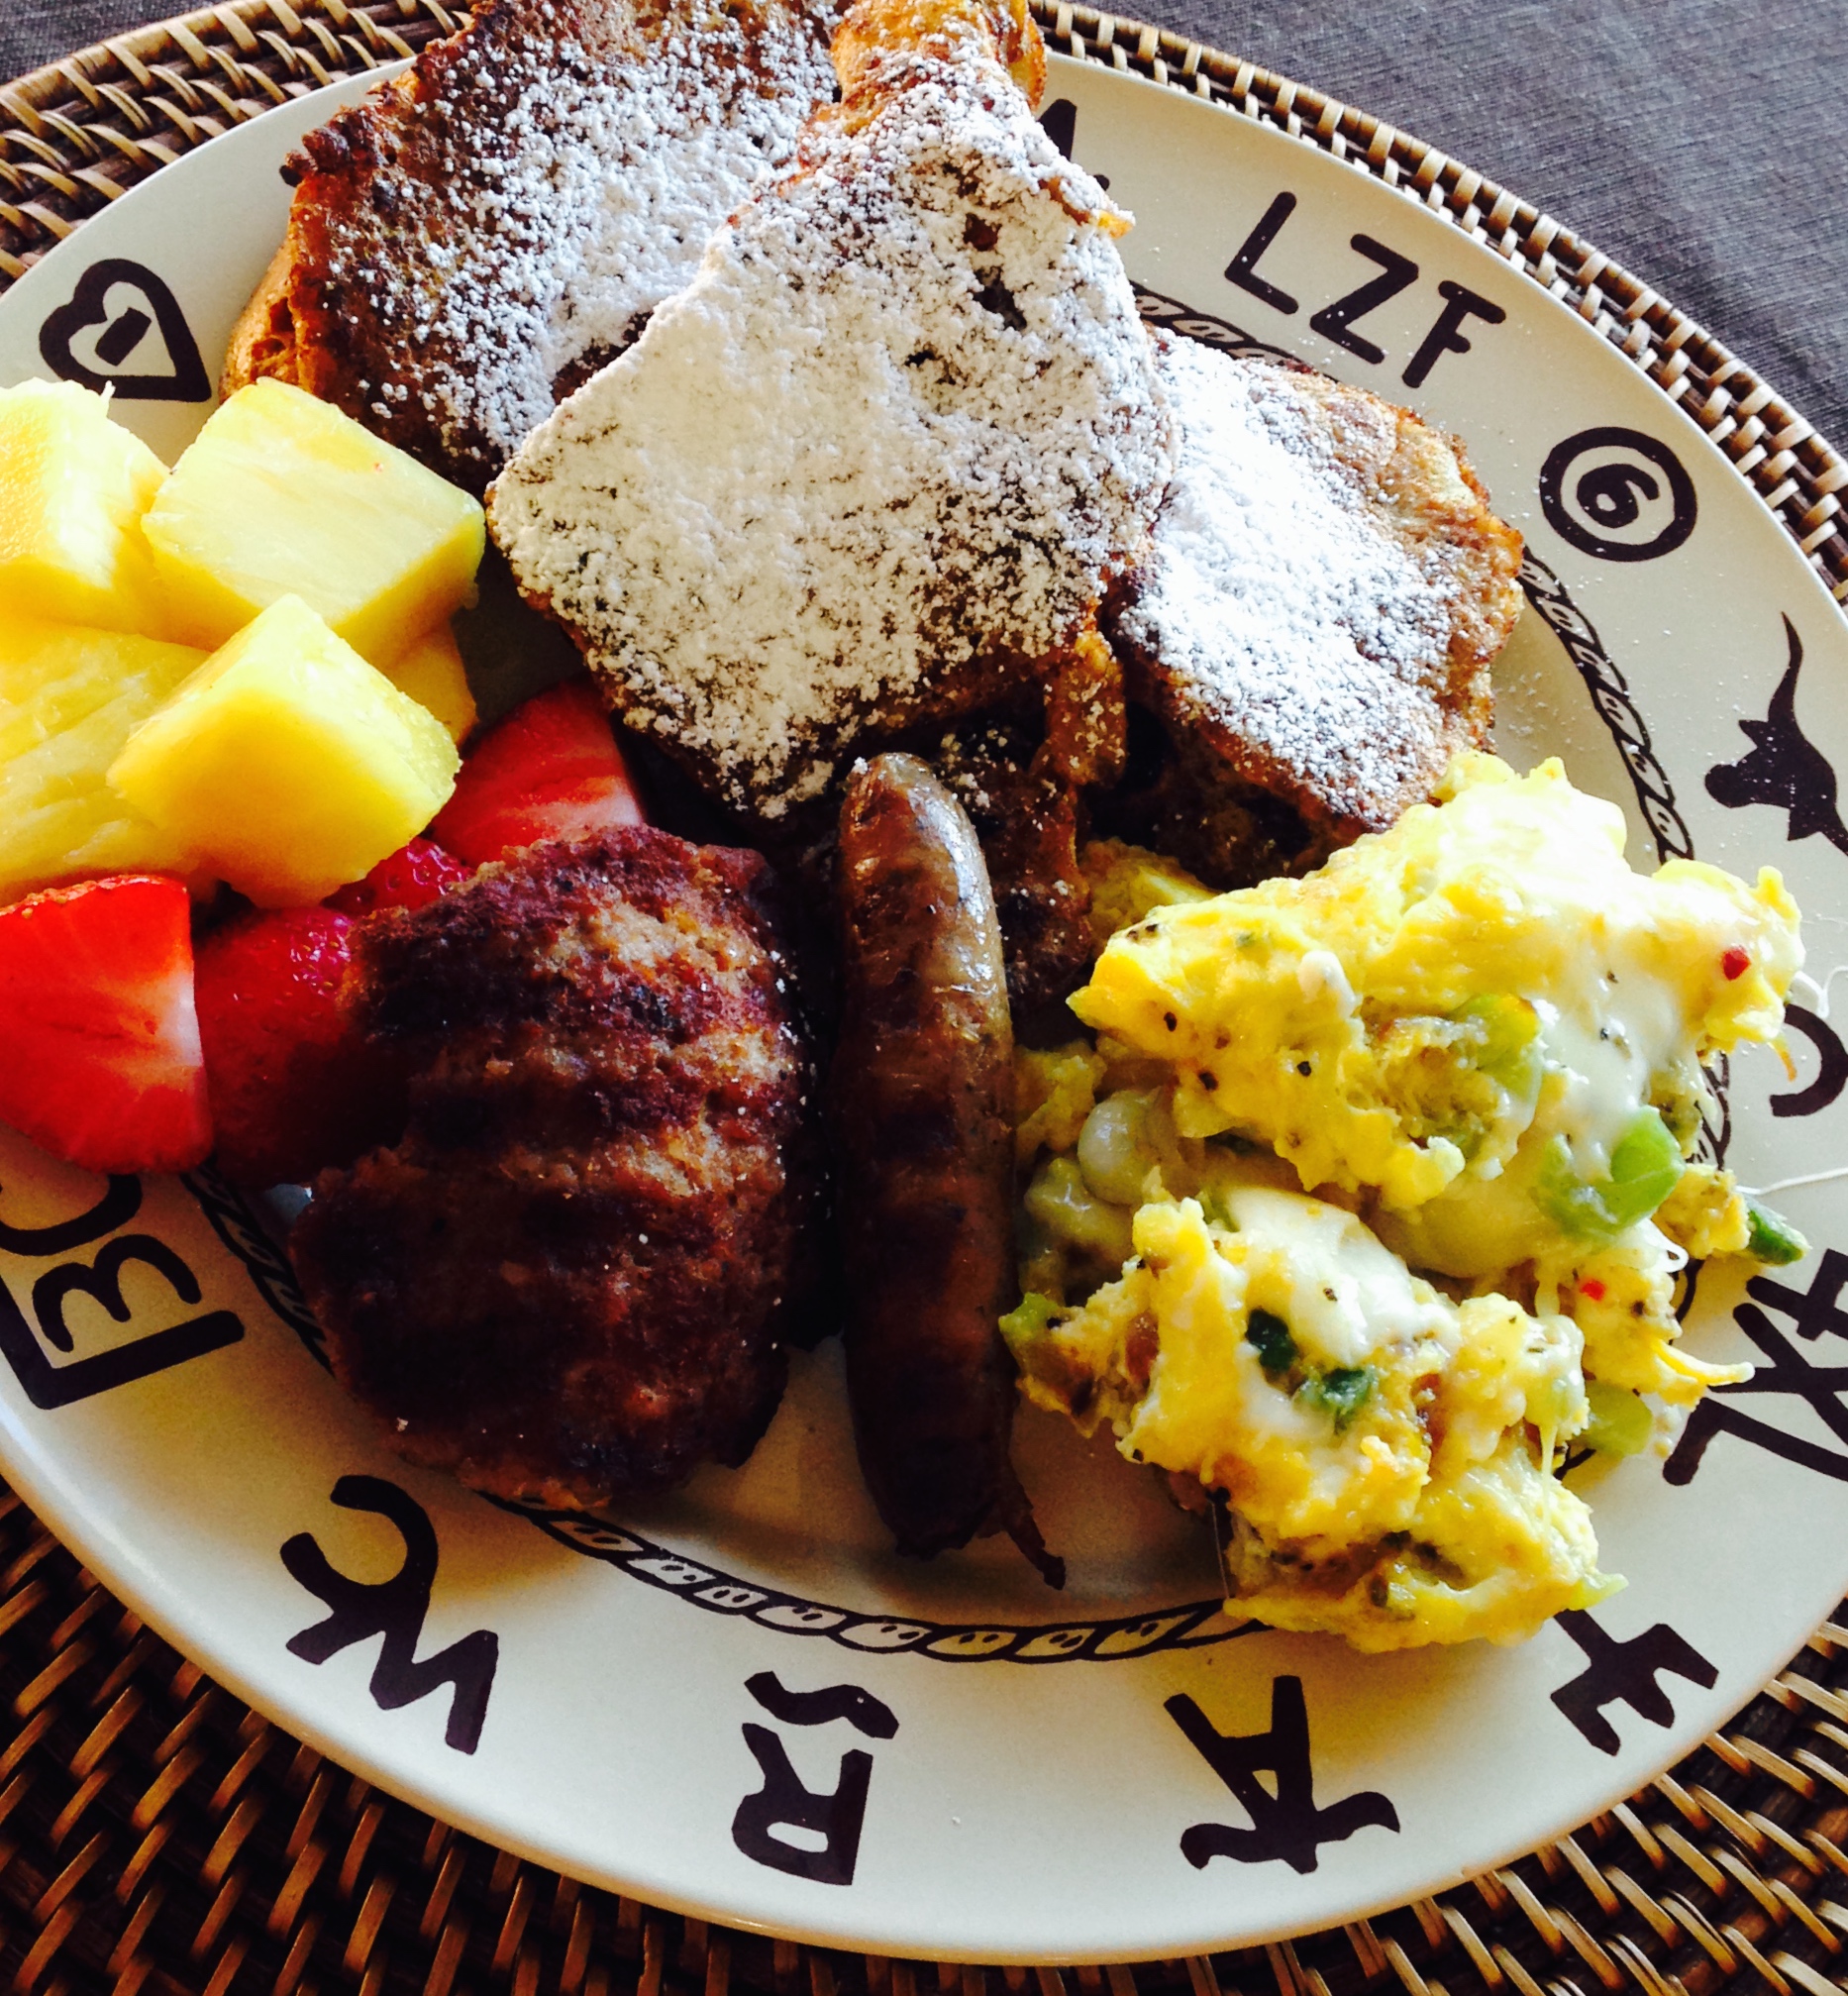
Italian French Toast

Last week was a fall break for our son Luke and as a Ranch Mom I needed some quality morning time with my Top Ranch Hand. We had a plenty of ranch projects lined up for that week and nothing starts a busy day better than a belly filling breakfast.
Italian French Toast
Ingredients:
- Italian Panettone bread (Costco sells this tasty bread during the fall/winter season)
- 3 eggs
- 1/4 milk or heavy cream
- 1/2 tablespoon of cinnamon
- pinch of salt
- 3 tablespoons of oil
Directions:
- Mix eggs, milk or heavy cream, cinnamon and salt.
- Turn your cast iron pan on medium and poor in oil.
- Cut 1 inch slices of the Panettone bread and dunk it into the egg mixture.
- Fry for about 3 minutes on each side.
Perfect compliment to this breakfast is 3T Ranch Breakfast Sage Sausage and scrambled eggs. We were ready to tackle our ranch chores.
Next day, I made a delicious Italian French Toast Casserole and used the rest of the Panettone bread! This would be great to make on Christmas Day or for visitors, they would be impressed! Note: I include oats in the topping also! Pioneer Woman French Toast Casserole.
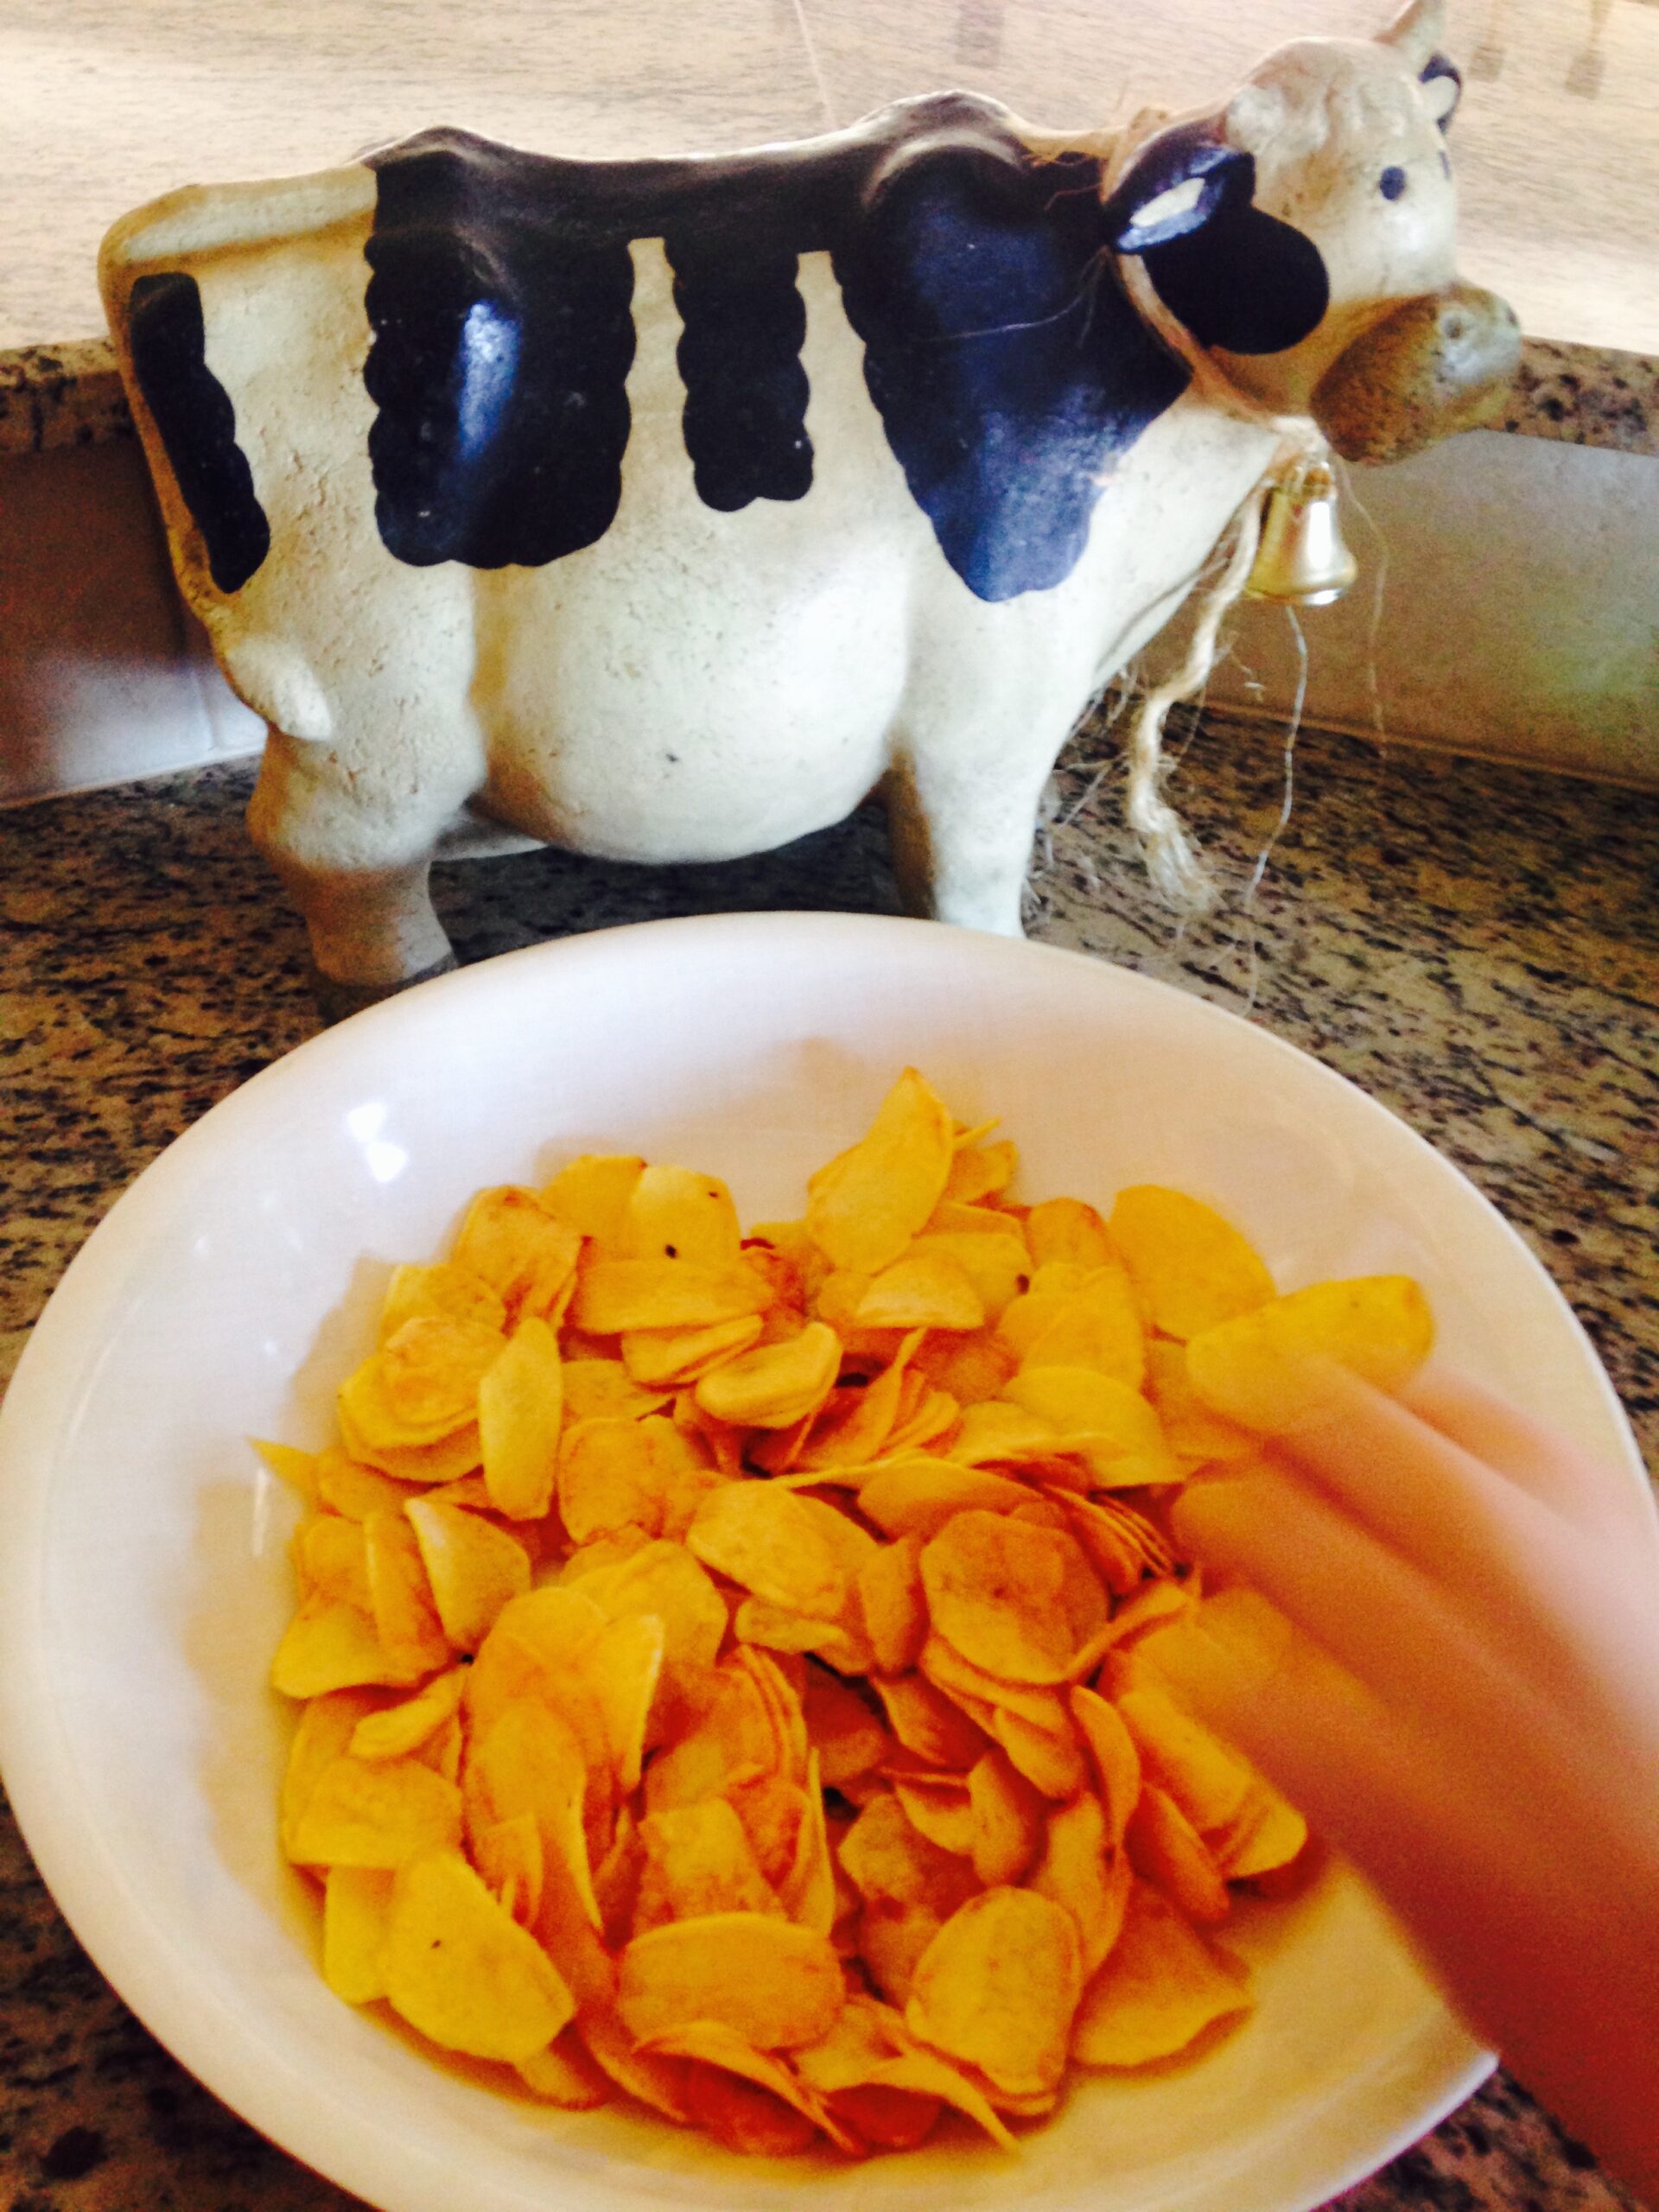
Potato Chips


We have been on a potato roll! The top ranch hand loves helping his dad aka the cowboss rather than hanging out in the kitchen, but this time his tastebuds that love potato chips won! Here we go!
Potato Chips
This requires a little bit a prep, but trust me it is worth it and you will be licking all of your fingers.. twice!
Ingredients:
- 10 medium yukon gold peeled potatoes
- 1 teaspoon of salt for each batch
- 1/2 teaspoon of pepper for each batch
- 1 teaspoon of paprika for each batch
- top ranch hand ingredient: blue cheese
- paper towels
Directions:
- First, peel and thinly slice your potatoes. I found the best way is to slice them in your food processor.
- Put the sliced potatoes in a deep pan and cover with water. Let them hang out for about an hour. Don't skip this step, the starch in the potatoes is your enemy, preventing you to have nice crispy chips!
- Heat your deep fryer to 355 degrees.
- Dry the potatoes, dry the potatoes and dry the potatoes. You NEVER want to put wet potatoes into your deep fryer, you don't want to get hurt. The oil would bubble up really quickly. I have used my trusty salad spinner to dry the potatoes and then pat them dry even more with paper towels.
- Separate the chips into individual pieces.
- Fry your potato chips for about 5 minutes. Stir the potatoes a couple of times with metal spoon or fork. You will do about 5 - 6 batches, depending on the size of your deep fryer. Don't overcrowd it!
- Have a cookie sheet ready with more paper towels to pat them dry.
- Immediately sprinkle with dash of salt, pepper and paprika.
- Tip from our top ranch hand: sprinkle your chips with salt and pepper (omit paprika) and this time top with crumbled blue cheese. We didn't believe him, but it was finger licking good!