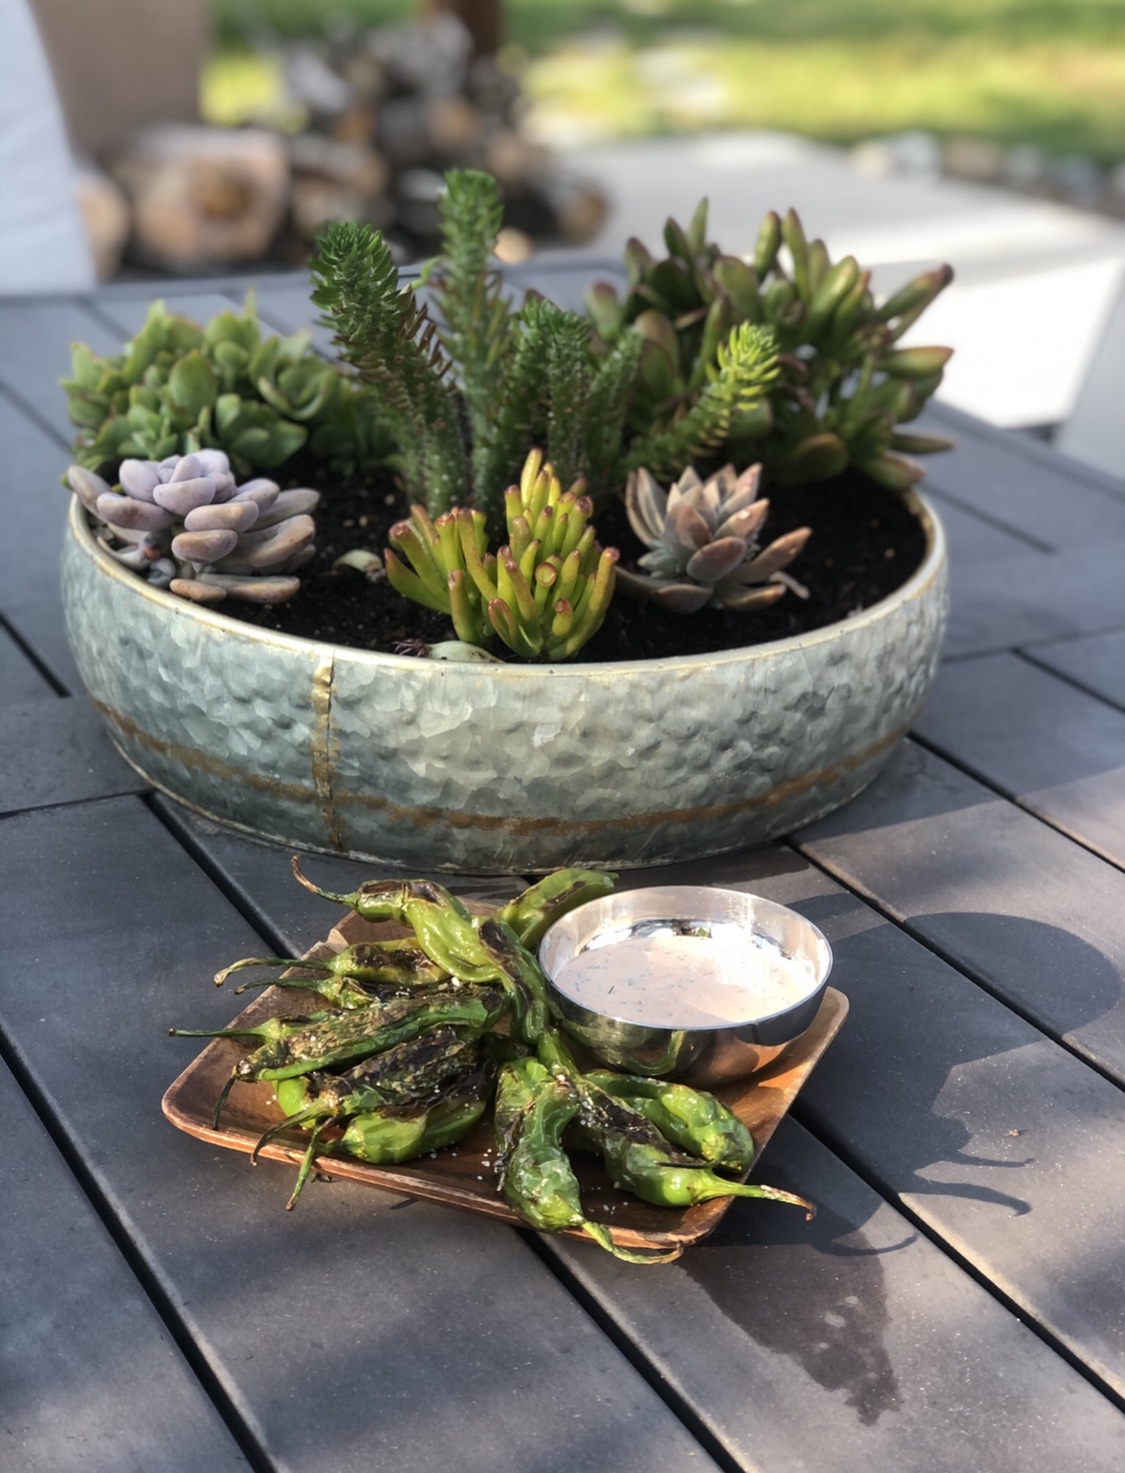
Blistered Shishito Peppers
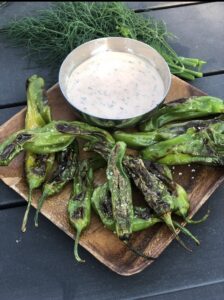
Have your tried Shishito Peppers yet? All of the Food Network Stars were cooking with this little pepper all last year, yet I couldn't find them in the grocery store. I was excited when this spring, I have found Shishito Peppers seeds at Home Depot. Fingers crossed, later this summer we will have homegrown Shishito Peppers from our garden. To my surprise yesterday, the grocery store had these little peppers available for the first time! I even texted the Cowboss the photo of them from the grocery store. Hey, when you love cooking and your long awaited item is in stock, you get excited. ;)
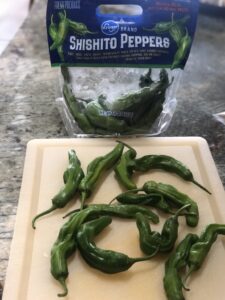
I had already planned to have burgers for dinner, so I thought, this would be the perfect side to go with it. The key to tasty Shishito Peppers is to blister them and serve them with an amazing dip.
Even though, the cowboys worked outside all day, they have agreed to grill the burgers for me and eat outside. When you are a cowboy and you work all day outside, you are really looking forward to having dinner inside, where the cool breeze comes from the air-conditioning. But, I was able to talk them into eating on the patio as it was a cool evening with no wind.
The Cowboss grilled the burgers to perfection. You ask what is the secret to our amazing burgers? Well, I will share it with you!
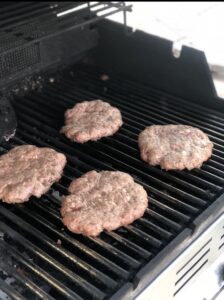
3T Ranch Burger Tips: mix 1 teaspoon of salt and 1/2 teaspoon of pepper and 1 tablespoon of dijon mustard with our ground beef and then make patties. (We also like the Weber Chicago Steak Seasoning for our burgers). Now, heat up your grill and once the burgers hit the grill turn it to low heat and cook for about 5 minutes per side.
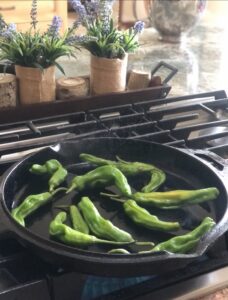
In the meantime, while the Cowboss was tending to his grill, I made my Blistered Shishito Peppers.
Let me tell you, it was a hit! Even with the little guys. The Shishito Peppers are mild in spice, but watch out 1 in 10 can be spicy! Good thing we like spicy!
The kids and I loved the peppers and dipping them into the tasty sauce. The cowboys put the Shishito Peppers on their burgers along with onion rings. Clearly, it was delicious as I didn't even had a chance to take pictures. Eaten in no time!
Ingredients:
- 1/2 bag of Shishito Peppers (about 13)
- 1 tablespoon avocado oil
- Salt and pepper to taste
Dip:
- 1/4 cup of mayo
- 2 teaspoons of lemon juice
- 1 tablespoon of no sugar ketchup
- 4-5 minced garlic cloves (Use garlic press, if you have it. You really want it minced).
- 1 tablespoon of fresh dill - finely chopped
- Salt and pepper to taste
Directions:
- Heat up a large cast iron pan.
- Pour in one tablespoon of avocado oil.
- Cook peppers, turning occasionally, until they begin to blister on all sides. (about 5 -7 minutes)
- Sprinkle with salt and pepper right away.
Dip:
- Mix all of the dip ingredients and put in the fridge for at least 10 minutes to intensify the flavor. Fresh dill really makes this dip.
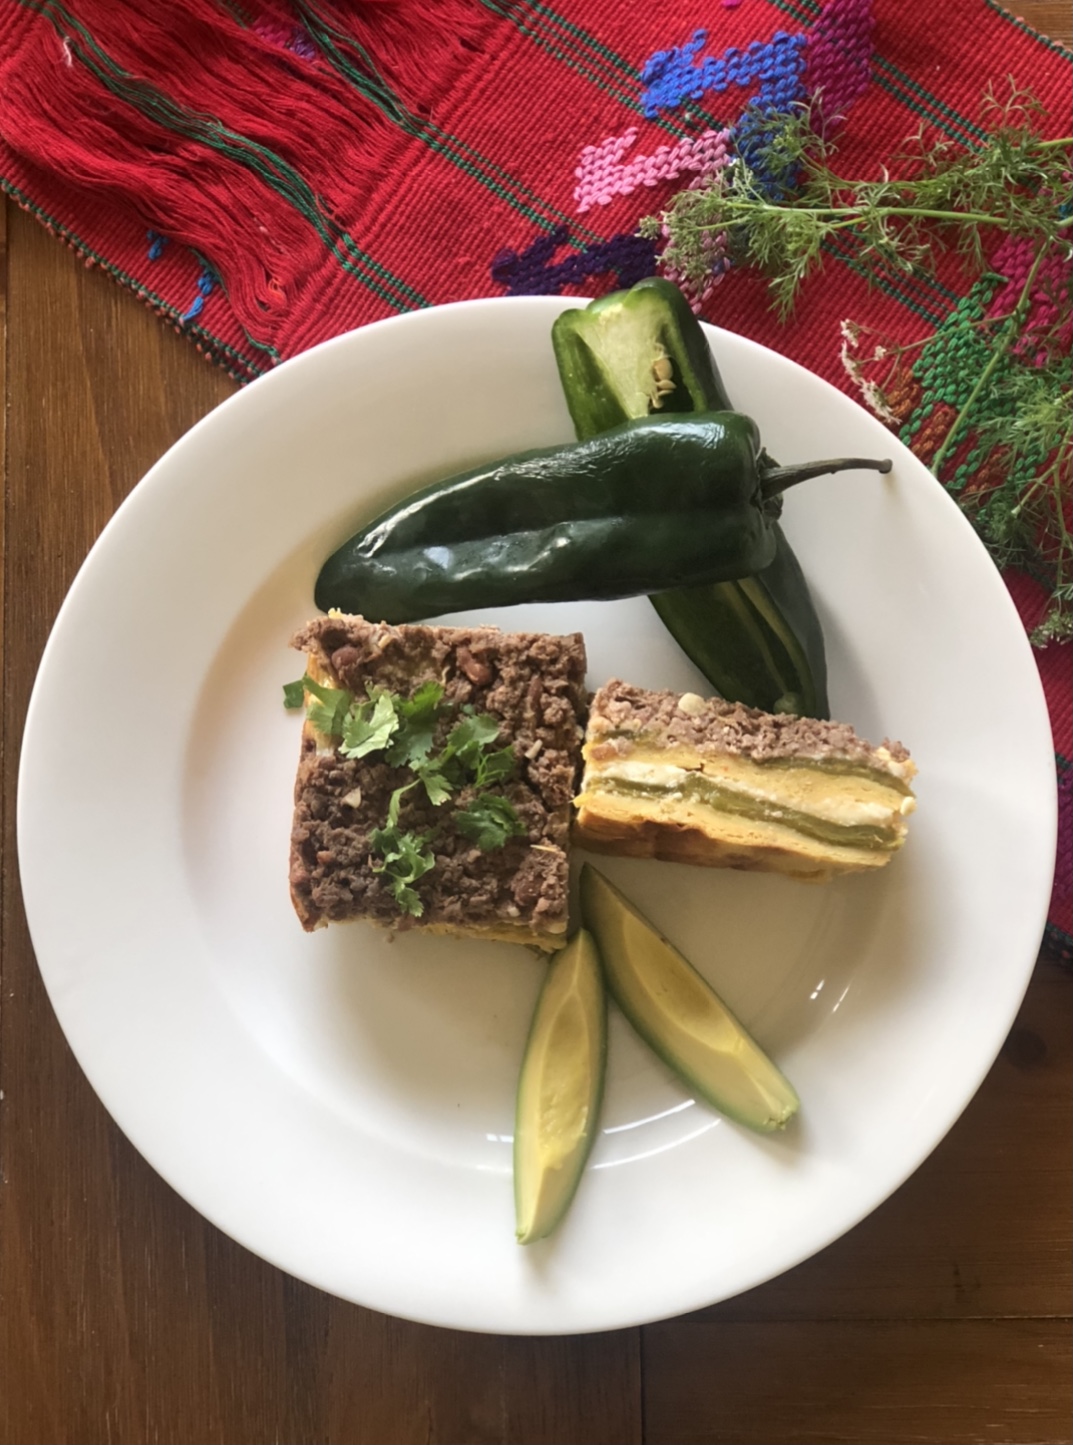
Baked Chile Relleno with Grassfed Ground Beef
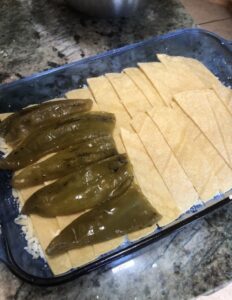
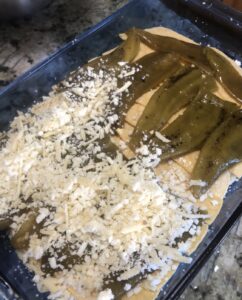
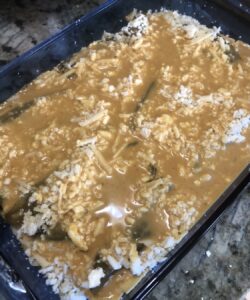
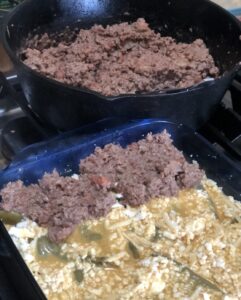
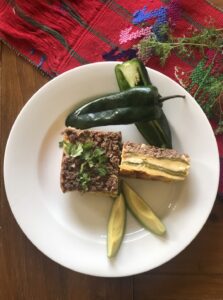
My garden is in full swing and I can't wait to have my own garden peppers later this summer. In the meantime, canned green chilies will have to do for this dish. My green house got destroyed by the wind earlier this spring. It was so sad to see as there was no way we could repair it. New green house would take several weeks to arrive and get assembled and my little pepper and tomato plants needed to be transplanted into bigger pots, so they would have enough time to grow and mature to produce amazing vegetables. Technically, tomatoes are fruits, but by culinary classification tomatoes are vegetables.
The Cowboss made me a temporary shelter for my plants, so they wouldn't get destroyed by the harsh sun and wind. He used plexiglass and fence posts to create a little temporary green house and moved all of the plants under the awning of our barn. Sure miss my green house, but the plants are happy and growing. And as I found out, my shelter is also safe from nosy critters like our horses, who are grazing the pasture by the barn and were intrigued by the new structure. Nope, these plants are not for you four-legged friends.
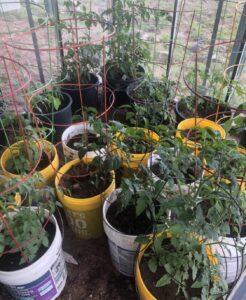
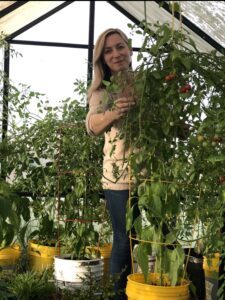
Now, let me get to this recipe. We love love chile relleno, but it is hard to make and the deep fryer always makes a mess. This version is much easier and faster to make! This dish is also great for potluck as it makes a lot! You can feed a crowd for sure.
Ingredients:
- 27 ounces green chillies - whole
- 16 ounces refried beans
- 1 1/2 pounds 3T ground beef
- 1/2 onion chopped
- 3 garlic cloves chopped
- 1 teaspoon salt
- 1/2 teaspoon pepper
- 10 oz Queso Fresco cheese shredded
- 1 1/2 cups Pepperjack cheese
- 15 corn tortillas cut into 1 inch wide strips
Topping:
- 4 ranch fresh eggs
- 1/4 cup flour
- 1/2 cup evaporated milk
- 1/2 teaspoon cumin
- 1/2 teaspoon chili powder
- 1/2 teaspoon garlic powder
- 1/2 teaspoon onion powder
Directions:
- Heat oven to 375 degrees and grease 9x13 baking pan.
- Mix eggs, flour, evaporated milk and all seasonings.
- Mix Queso Fresco and Pepperjack cheeses together.
- Brown ground beef with onion and garlic. Remember to add the garlic just before the meat is cooked, so you wouldn't burn the small garlic pieces. Season with salt and pepper.
- Add refried beans to the pan and cook until all mixed together.
- Cut tortillas into 1 inch wide strips.
- Place 1/2 of the strips on the bottom of the baking pan.
- Layer 1/2 of the can of green chilies (whole) over the strips.
- Layer 1/2 of the cheese and then another layer of tortillas, then layer of green chillies and the remaining 1/2 of the cheese.
- Pour egg mixture topping over the top.
- Spread ground beef and beans over the egg mixture.
- Cover with aluminum foil.
- Bake for 30 minutes and then remove the foil and bake for another 15 minutes.
- Serve with guacamole and Mexican crema.
3T Ranch Summer Berry Cake
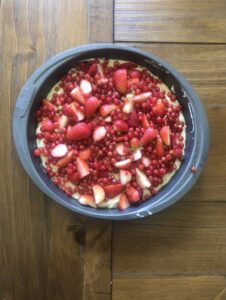
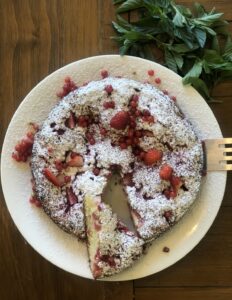
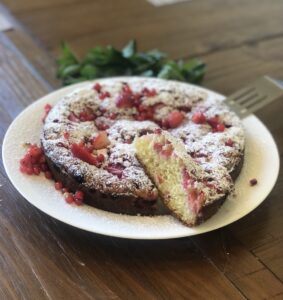
Have you tried red currant berries before? It is native across Europe and great for jams and light summer cakes. My grandparents had many red currant bushes in their garden and I remember picking them as a little child. My grandma or as we called her "babi" baked many of these wonderful light cakes - "bublanina". You can use any fresh fruit you have, it always turns out airy and tasty.
Saturday afternoons at my grandparents' house were always reserved for visits from the neighbors and you could count on that this cake would be served along with hot coffee, yes.. even in the summer time. So, as I'm sitting here on Saturday afternoon, typing up this recipe and enjoying my own version of her cake, it sure brings many wonderful memories of my grandparents.
I have ordered the red currant shrub for my garden a few years ago and the very next year it was producing fruit. The berries are known as super fruits as they have naturally high antioxidant capacity and they also have a good supply of vitamin C and K, manganese and potassium.

Ingredients:
- 1/4 grassfed unsalted butter
- 1/2 cup plus 1 tbl granulated sugar
- 1 farm fresh egg
- 1 teaspoon vanilla extract
- 1 cup flour
- 1/2 teaspoon baking soda
- 1/2 teaspoon baking powder
- 1/4 teaspoon salt
- 1/2 cup milk
- 1/2 tablespoon apple cider vinegar
- 2 cups of fresh or frozen berries of your choice (I have used strawberries and red currants from my garden)
Instructions:
- Preheat oven to 400 degrees.
- Grease and line with parchment paper 9-inch round cake pan.
- Mix milk and apple cider vinegar and let it sit.
- Beat together butter and 1/2 cup of sugar for 2 minutes.
- Beat in egg and vanilla.
- In a separate bowl, sift together flour, baking powder, baking soda and sat and add to the bowl with butter and sugar. Gently stir a couple of times.
- Gradually pour in the milk and vinegar mixture that just turned into buttermilk, stir until incorporated, don't over mix.
- Spread batter evenly into the pan.
- Evenly arrange fruit over the top of the batter.
- Sprinkle 1 tablespoon of sugar.
- Bake 25 minutes. Remove from oven and let it stand 10 minutes before serving.
- Sprinkle with powdered sugar and some leftover fresh fruit.


