What is the difference between "live", "hanging" and "freezer" weight?
We have been recently asked what is the difference between "live", "hanging" and "freezer" beef weights? 3T Ranch sells beef with our prices based on freezer weight. Why, do you ask? Here is some information to consider when ordering beef.
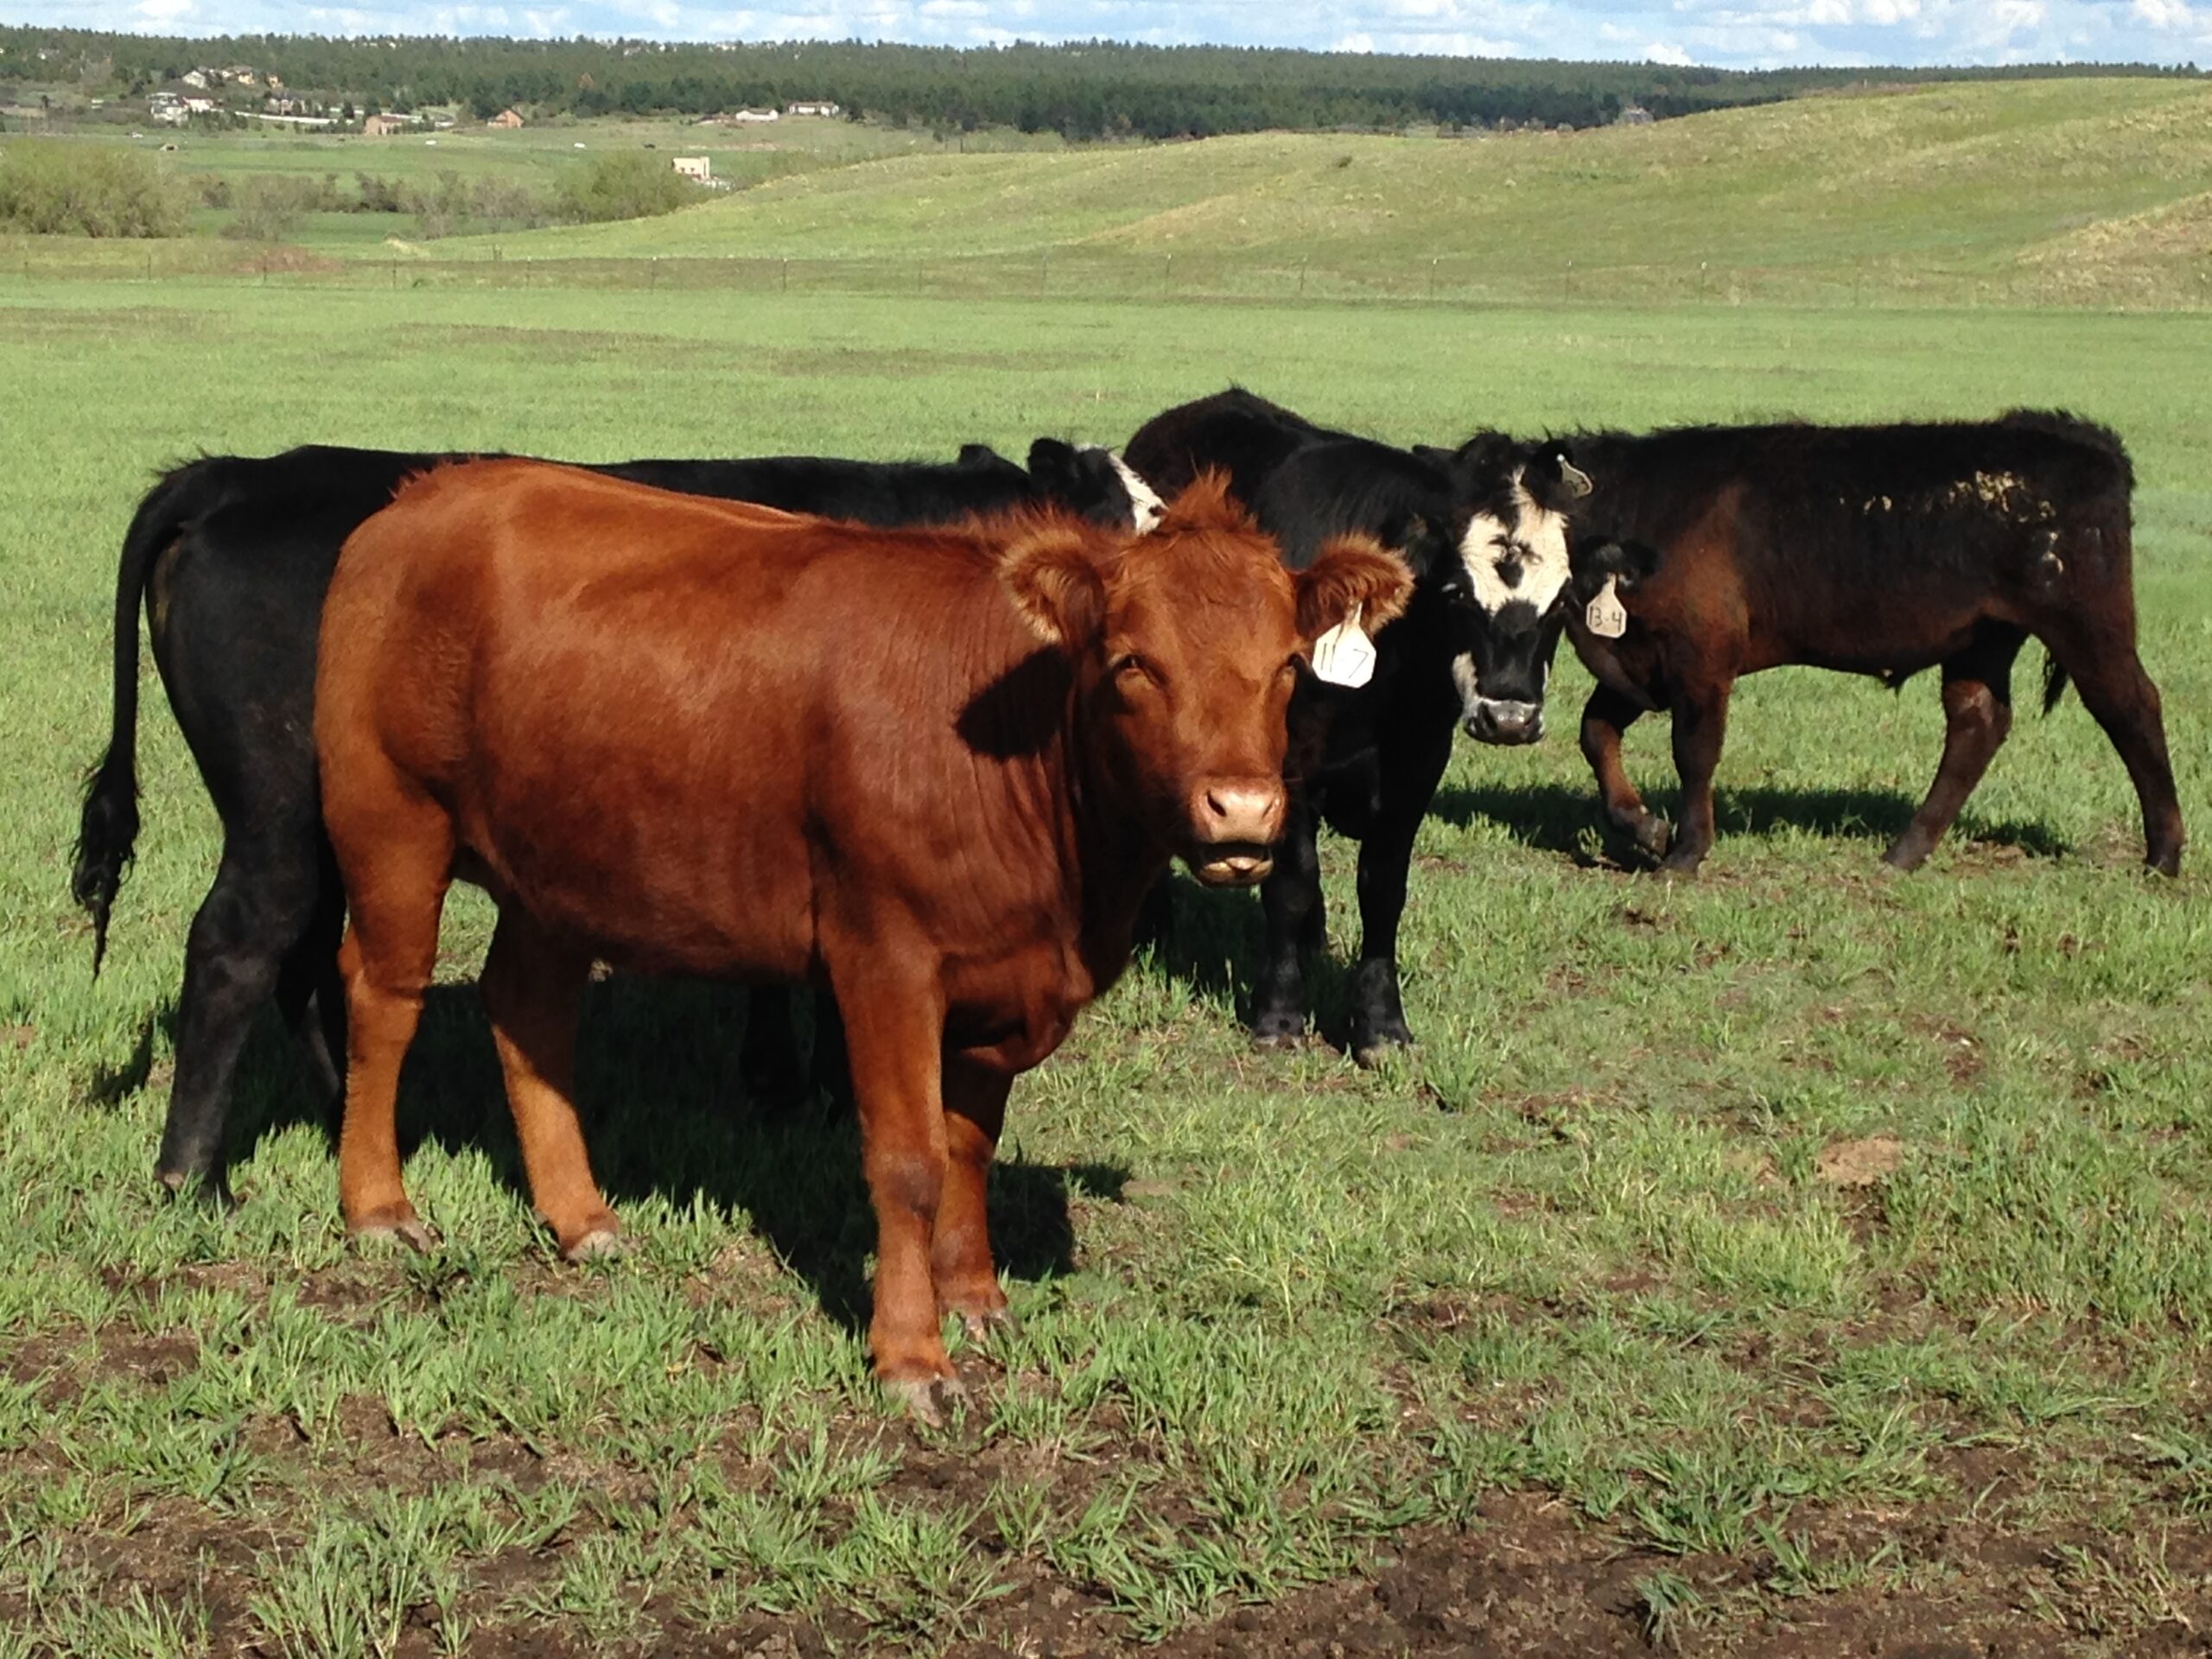
When it comes to beef weights, there are 3 different ones of which customers should be aware. The first is “live” weight. This is what the animal weighs on the hoof alive. The live weight of our steers usually averages around 1,000 lbs.
The next weight is “hanging” weight. This is the weight that the butcher charges their processing fee on and is based on a “dressed” animal. Dressed simply means the hide and all organs have been removed but all of the bones and other unusable parts are still included; and this gives the hanging weight of the animal. The hanging weight is usually about 60% of the live weight. So, a 1,000 lb animal would have a hanging weight of approxiamtely 600 lbs.
The last weight is the “final” or “take-home” or "freezer" weight. This is the weight of the actual beef that each customer will bring home and gets to put in the freezer and then on the BBQ. It is only the packaged steaks, roasts, and ground beef. This weight is usually about 40% of the live weight, or 67% of the hanging weight. So for our 1,000lb live steer that had a 600lb hanging weight, it would have a 400lb “freezer” or “take home” weight. The difference between hanging weight and freezer weight is two parts: water weight lost during the 10-14 day period that the beef is aged, the rest comes from the bones and unusable parts that are cut out during the processing and packaging.
We choose to sell our beef as "freezer" weight. This provides the customer with a total price that doesn't change as well as the customer knows how much beef they actually get in the freezer. For a ¼ share, you get 100lbs of beef for $710, which is $7.10 per finished pound, the order is consistent every time. This allows the customer to plan ahead and there are no surprises. All fees from the processor are already included in the total price.
Many ranches sell beef by "hanging" weight, in this method the customer is given an approximate total sales price and an approximate amount of beef (lb.) in the freezer. Each animal weighs a different amount and therefore the ranch or the processor can only estimate how much beef there will be after the processing, the “freezer weight”. The hanging weight includes all of the bones and extras before processing, it is not what you get to take home in the freezer. Each animal has a different yield (the ratio of freezer weight to hanging weight) so you’re not sure what the end price will be and how much you will get out of it. It is the easiest way for the ranchers and processors to charge, but we feel like it is not the most transparent method for the customer. Why not just charge for what you get to take home, so the price and quantity are known up front? It’s more like buying beef at the store, the price is marked on a given cut that has a given weight; you don’t have to guess how much the whole animal weighed at one time or what it’s yield was. Given our example above of the 1,000lb steer, our 100lb “freezer” weight ¼ share is $7.10 per pound. For comparison sakes that would be the same as a 150lb hanging weight ¼ share at $4.73 per pound (4.73 x 150lbs = $710 and would yield 100lbs). A quarter of beef at $4.73 per pound hanging weight is the same as $7.10 per pound freezer weight. Some also sell based on hanging weight plus processing. The cost of processing would then be added into the hanging weight cost for the final amount at pickup. Processing is usually about 70 to 80 cents per pound extra. Our pricing is always the final price, inclusive of all processing and packaging costs.
We know it gets confusing trying to compare the different pricing methods our there, so we try to make it as straight forward as possible, your order will be the stated weight for the stated price. Even though our beef packages are based "freezer" weight we have added pricing on our website 3T Ranch Beef Price List that shows prices for both methods "freezer" and "hanging" weights.
Hopefully this information is helpful, but as always, please drop us a line if you have questions! 3tranchcolorado@gmail.com
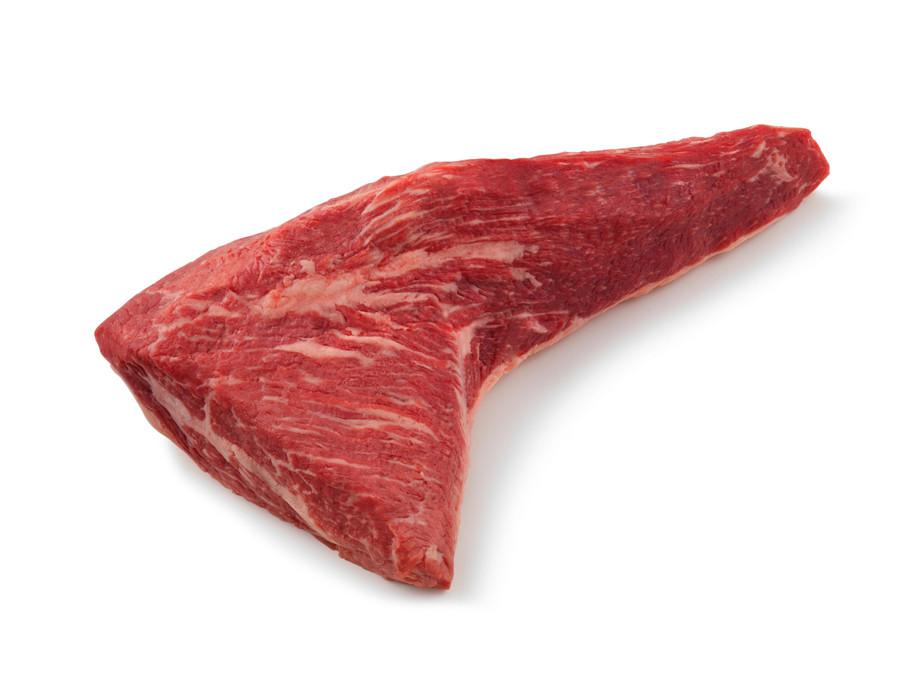
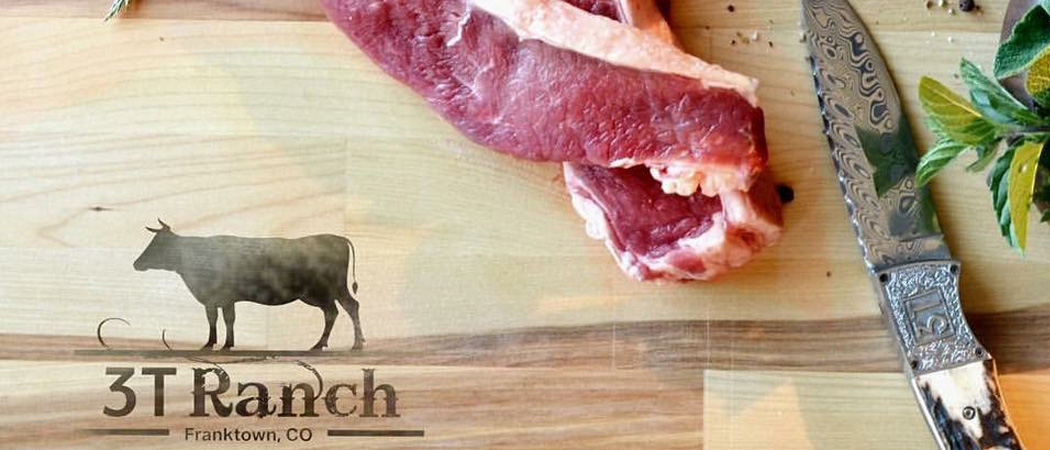
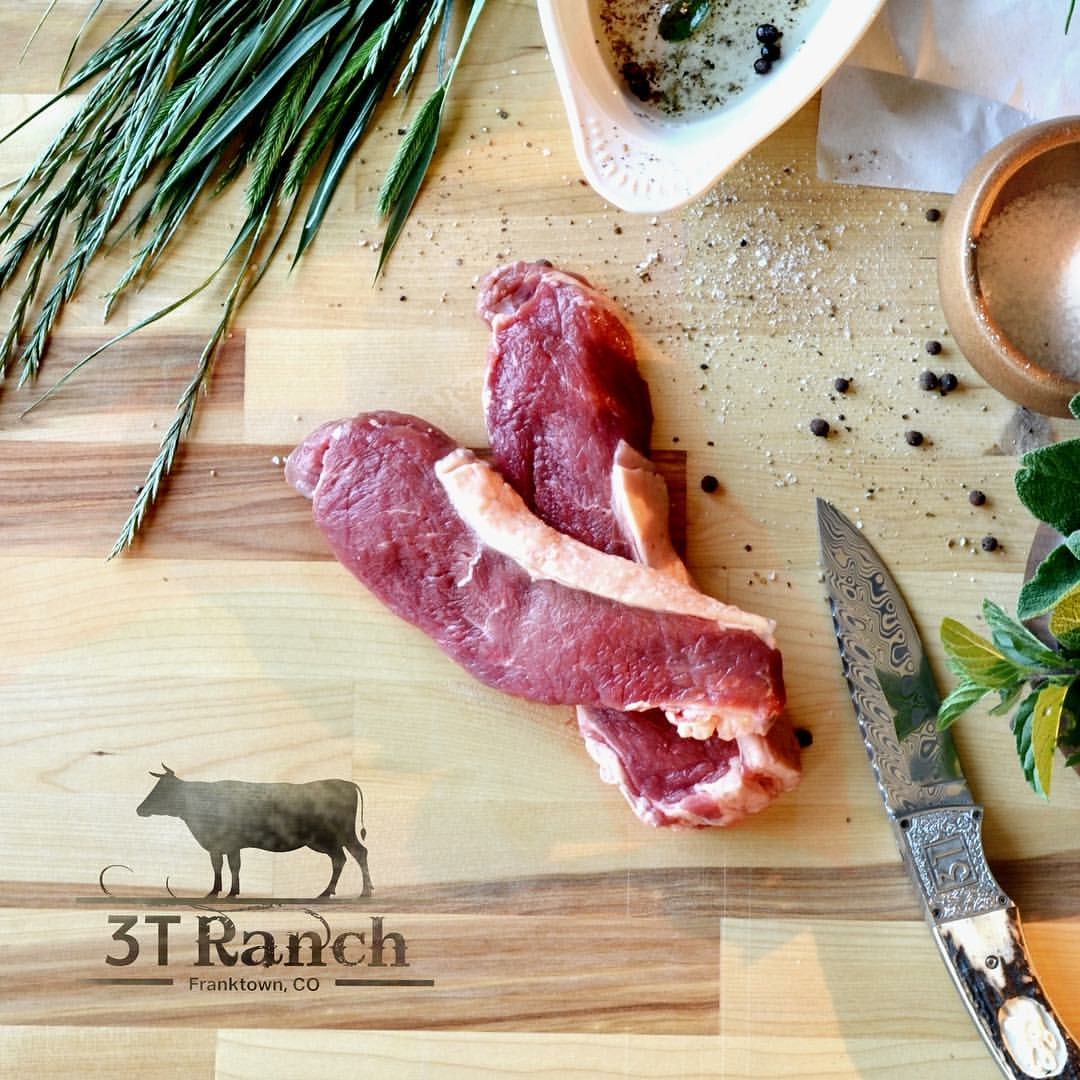
Smoked Tri-Tip Roast
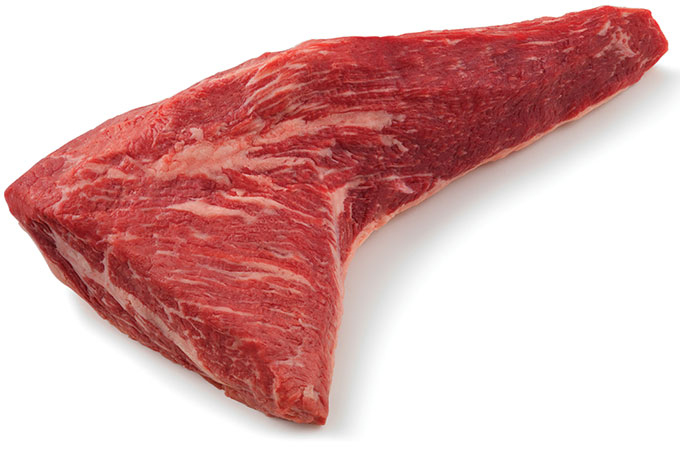
I have been trying to take a picture of the smoked Tri-Tip Roast the whole summer, but still no luck. The moment the meat is ready to be served it is gone in minutes! It is that good! The Cowboss smoked the roast this past weekend for our monthly BBQ with our friends. It was a hit.
I have used Chicago Steak Seasoning from Weber, but you can use any dry rub you like. Bring the roast to room temperature, let it sit on the counter for at least 30 minutes.
Here are the smoker directions from the Cowboss:
- I like to get my smoker going at about 225 and I use a combination of hardwood lump charcoal and walnut chunks for the fuel. A meat thermometer is handy to have as well. I put it right on the grill of the smoker and let it go for about 3 hours and let it get to 155 or so for the inside temperature. Then, wrap it in a foil and put it back on for another two hours, keeping the heat still at 225. That helps soften and slow cook the meat without getting it dry. It’s a lean cut, so the foil keeps the juices in while you’re finishing the smoke. The times vary depending on the size of your roast, I usually do about a 2.5 pounder. Let it rest for a few minutes when it’s done and then you’re all set for a wonderful Tri-Tip roast. Done right and you can eat the slices with just a fork, no knife. Enjoy!

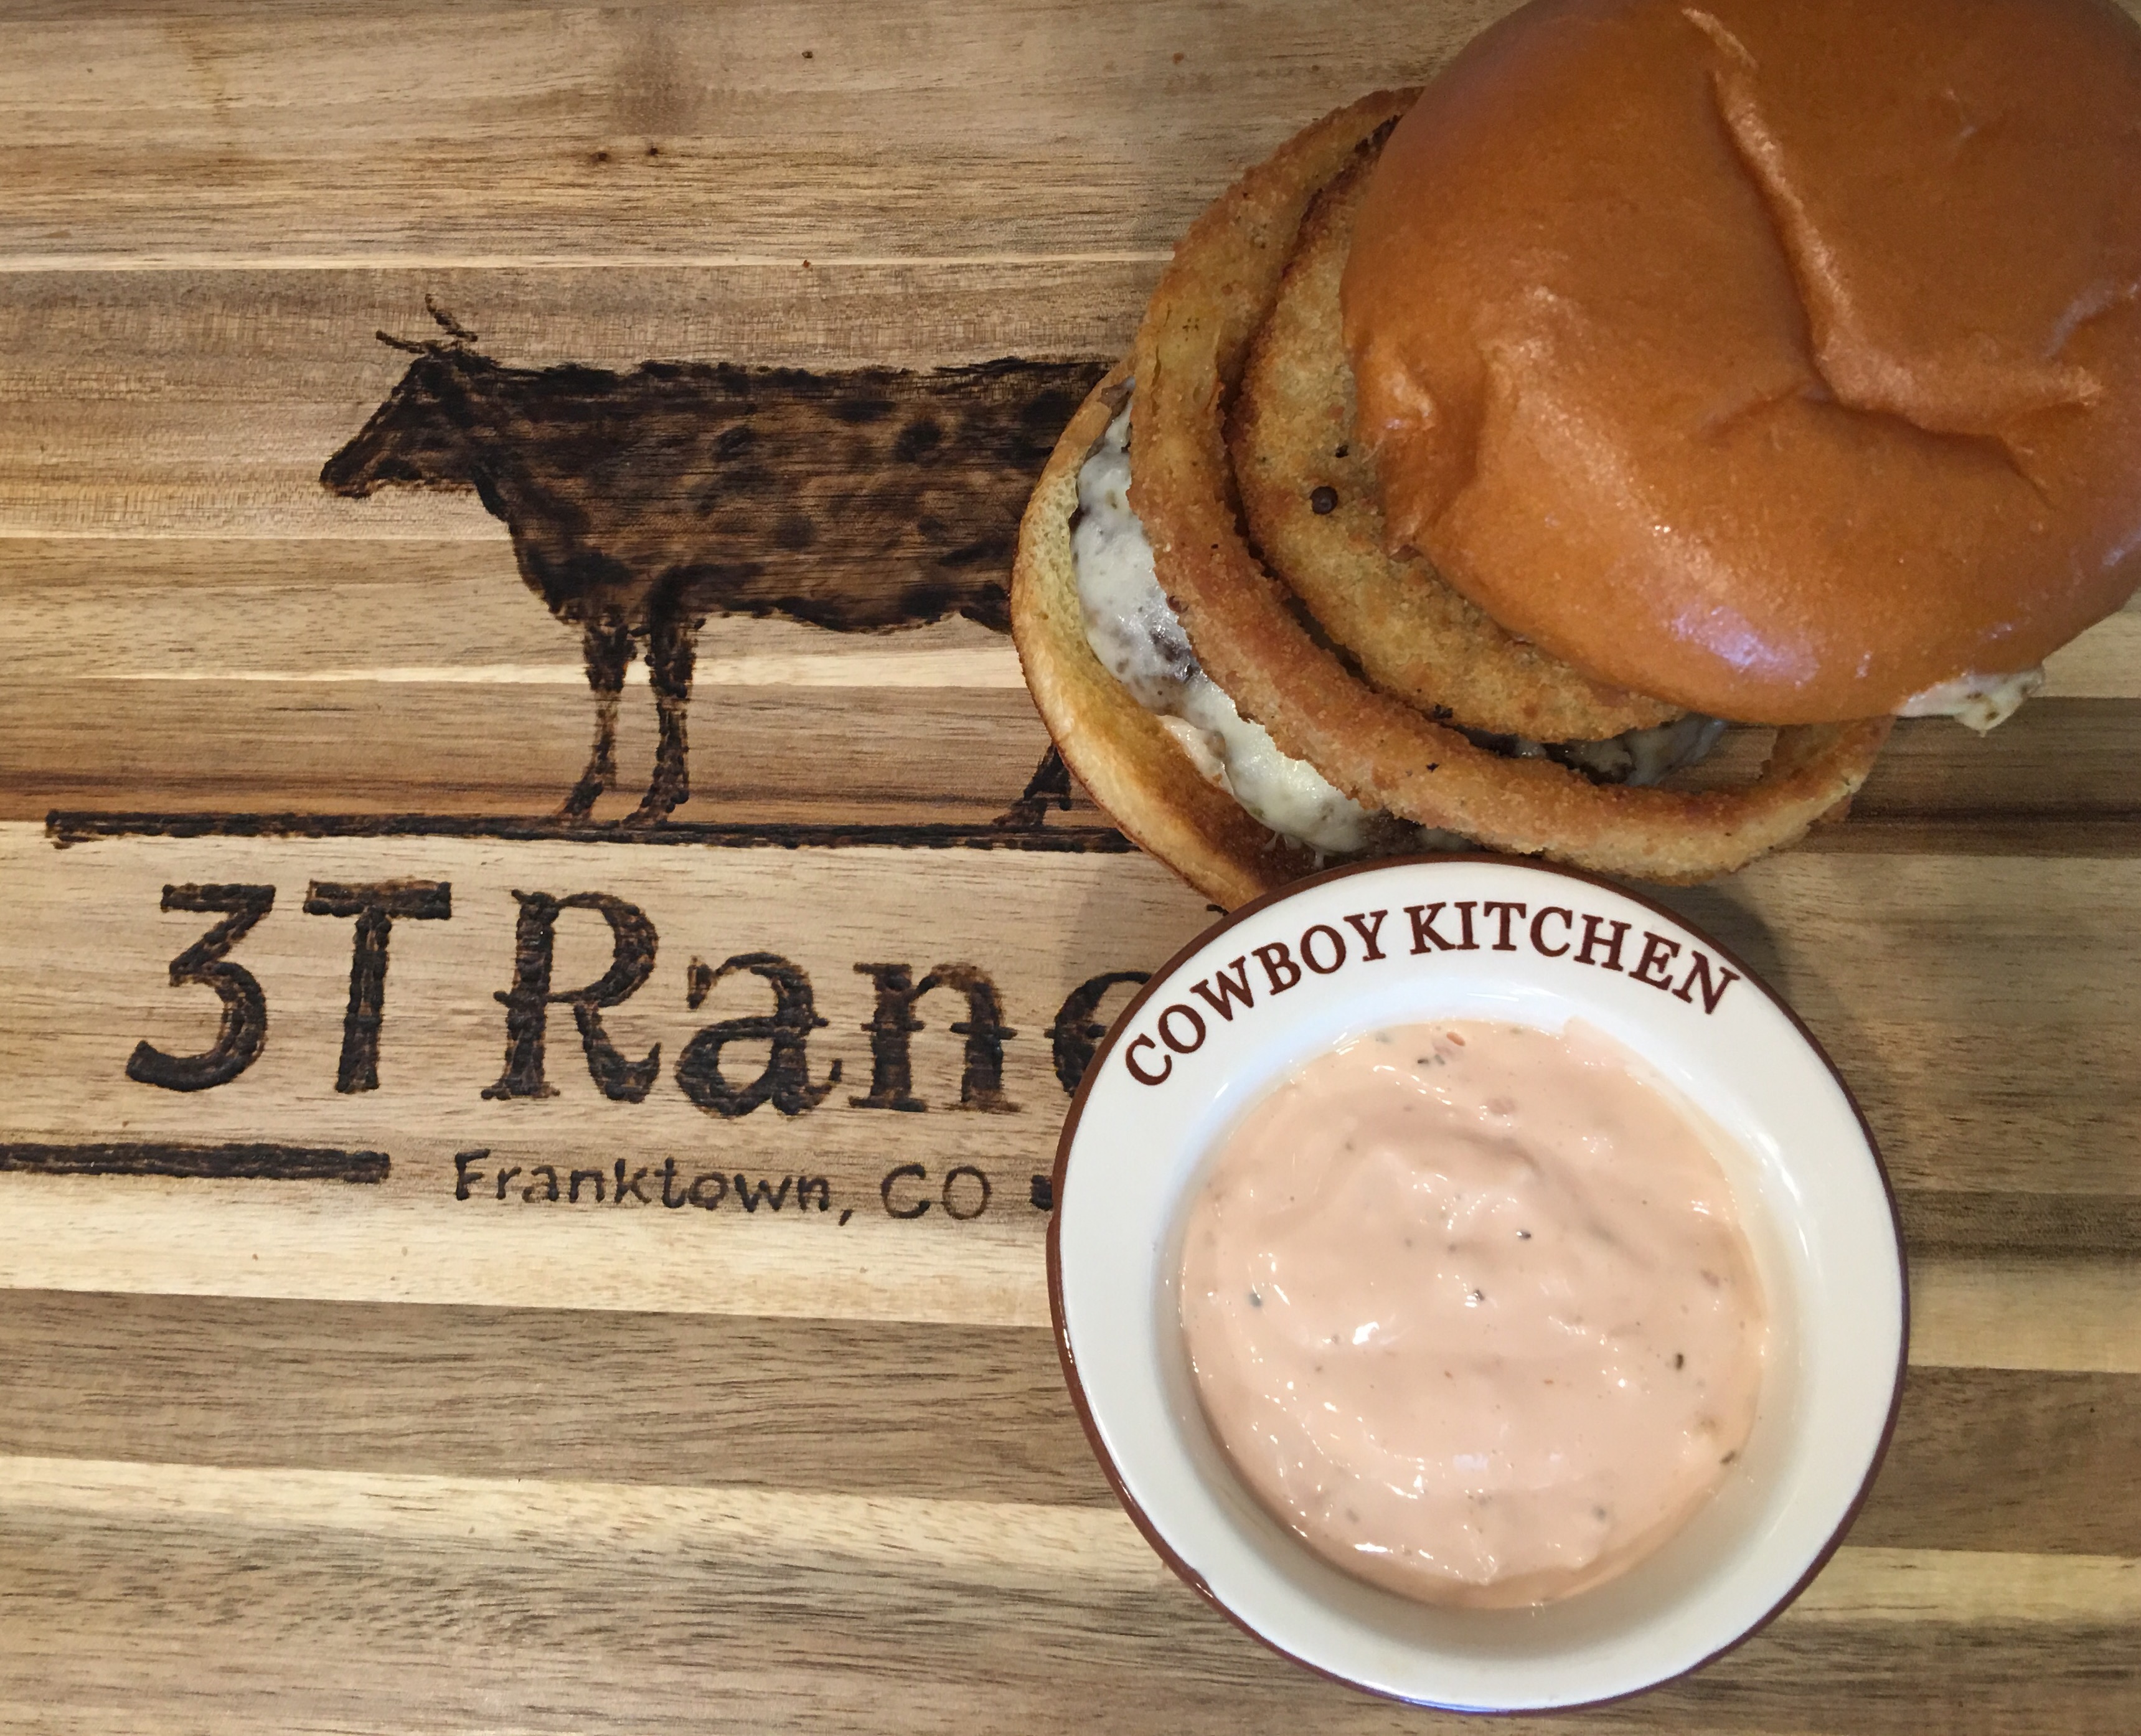
Euro Cheeseburger
 It's a nice cool evening outside, the sun is not beating on us and the cowboys didn't spend all day working outside. That means I got them to eat outside! This is a big deal at our house. The cowboys spend a lot of time outside fixing the fence, gathering cows or whatever needs to be done that day. They do it in all weather conditions, sunny, windy, hot, freezing, snowy, you name it. So, the last thing they want to do is to eat dinner outside. But, not tonight!
On evenings like tonight, we like to fire up the grill and cook some cheeseburgers. Guacamole and bacon are always great choices to go along with the burgers, but I wanted to change it up a little. I have found European Brioche Buns at the store the other day and wanted to make a tasty euro sauce to go with it. I know us Euros can be sometimes little funny, like eating French fries with mayo, but this is not the case. This pow wow sauce is just the perfect match for grassfed/grass finished beef.
Ingredients:
- 1/4 mayo
- 1 tablespoon ketchup
- 3-4 garlic cloves minced
- 1 teaspoon lemon juice
- 1/4 teaspoon salt
- 1/4 teaspoon pepper
I would guess, you probably have all of the ingredients.
Give it a try!
Dobrou chut!
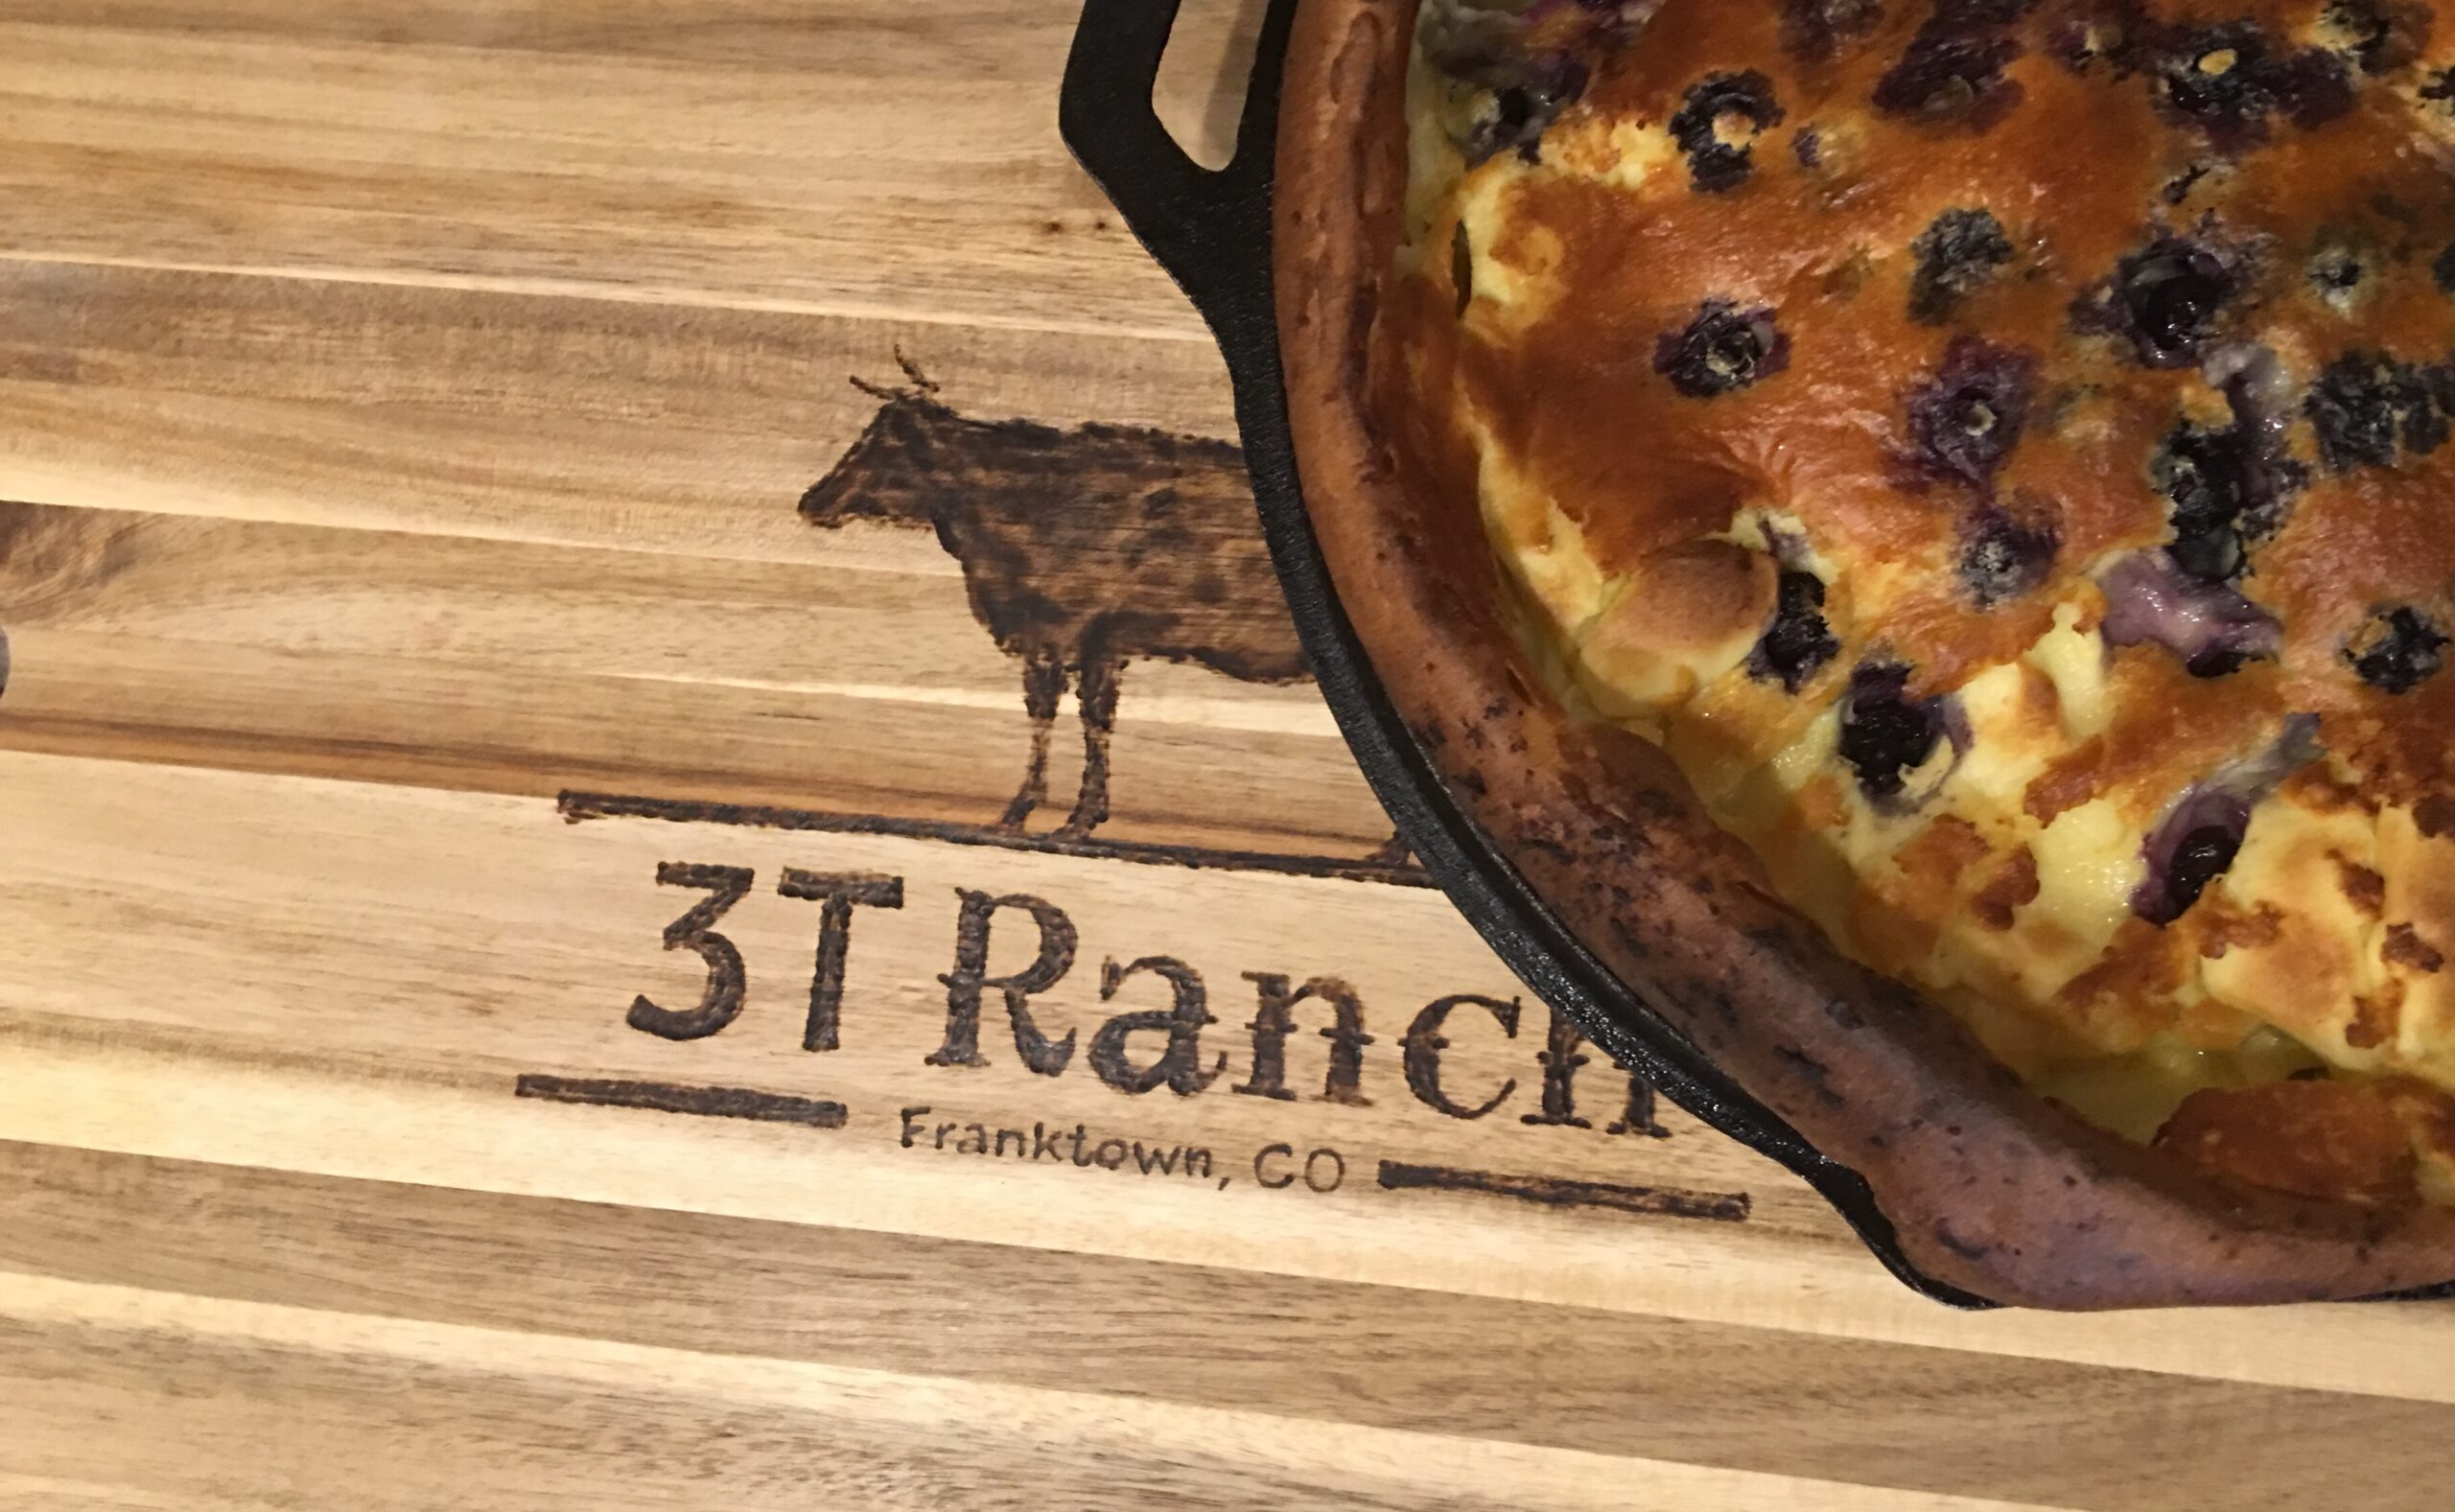
Yay Baby! It's a Dutch Baby!


This was a huge success this morning. We are early risers and a big 3T breakfast is a must on our outfit. You might miss lunch sometimes, especially, if your neighbor's 10 steers decide to visit your pasture and don't want to leave. "Hey, grass is always greener on the other side of the fence. ;)" The cows always want to prove this saying.
We have been trying to cut down on butter, sugar and rich foods and so far so good. This dutch baby recipe called for 1/4 cup of butter and 1/4 cup of sugar. I don't think so. If I would feed this to my guys, they would load up on sugar and be hungry in a couple of hours.
So, here is our version of this recipe. I have served this dutch baby with scrambled eggs and peppers, both from our outfit.
Ingredients:
- 4 eggs
- 1 cup of milk
- 1 1/2 teaspoons freshly grated lemon zest
- 1 teaspoon vanilla
- 1/2 cup flour
- 2 tablespoons sugar
- 2 tablespoons canola oil
- 1/2 teaspoon salt
- 1/2 cup fresh blueberries
Directions:
- Preheat the oven to 425 degrees. At the same time put in your large cast iron skillet to heat up.
- In a blender combine together: eggs, milk, zest, vanilla until smooth
- Add flour, sugar and salt, whisk again for about 30 seconds on high.
- Carefully pour oil into the hot skillet and put it in the oven for another 30 seconds.
- Take out the skillet and carefully pour the batter into it.
- Spread out blueberries.
- Bake for about 22 minutes.
- Serve right away. No need for sugar or syrup. It is delicious on its own!
Dobrou Chut!

Crisis turned into one heck of a tasty dinner! 1)good story, 2)tasty recipe 3)defrosting and cooking tips!

We are counting down the days for our next round of beef sales. Customers come first "they say" and it is true at the 3T Ranch. Beef orders from our customers are fulfilled first and the 3T crew's beef package is typically last one in the freezer. I opened the freezer today and realized we were out of ground beef. I'm a big "week ahead meal planner" and cheeseburgers were on the menu. Hmm.. let's try quickly to come up with plan B while the two small kids are still napping.
Let me tell you, it is hard to cook holding "two babies". That is our daughter's favorite saying these days after she wakes up from her nap. "Mommy, two babies", which means she wants to be picked up and snuggled along side our littlest cowboy. I love that time with our kiddos, they are both still waking up from their naps and want some snuggles, but it doesn't last long before they turned into little tornadoes. I needed to seize the situation!
I guess one good thing about running low on beef is that you don't have to dig through your freezer to see what cuts you have. (Will talk freezer organization soon, I promise)! Roast can be grinned up into ground beef. I have found my winner, chuck roast it is! You would be surprised, but it really doesn't take long to defrost the beef. 1) unwrap the meat from the butcher's plastic and paper 2) put it into a ziplock bag and squeeze out the air 3)put it into a sink filled with cold water. 4) flip the roast in the water every 20 minutes. My beef was defrosted in less than an hour.
I love love my KitchenAid, I use it every day. I use it so much that my Cowboss bought me a new one to replace my "rusty old mixer". I had the chuck roast grind up in now time without any mess or extra trips to the grocery stores.


Tips for tasty cheeseburgers: 1 pound of 3T ground beef, 1 teaspoon of salt, 1/2 teaspoon of black pepper and 1 tablespoon of dijon mustard. The mustard really makes it!
Healthy version of mashed potatoes: Your choice of potatoes, 2 teaspoons of Lowry's seasoning salt, 1 teaspoon of garlic and pepper seasoning and 1/2 tablespoon of caraway seeds. Trust me, it just works with the potatoes. Make sure to include all of the seasonings while you are boiling the potatoes. When the taters are done, save about 1/2 cup of the liquid. I have used my KitchenAid to whip the potatoes and slowly included the 1/2 of the liquid. The potatoes don't need any milk or butter. No extra calories and you are not scarifying the taste.
I hope you will try the recipe as well as our beef!
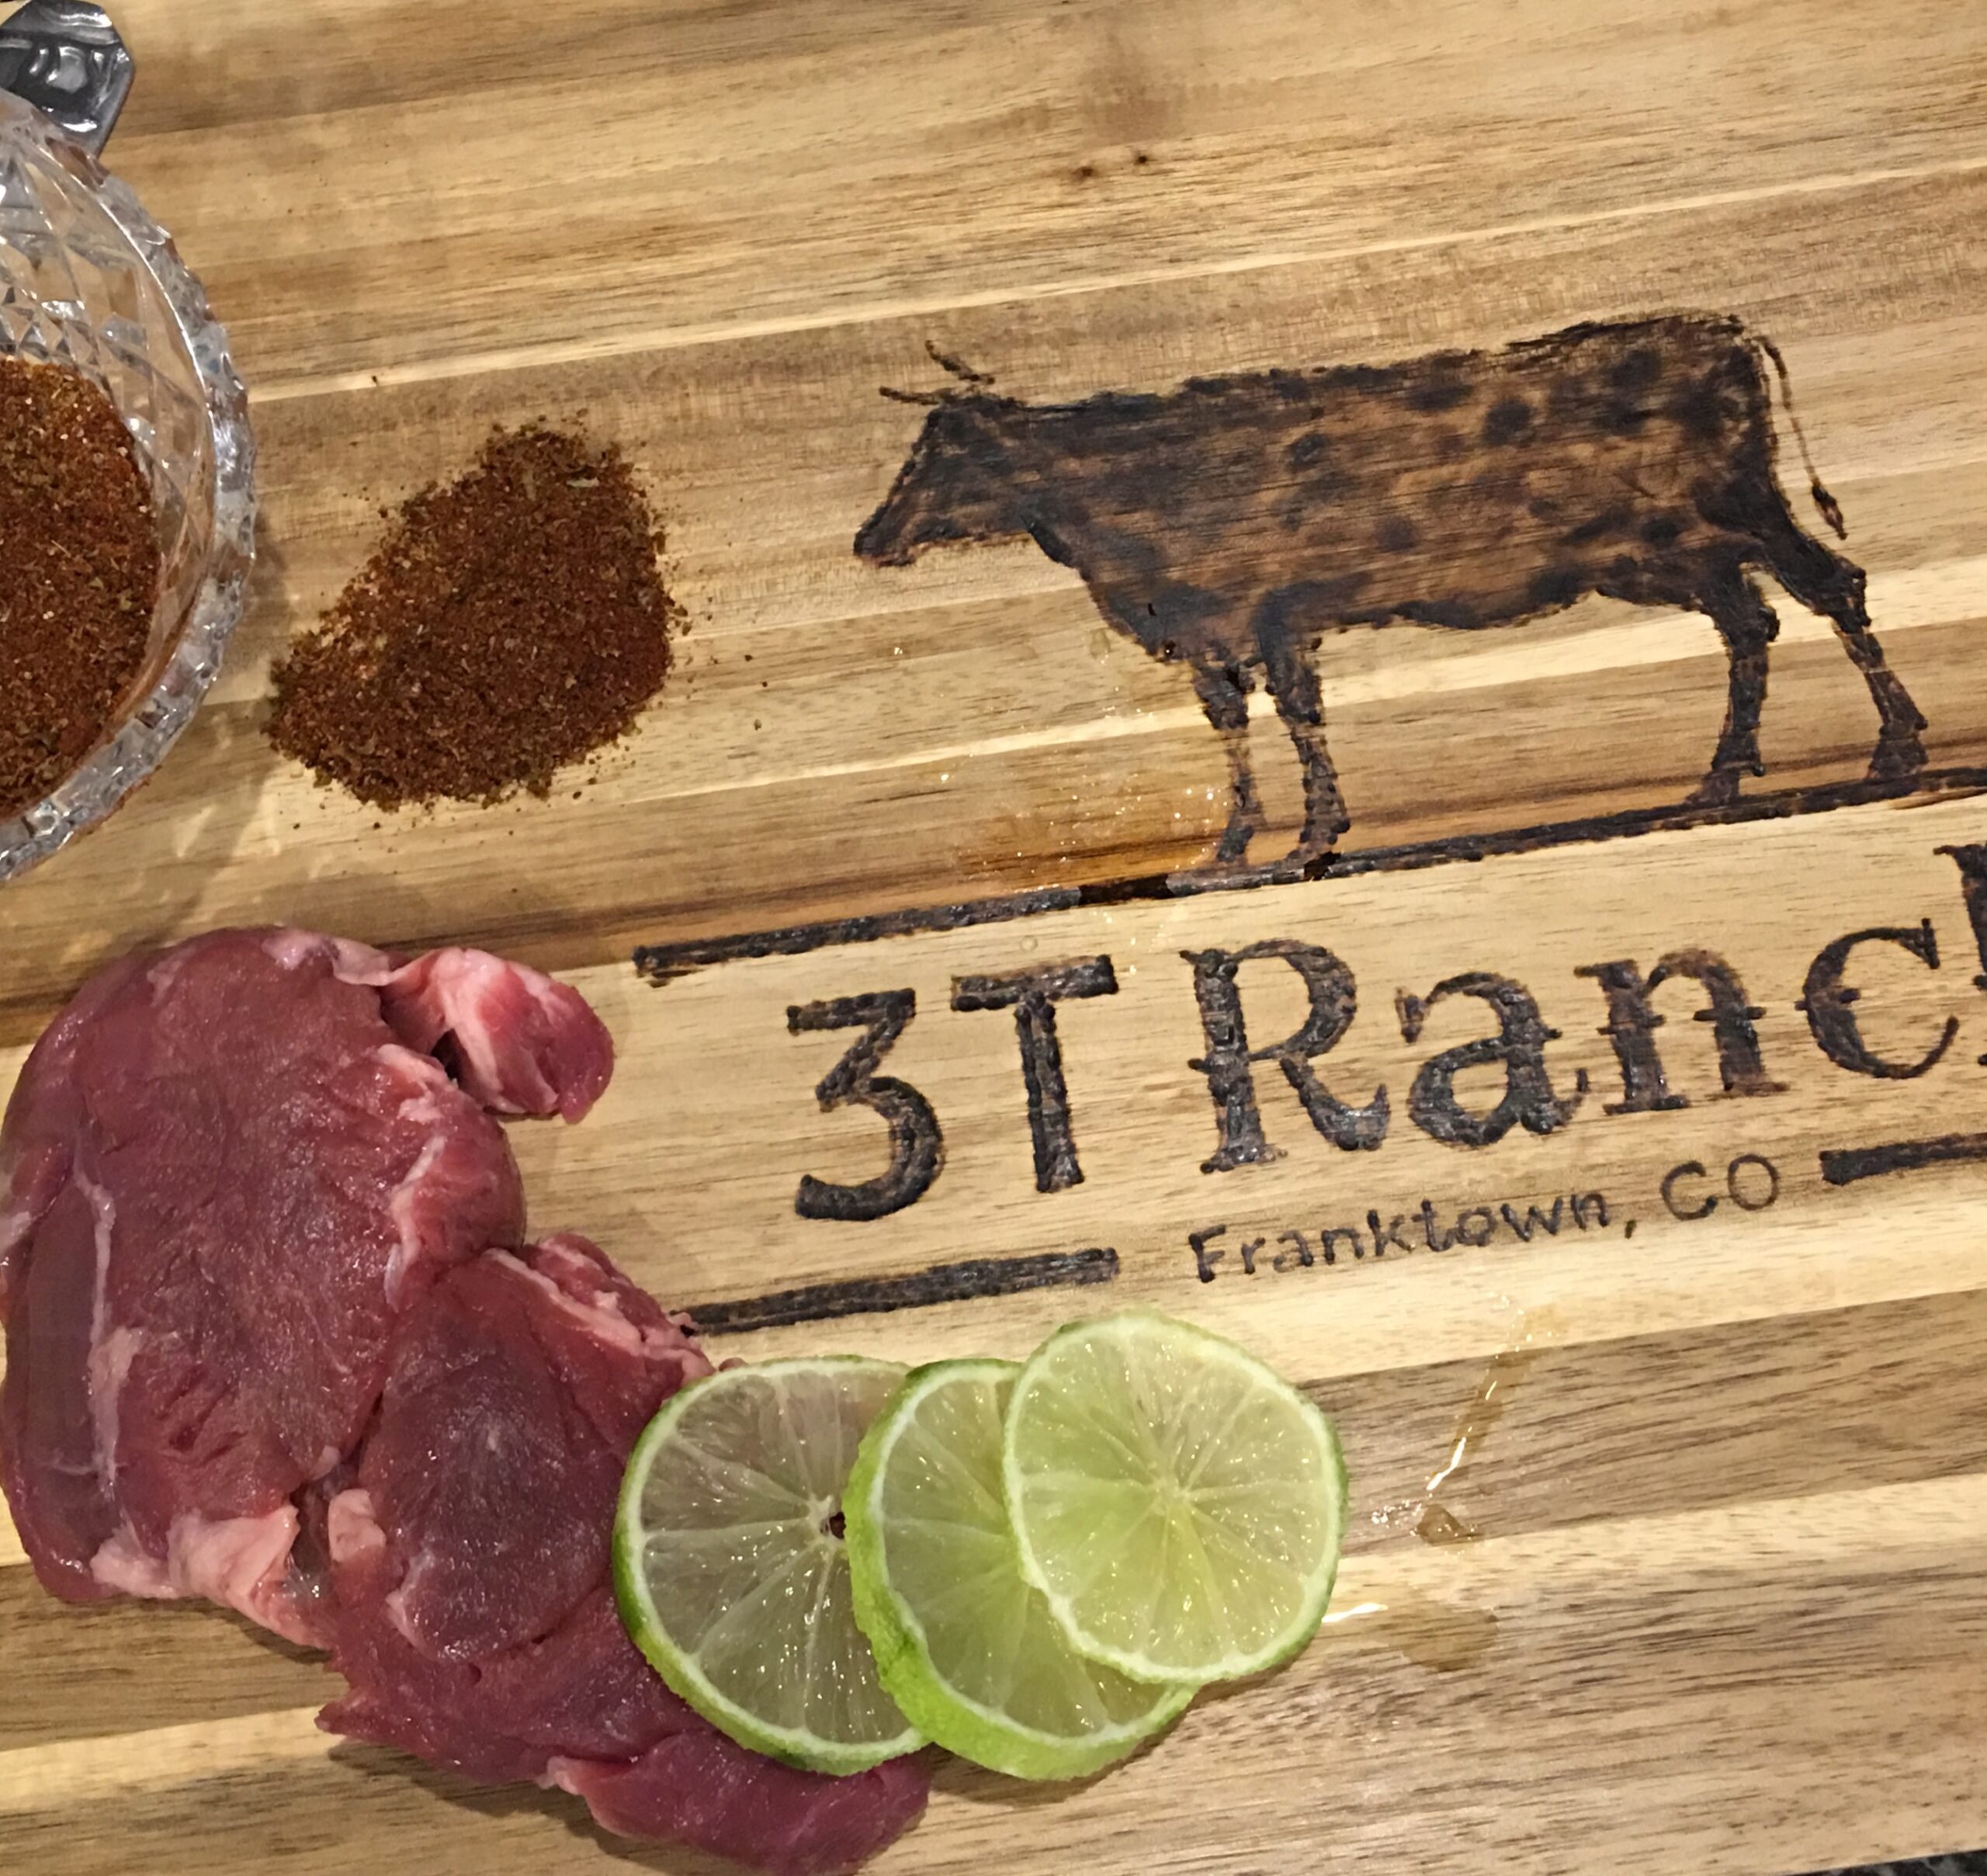
Summer Steak Dry Rub

We are right in the middle of the grilling season and I wanted to share with you our new favorite dry rub. It is tasty on all steak cuts, the citrus in this recipe is a nice refreshing touch. I have found that many dry rubs included sugar or brown sugar. Stay away from that sweetness! Sugar burns and you are left with a charred taste on the steak. The rub doesn't need any sugar. The flavor of the beef and the spices are the perfect match.
Ingredients:
- zest of 1 lime
- 1 tablespoon chili powder
- 1 teaspoon cumin
- 1 teaspoon chipotle chili powder
- 1/2 teaspoon salt
- 1/4 teaspoon pepper
Few things to remember when cooking beef:
- Beef should be room temperature. Take the beef out of the fridge 30 minutes prior to cooking and rub that tasty seasoning mix on the meat.
- Let the meat rest after cooking. Don't cut in to the beef right away.

Upside-down Cheesesteak Sandwich

Ever had a soggy cheesesteak sandwich? Not on this outfit! The key to a crispy roll is to broil your bun, melt the cheese, then loan up with veggies and steak. You will be surprised how easy and fast this recipe is!
Ingredients:
- 3T Ranch steak - sirloin and flat iron steak are good choices - thinly sliced
- Salt and pepper to taste or your favorite steak seasoning (3T steak is plenty of flavorful on its own). I have only used salt and pepper.
- 1/2 thinly sliced onion
- 1 thingy sliced green pepper
- Pepper Jack cheese
- Hoagie rolls
- Arugula
- Onion rings or fries
- Canola oil
Directions:
- I found that the best way to cook thinly sliced 3T meat for this dish is in my wok pan, but you can certainly use a cast iron skillet as well.
- Get all of your prep-work done ahead of time. Slice your veggies, cheese and meat. While the pan is heating up. Keep your thinly sliced beef on a paper towel. I like the meat to get air dried a little bit. You don't want to steam your meat. The meat should be dry before hitting the pan.
- Coat your pan with canola oil and sauté your veggies. Once they are done, keep them warm on a cookie sheet in the oven. I keep the oven about 250 degrees.
- Wipe the pan dry, coat your pan once more with the canola oil and let it heat up again.
- I did my meat in batches, again you don't want to steam up your meat by overcrowding the pan. Single layer for the meat. It literary took 30 seconds on each side for the beef to cook. Put meat in the oven to keep warm and continue with your meat batches until done.
- Now, it is time to broil your buns, then put two cheese slices on each of the buns and melt it in the oven. Sequencing is a key with this dish. You don't want to serve a cold cheesesteak sandwich. I even heated up my plates in the oven. It sure helps to keep the meal warm.
- Take the meat out of the oven and chop it up into small pieces. You can see it in the picture. I find it easier to eat it. Not as messy!
- Time to assemble. Veggies and meat go on top of the bun with the melted cheese. This really prevents the sogginess.
- Little bit of arugula on the top. The pepper taste of the greens pairs nicely with the beef.
- Serve with onion rings or fries!
Dobrou chut!
3T Ranch Reaches 100 Cows!


The 3T Ranch has reached a huge milestone this week. Our 100th cow was born during a sunny morning earlier this week. We have had a decent amount of rain and hail, yet this little creature waited for the sun to shine through and then arrive. Mama aka "Milk Mustache" (she is all black except her white mustache) and the baby are doing just fine and have already re-joined the herd.
The Cowboss and I have started 3T Ranch about five and half years ago with 10 cows and always dreamed of having 100. Sometime people take the words "hard work pays off" for granted, but it has sure worked for us. I can't tell you how many times the boys had to feed the cows in a snowstorm with their ski goggles on, so they can see at least a couple inches in front of them or when the Cowboss spent hours with first-time mama to help her through the delivery or when they had to fix fence in the beaming sun.. Yet, we wouldn't have it any other way, our work is so rewarding.
We would like to say a HUGE Thank You to all of our customers who support us, watch us grow and appreciate all the work that goes into our style of ranching.
Italian Beef Sandwiches


I have been searching for new recipes to add to our "staples dinner list" and came across these Italian Beef Sandwiches. Our family loves roast, our favorite is smoke roast of any kind. The Cowboss does an excellent job smoking our beef, but I have to say these Italian Beef Sandwiches come as very close second! Plus it can't get any easier to make them.
Ingredients:
- 3 lbs 3T Ranch beef roast (any type of roast will be do just fine)
- 1 packet of Zesty Italian Dressing Seasoning
- 1 cup water
- 16 ounce jar banana peppers or 1/2 of the banana peppers jar and whole jar of red roasted peppers
- Sandwich rolls
- Pepper Jack Cheese
Directions:
- Place roast into the crockpot, sprinkle the seasoning and pour the entire jar of banana peppers including the liquid over the meat.
- Cover and cook on low for 4 hours.
- Pour in 1 cup of water.
- Cover and cook for another 4 hours. I find that our meat likes the low temperatures better.
- Shred the meat with forks and place onto broiled sandwich rolls. As you can see in my pictures, I have put the cheese on top of the meat and put it into the oven for a couple of minutes to melt it. My Cowboss had a good idea.. Broil the rolls and melt the cheese and then put the meat on the bun. Extra layer to prevent a soggy bun.
Have to give credit to Buns in My Oven website for this wonderful recipe. It is a winner.
Dobrou chut!
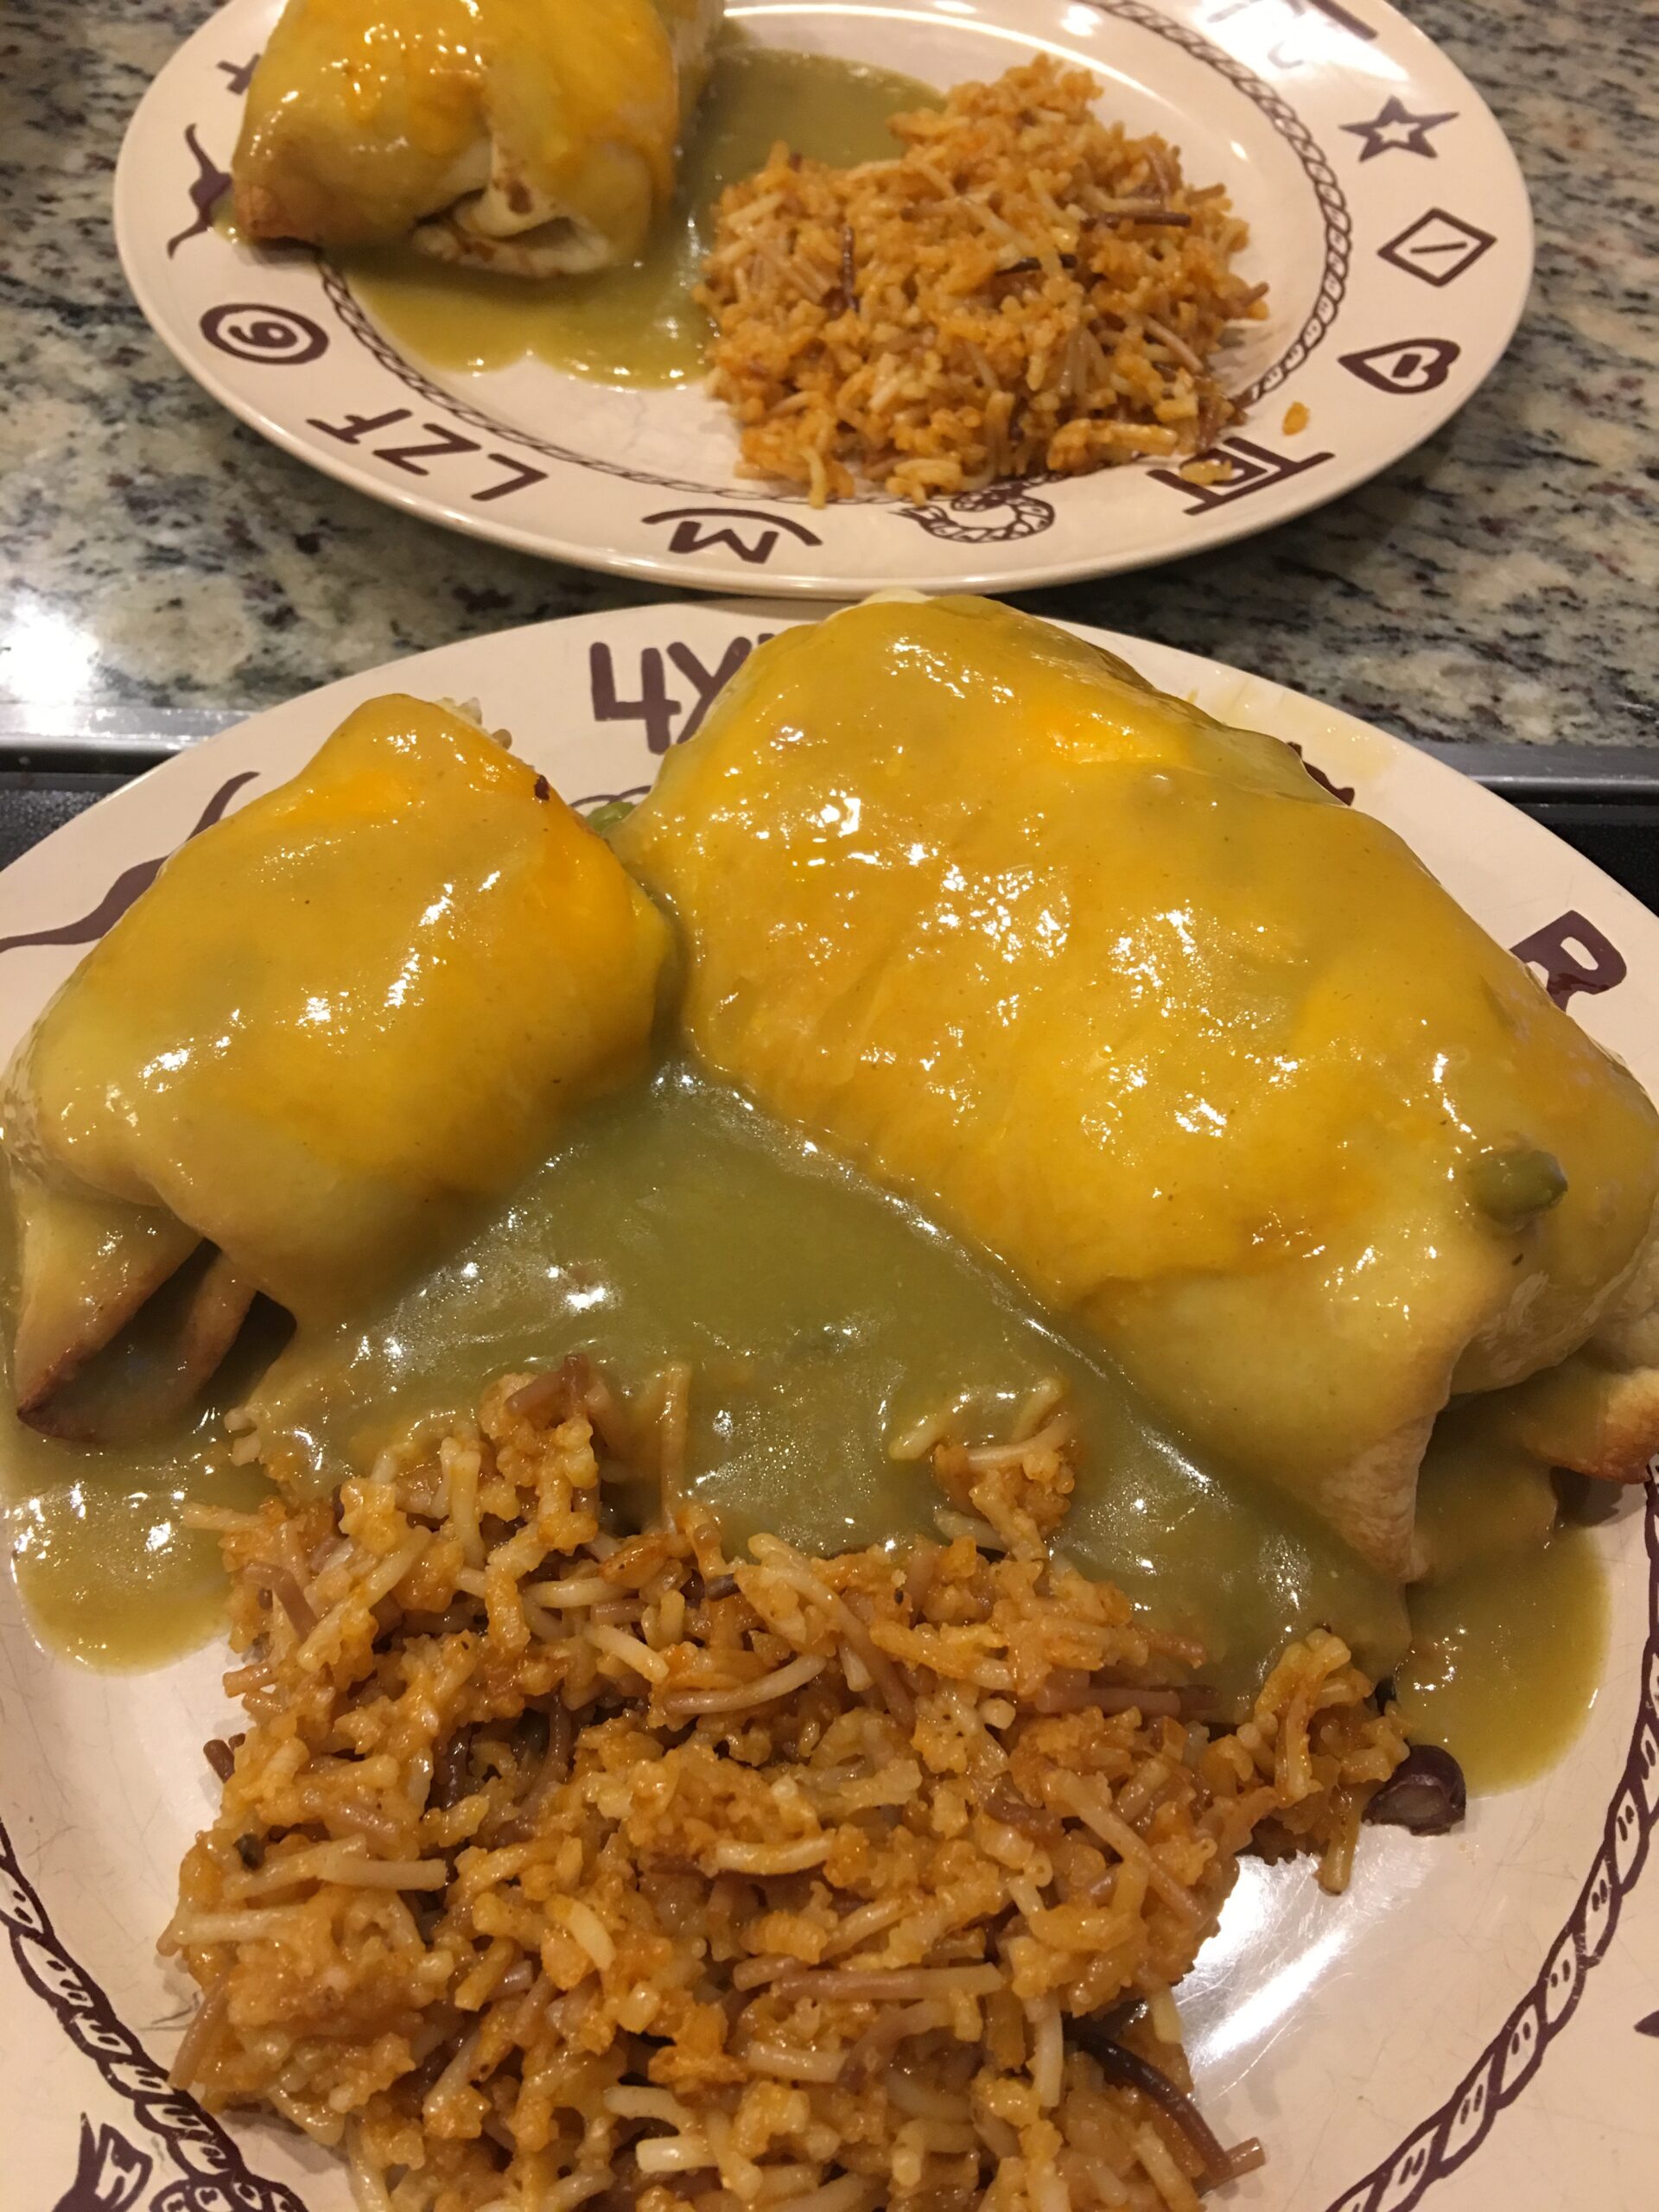
Baked Ground Beef Chimichangas
 Mexican cuisine is always a hit at our home, but I thought I would change up our ground beef burritos into chimichangas.
Chimichangas are basically fried burritos, but we are watching what we eat. Grassfed/grass finished beef is so good for you and you don't want to ruin your healthy meal by frying everything. So, I decided to baked my chimichangas and it was a hit. The burritos got nice and crisp .
Here is the recipe:
Ingredients:
- 1 lb 3T Ranch ground beef
- 1/2 onion - small dice
- 1 bell pepper - small dice
- 1 teaspoon cumin
- 1teaspoon chili powder
- 1 teaspoon garlic powder
- Salt and pepper to taste
- 1 can green chili sauce or green chili enchilada sauce
- 5 flour tortillas
- Spanish rice (I have used the box, but you can certainly make it from scratch)
- 1 cup shredded cheddar
- Canola oil in a spray
- 1 tablespoon chopped up cilantro
Directions:
- Saute onions and peppers in a cast iron skillet until translucent. Set aside.
- Cook your ground beef with cumin, chili powder, garlic powder, salt and pepper.
- Mix peppers and onions with the ground beef along with the shredded cheddar cheese.
- Heat your oven to 375 degrees.
- Spray your cookie sheet with the canola oil.
- Steam your flour tortillas in the microwave. Make sure to put a wet towel over your tortillas and microwave for about a minute. This way, your tortillas will be easy to roll up.
- Divide the meat mixture onto the five tortillas. Here is a quick way to roll them up.
- Put the burritos onto the cookie sheet and spray with the canola oil.
- Bake for about 20 minutes and broil for about 2-3 minutes.
- Your chimichangas are nice and crisp!
- Heat up your green chili sauce or green chili enchilada sauce over your chimichangas.
- Serve with rice, avocado and salsa.
Dobrou chut!