
3T Sloppy Joes - Kids Favorite!
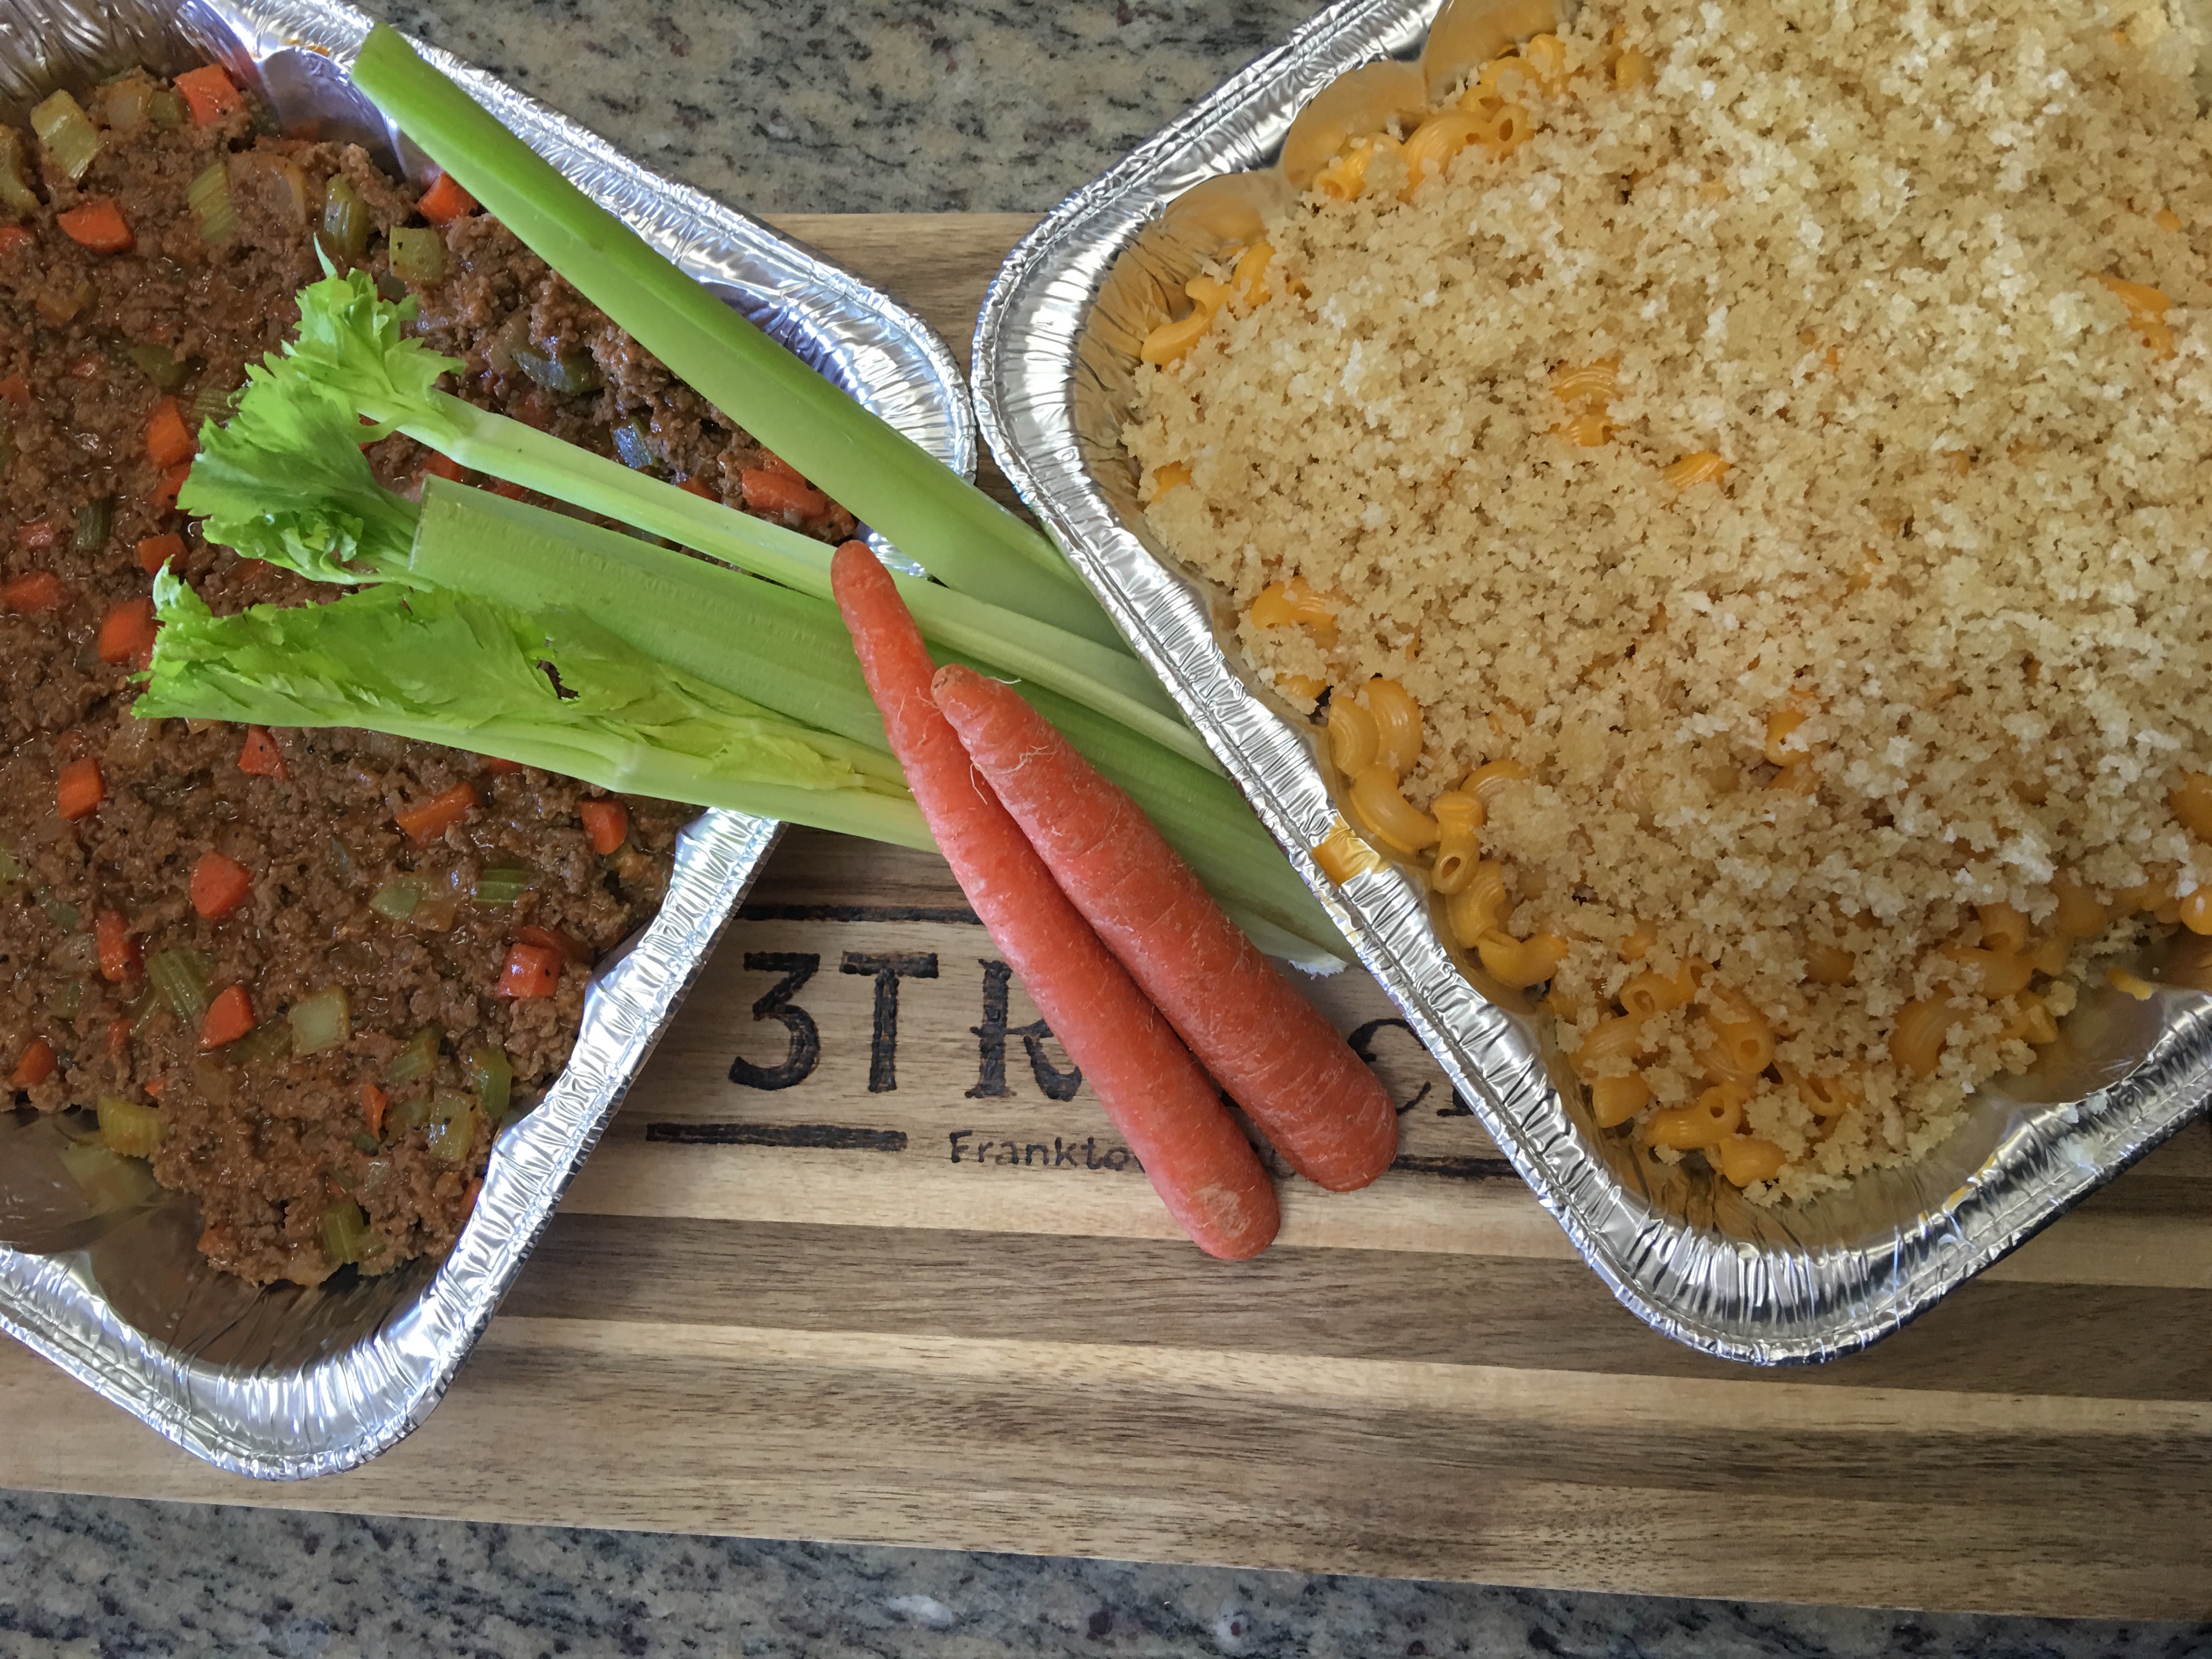
This recipe is so good that I have made it twice in two days. It is a hit with adults and children. I have made the first batch for a fun nail party my friend invited us to. Doing your nails is a lot of work and the ladies enjoyed a small slider Sloppy Joes treat afterwards. My second batch was for my friend who just had her third baby girl. I love my MOPS mamas, what a great way to connect with other moms in the area and make life long friends. Our family has sure appreciated when our friends showed up with a warm meal when our children were babies. The Cowboss didn't have to cook for weeks even though he was on the cooking duties, so I could tend to our little rascals. I'm always happy to bring a meal to a friend and check out their new bundle of joy.
Sloppy Joes on a toasted bun is always a winner of a dinner. Our two little guys are not that coordinated yet to eat the Sloppy Joes on a bun, so I mix up the cooked beef mixture in their homemade mac and cheese. They can "skillfully" work the fork. ;)
Ingredients:
- 2 lbs 3T ground beef
- 2 cups chopped up celery or green peppers are great as well
- 1 cup chopped up onion
- 1 cup chopped up carrots
- 1 teaspoon salt
- 1 teaspoon pepper
- 1 tablespoon ground mustard
- 1 tablespoon garlic powder
- 1/2 tablespoon Lowry's Garlic Pepper Seasoning (optional, this is our 3T staple seasoning)
- 2 tablespoons of yellow mustard
- 1 cup ketchup
- 1 to 2 tablespoons brown sugar (Taste it first after the first tablespoon. We have liked the savory version with just one tablespoon, but some people like the sweeter version)
- 1 teaspoon Worcestershire Sauce
- 2 - 3 tablespoons Canola oil
Directions.
- Cut up your veggies.
- Heat up your good size pot and put in 2 tablespoon of oil.
- Saute veggies for about 5-10 minutes.
- Include the another tablespoon of oil and stir in the ground beef. Stir for 5 minutes.
- Time to put in the seasoning - salt, pepper, ground mustard, garlic powder, Lowry's, yellow mustard, ketchup, sugar and Worcestershire Sauce.
- Stir to combine all of the ingredients and let it cook for another 10 minutes. Keep stirring.
- Time to serve it up on a toasted bun with homemade mac and cheese.
How easy wast that?! Dobrou chut!

Even the Smallest Ranch Hands Check the Cows - Swedish Meatballs


Every afternoon after their nap time, the kids and I venture outside to look for our yearlings. Our family likes schedule and know what comes next. You would be surprised, but the cows are predictable as well. Every afternoon around 3:00 PM, the yearlings come to water and then head to the north side of the property. Perfect timing to check out the young steers and heifers. I think Junior's first word was "moo", not mama or dada. That little guy sure loves his cows.
The afternoon outings keep us busy, the kids get some fresh air and explore the surrounding, including being curious about dry cow pies. Don't get me even started on that one! By the time we get home, we are ready to start our dinner routine.
A couple of nights ago I made Swedish Meatballs. It was easy and fast, so the little guys didn't lose their "cool" before dinner was served. The unique spices in the meatballs made it a nice change to the typical marinara meatballs.
Ingredients:
Meatballs
- 1 lb 3T ground beef
- 1/4 breadcrumbs (plain), panko also works great
- 1/4 teaspoon ground allspice (Don't overdo it with this spice, it is crucial to the recipe, but it can also overpower it. Measure for sure, don't eyeball it).
- 1/4 teaspoon ground nutmeg
- 1/4 teaspoon garlic powder
- 1/4 teaspoon black pepper
- 1/2 teaspoon salt
- 1 egg
- 1 tablespoon finely chopped parsley
- 1/4 cup finely chopped onion
Sauce
- 2 tablespoons olive oil
- 2 tablespoons flour
- 2 cups beef broth
- 1 cup 2% milk
- 1 tablespoon grain mustard
- Salt and pepper to taste
- 1 tablespoon chopped parsley
- Lingonberry jam (Not a big deal, if you don't have it. It is a garnish).


Directions:
- Mix your meatball ingredients and heat up a large deep pan.
- Use a heaping tablespoon of the beef mixture to roll your meatballs.
- Put in oil in the pan and fry your meatballs on each side. They don't have to be cooked all the way through as you will finish the cooking process in the sauce. The meatballs need to have a nice crust on them.
- Take the meatballs out of the pan and start working on the sauce.
- Add a little bit of oil and stir in flour. Stir and let it cook for about 30 seconds. Slowly pour in the beef broth. Continue stirring, so you don't get lumps in the sauce.
- Add milk, mustard, salt and pepper.
- Let the sauce thicken while stirring for about 5 minutes.
- Put in meatballs and coat them in the sauce. Cook for another 5 minutes on low to medium heat.
- Right before serving stir in chopped up parsley.
- I have served the meatballs with mashed potatoes and green beens.
Tip: You don't have to use a lot of butter and cream to make tasty mashed potatoes. I have used only one tablespoon of grassfed butter and warm beef stock to make the potatoes creamy. The key point is the warm beef stock, it has to be warm. Salt, pepper and garlic/pepper seasoning is always a staple in the mashies.
Dobrou Chut!
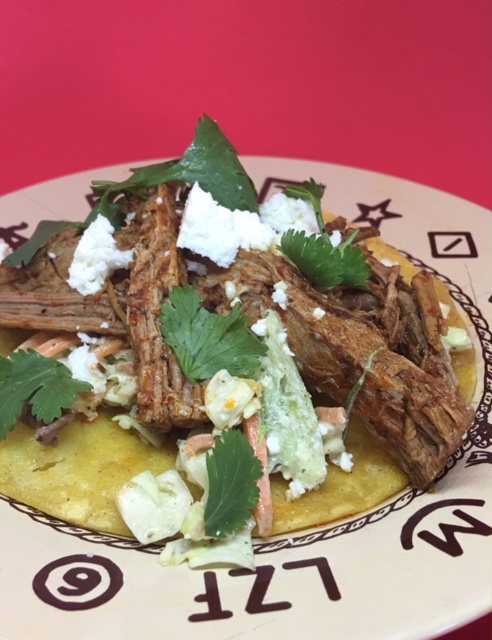
Mexican Beef Barbacoa - 3T Test Kitchen
I enjoy watching the FB cooking videos, it gives me ideas on what to cook for my family. Last weekend, I have seen a tasty looking Mexican Beef Barbacoa. Our family likes beef and we like Mexican food, so I had to try it out. It came out delish and it is definitely on our dinner rotation list! I have made a few tweaks to suit our family's taste buds, but the core of the recipe was awesome. My Cowboss is on a roll to decrease the amount of sugar we eat, so I have omitted the sugar in this recipe all together.
Here is the link to the original recipe and below you can find our tweaks and tips!
Ingredients:
- 4 Chile De Ristra (mild) - dry chile peppers - The original recipe calls for a couple of different chile peppers, but I was only able to find Chile De Ristra at our grocery store. It was a great substitution. (soaked, stemmed and seeded)
- 1 (3 lb) beef chuck roast - I have used Eye of the Round Roast - this type of roast is very lean and great for this recipe as it has to cook for some time.
- Salt and Pepper
- 4 tablespoons olive oil, divided
- 1 chipotle in adobo
- 6 garlic cloves, minced
- 1 tablespoon cider vinegar
- 1 tablespoon salt
- 1/2 tablespoon pepper
- 1 tablespoon dried oregano
- 1/2 tablespoon ground cinnamon - I have increased the amount of the spices. You need flavor, don't be afraid of it!
- 1/2 cup water - I have used the water that was left over from my Chile De Ristra soaking
Directions:
- Place dried peppers into a bowl or jar and fill with water until covered. Soak for 20 minutes until softened.
- Bring the roast to room temperature - about 30 minutes. Season roast with salt and pepper. Heat a large cast iron pot over high heat. Add in 2 tablespoons olive oil. Sear roast on all sides. Once seared, remove pot from heat and set aside.
- In a blender, add in Chile De Ristra peppers, chipotle, garlic, cider vinegar, salt, oregano, cinnamon, remaining 2 tablespoons olive oil, and water. Blend until smooth, adding more water if necessary to thin it out enough to blend.
- Pour sauce over chuck roast in the crock pot or insta pot. See specific directions for the crock pot or insta pot below.
- Shred and serve. If you are using Eye of the Round Roast - thinly slice the meat after you are done cooking the beef and put back into the sauce. The beef will absorb a good amount of the sauce and it will be nice and tender.
INSTANT POT: 3T's preferred method. Use the sear setting to sear seasoned roast. Make sauce and pour over meat. Cook on the beef/stew setting for about 70 minutes. Take out, thinly slice the meat, put it back into the insta pot and let it cook for another 5-10 minutes on the sear setting. Make sure to stir around and don't walk away!
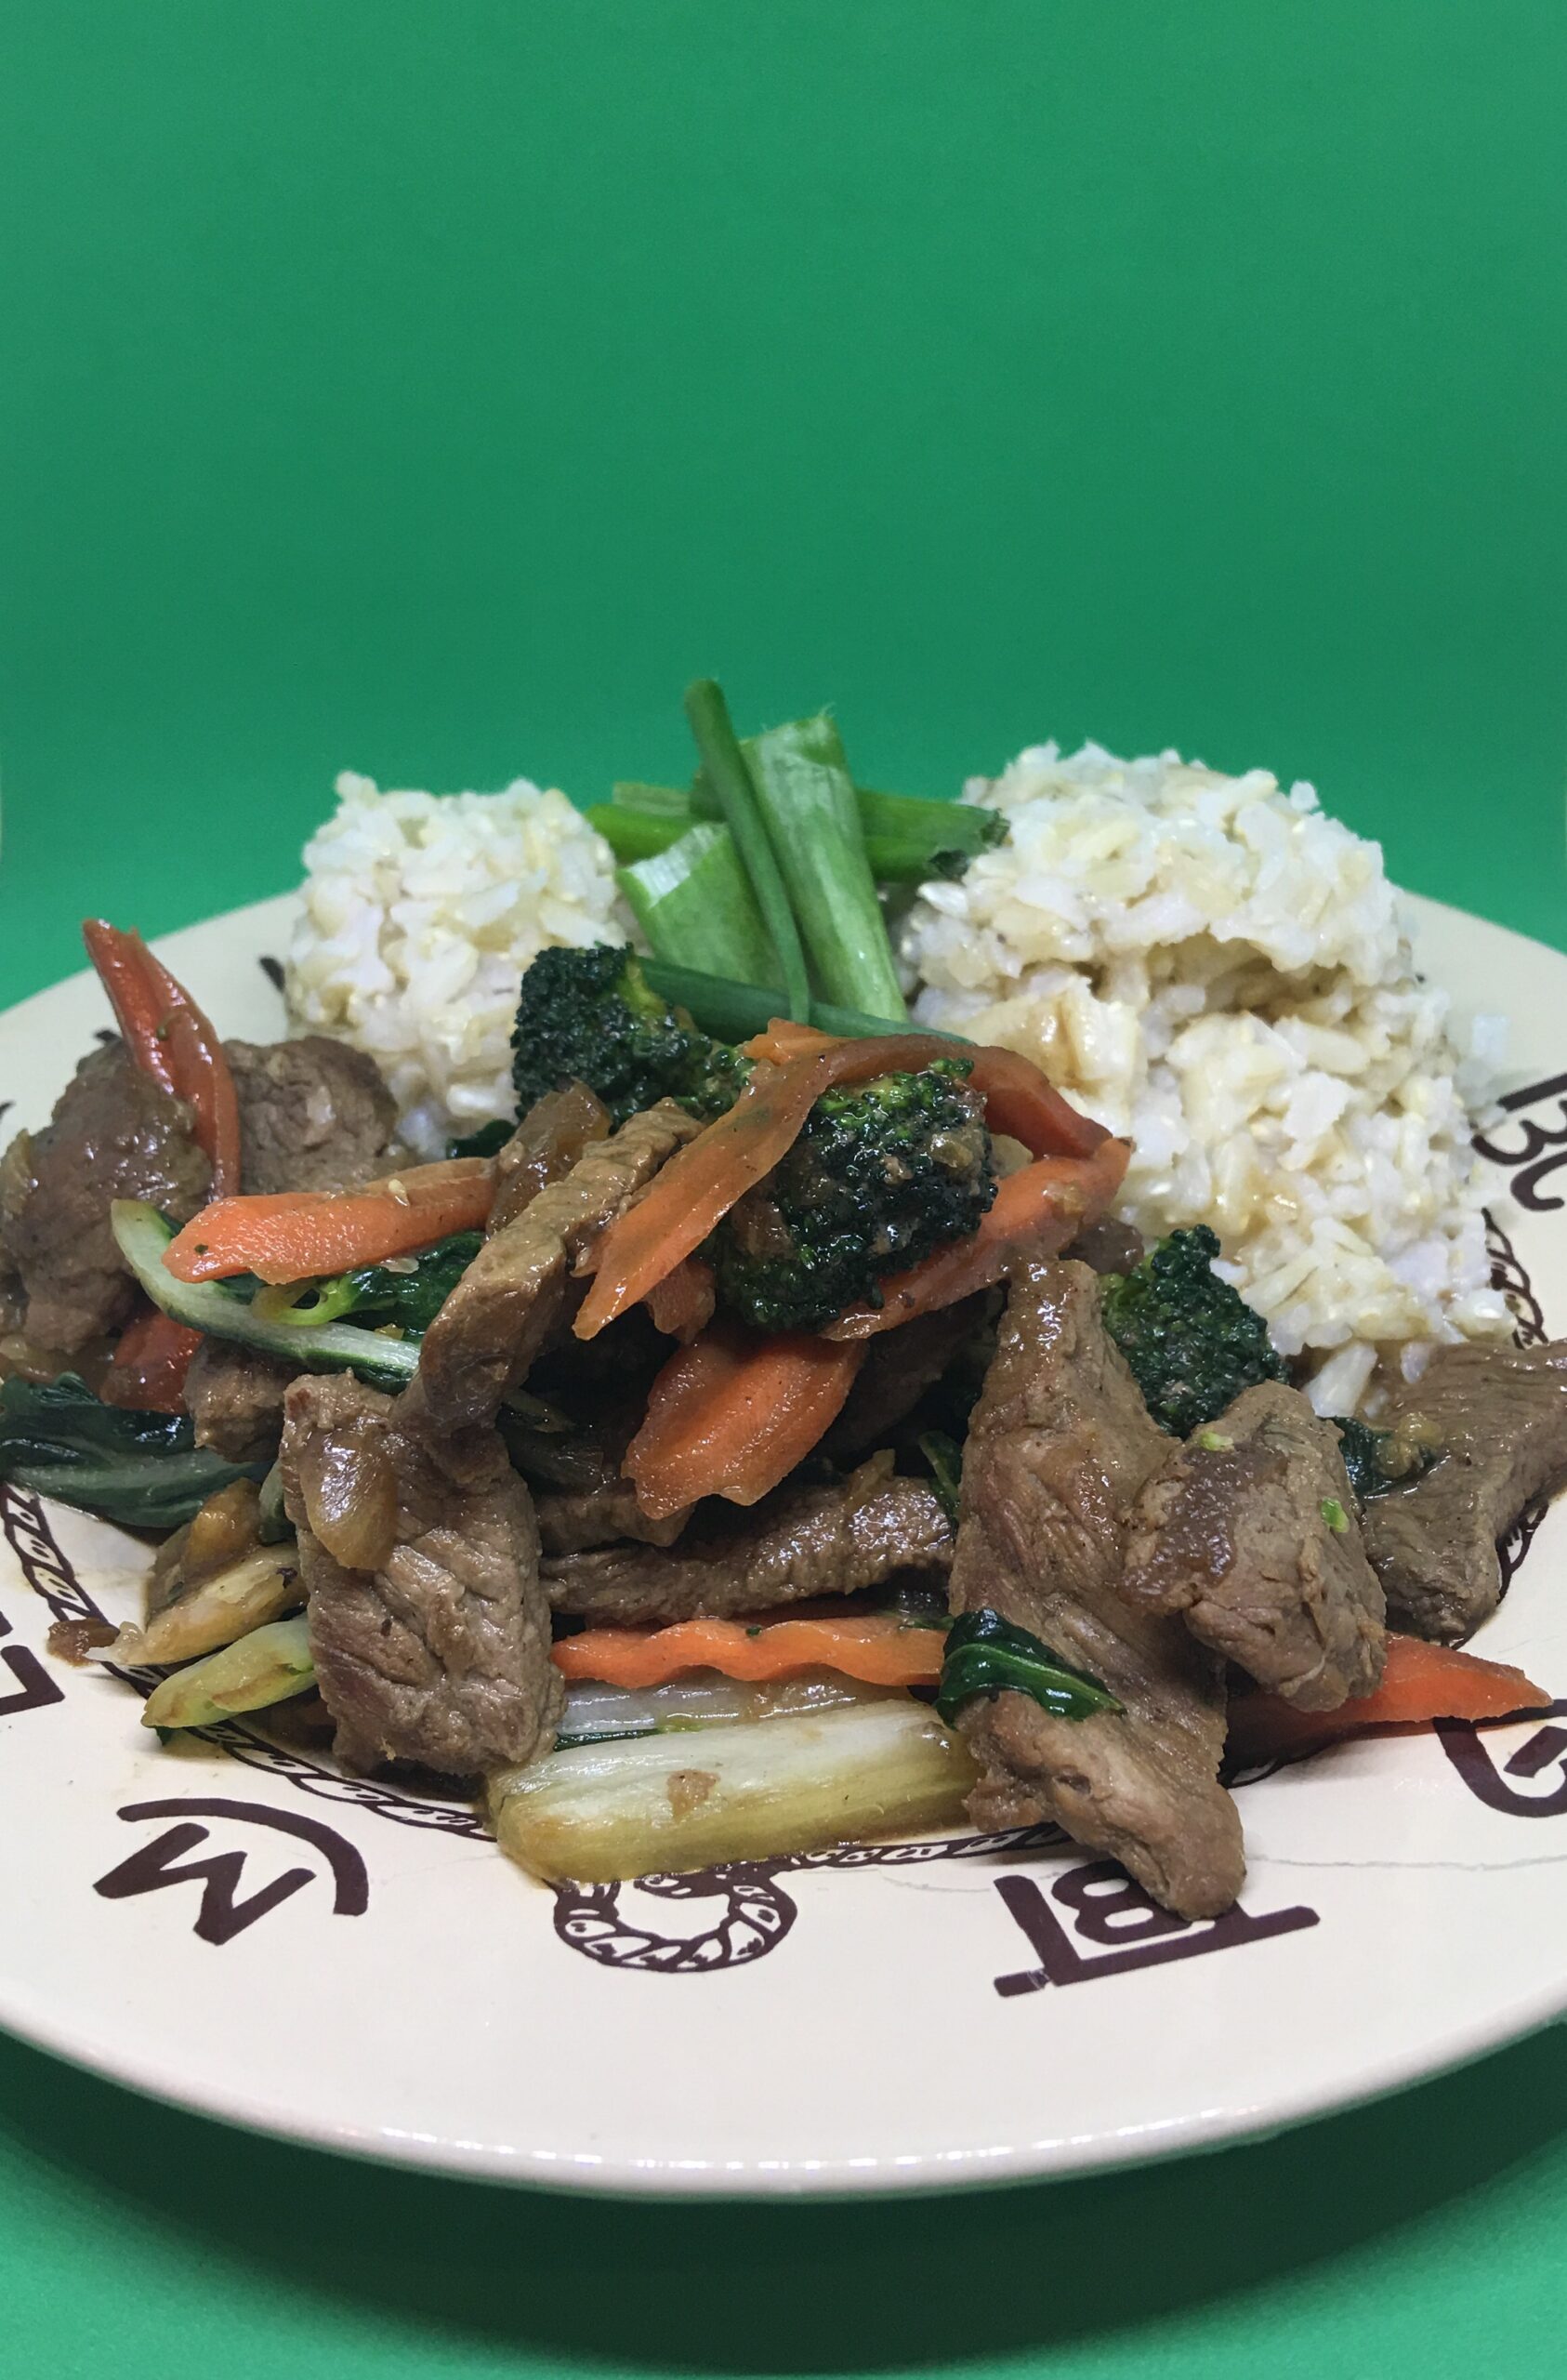
Tips for a Successful Stir Fry
 Prep ahead!
- Make your marinade/sauce.
- Marinate your meat - sirloin is a great cut for a stir fry.
- Thinly slice your veggies.
- Slice your meat thinly and against the grain.
Heat up your wok!
- Yes, the wok makes a big difference. Invest in it, it will pay you back by producing wonderful dinners.
- Heat up your wok. Use 1 teaspoon of sesame oil and 1/2 tablespoon of canola oil. Add this oil combo for each batch as well as the veggies.
Don't overcrowd your wok with beef!
- Sear your beef slices in batches. Each piece of beef needs its own space. If you overcrowd your pan, you will end up steaming your meat and that will make the beef tough.
- It usually takes me 3-4 batches of beef to sear it properly.
- Put your seared meat in a bowl while you are working on your other batches.
- Between each batch of beef let your wok heat up again. Add extra oil.
Don't cook your beef all the way through!
- Cook your beef slices for about 30 seconds on each side. Get a nice brown crust.
- Don't stir your beef. One side 30 seconds, flip, second side 30 seconds.
- It is ok to still see some pink/red. Your beef will finish cooking in the sauce.
Veggies next!
- Add more oil to your wok, let it heat up again and add veggies.
- Our favorite combo is bok choy, carrots, broccoli, onion, green onions.
- Stir away the veggies!
Final touch!
- Add beef and sauce to the veggies and heat through - couple of minutes is plenty!
Tips from the Cowboss!
- Omit the brown sugar in any of your sauce/marinate recipes. Trust him, you won't miss the sweetness. Let the taste of the beef shine.
- Add extra garlic or ginger to your Asian recipes and you won't miss the brown sugar.
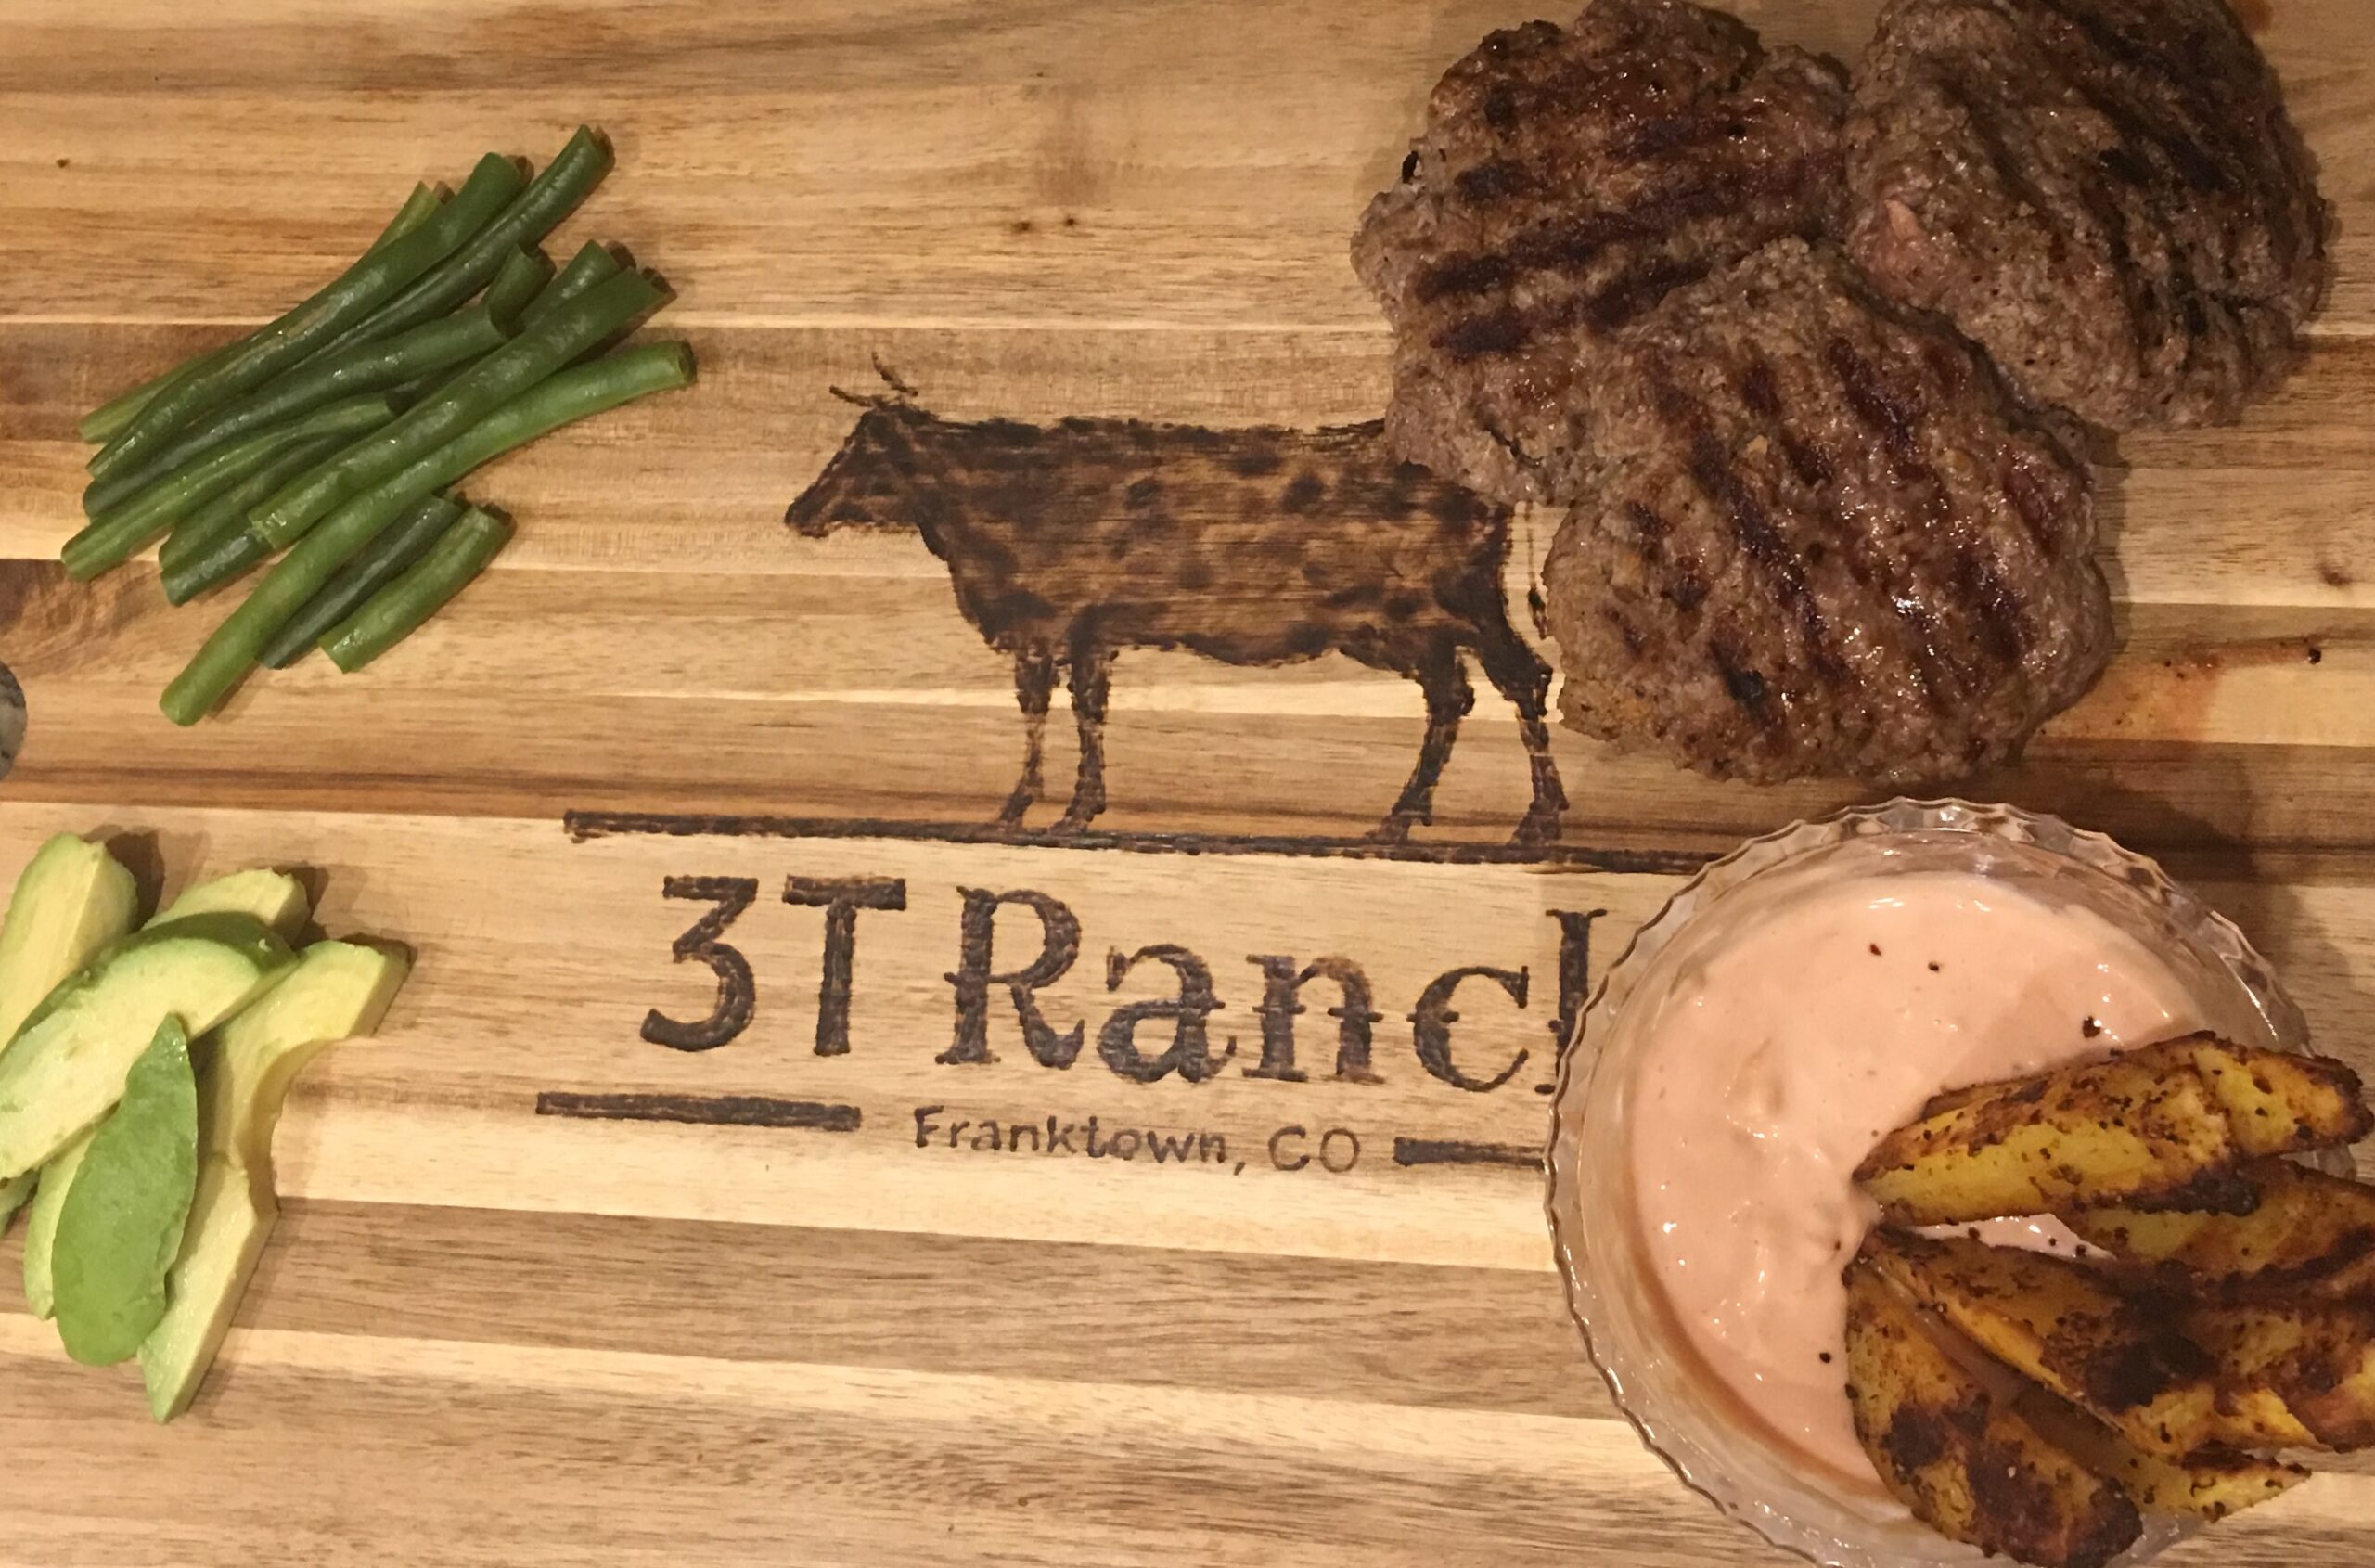
Everything in Moderation

Some of us come up with new year's resolutions as we strive to make the best of the new year. This year, our family is coming up with achievable goals for 2018. It is great to dream big, but this year, we want our resolutions to come through for us.
Christmas cookies were a big temptation for me over the holidays. I probably had too many.. So, my new year resolution is to eat with moderation. I know myself.. I start with a big workout goal, set calories per day and later in the spring I feel like I just couldn't do it. So, this year, I do it all with moderation!
My friends and I joined the FIT MOMS workout. Twice a week, kiddos tackle along and we hold each other accountable. We are going, we catch up, our kids play and everyone is happy and tired after the workout.
Instead of a strict diet, we eat in moderation. Here is what we did last night. Burgers are a big hit at our household. French fries, BBQ sauce, ketchup, bacon.. you name it. Instead, we have opted for baked potato wedges, I had my burger with a lettuce "bun"and the boys went with wheat buns and plenty of vegetables on their plates. We also like a "fry sauce", but I have made it with greek yogurt instead of mayo as well as used 50% less sugar ketchup. Small moderations, yet big drop in calories. At the end of the night, everyone was happy with their burger dinner and we didn't feel like we just ate too much.
What is the best way to season our beef burgers?
- 1 lb 3T ground beef
- 1 teaspoon salt
- 1/2 teaspoon pepper
- 1 tablespoon dijon mustard (this really makes the burgers delicious!!!)
Well, we are sticking to our "eat in moderation" resolution!

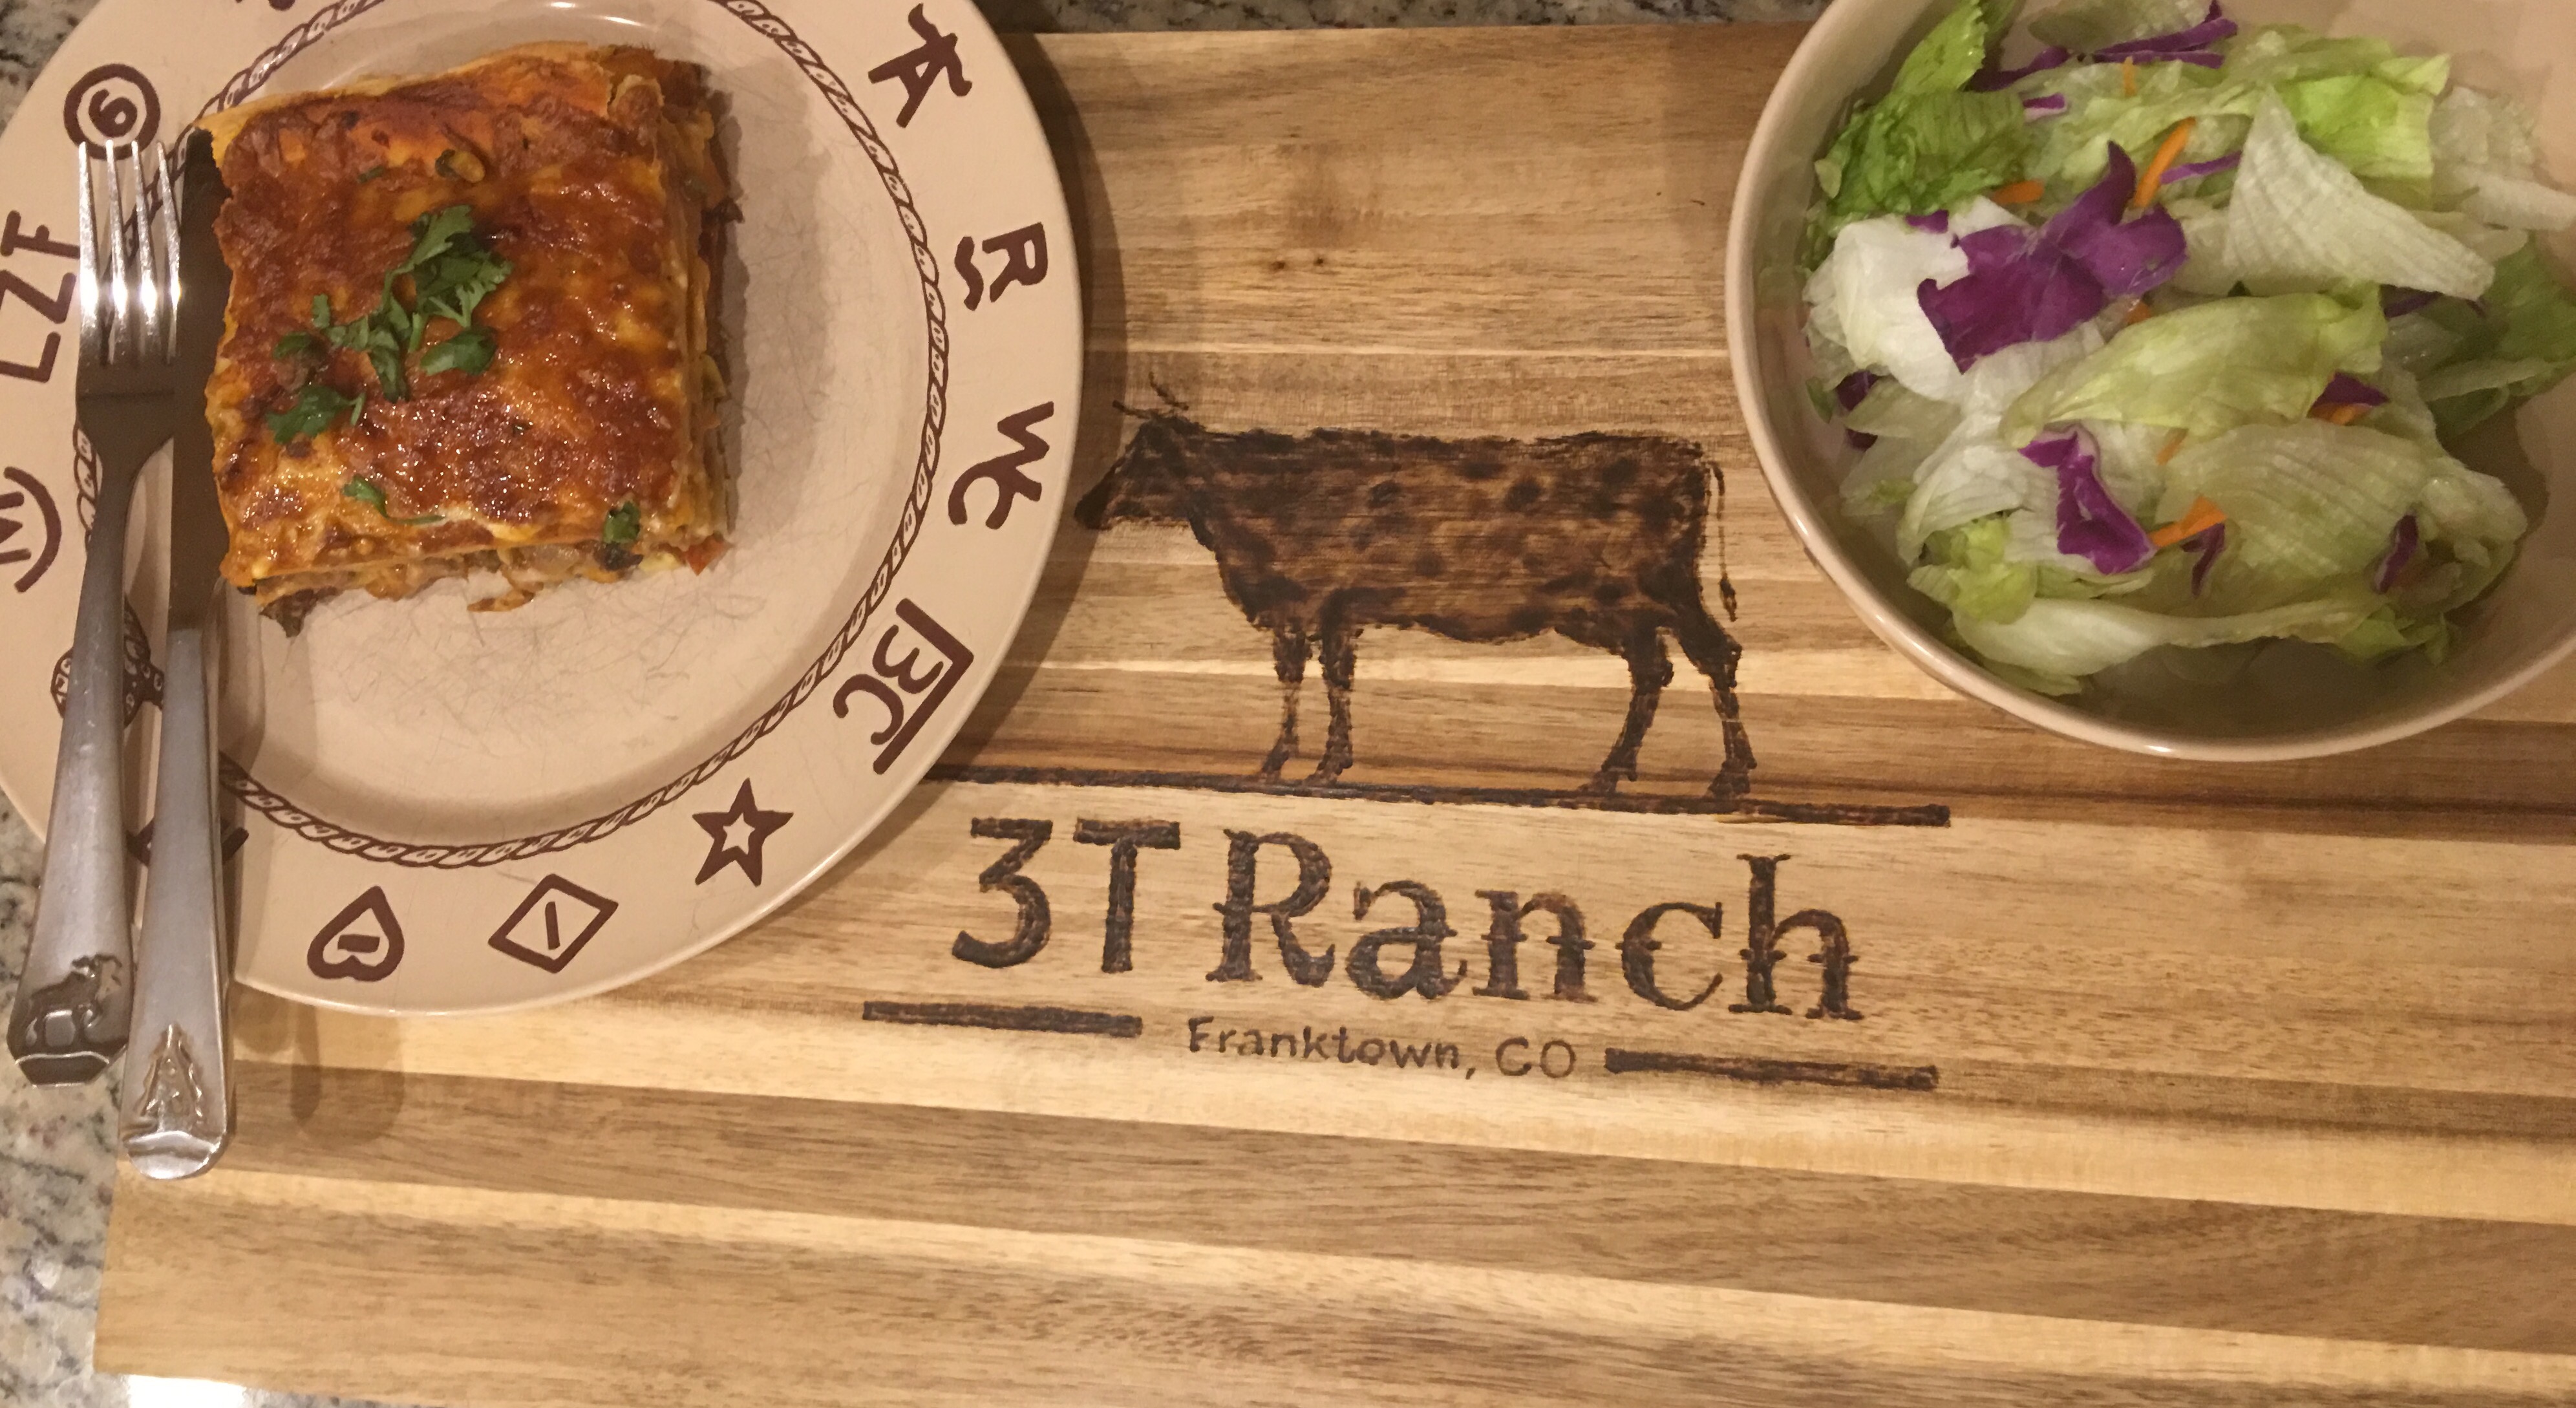
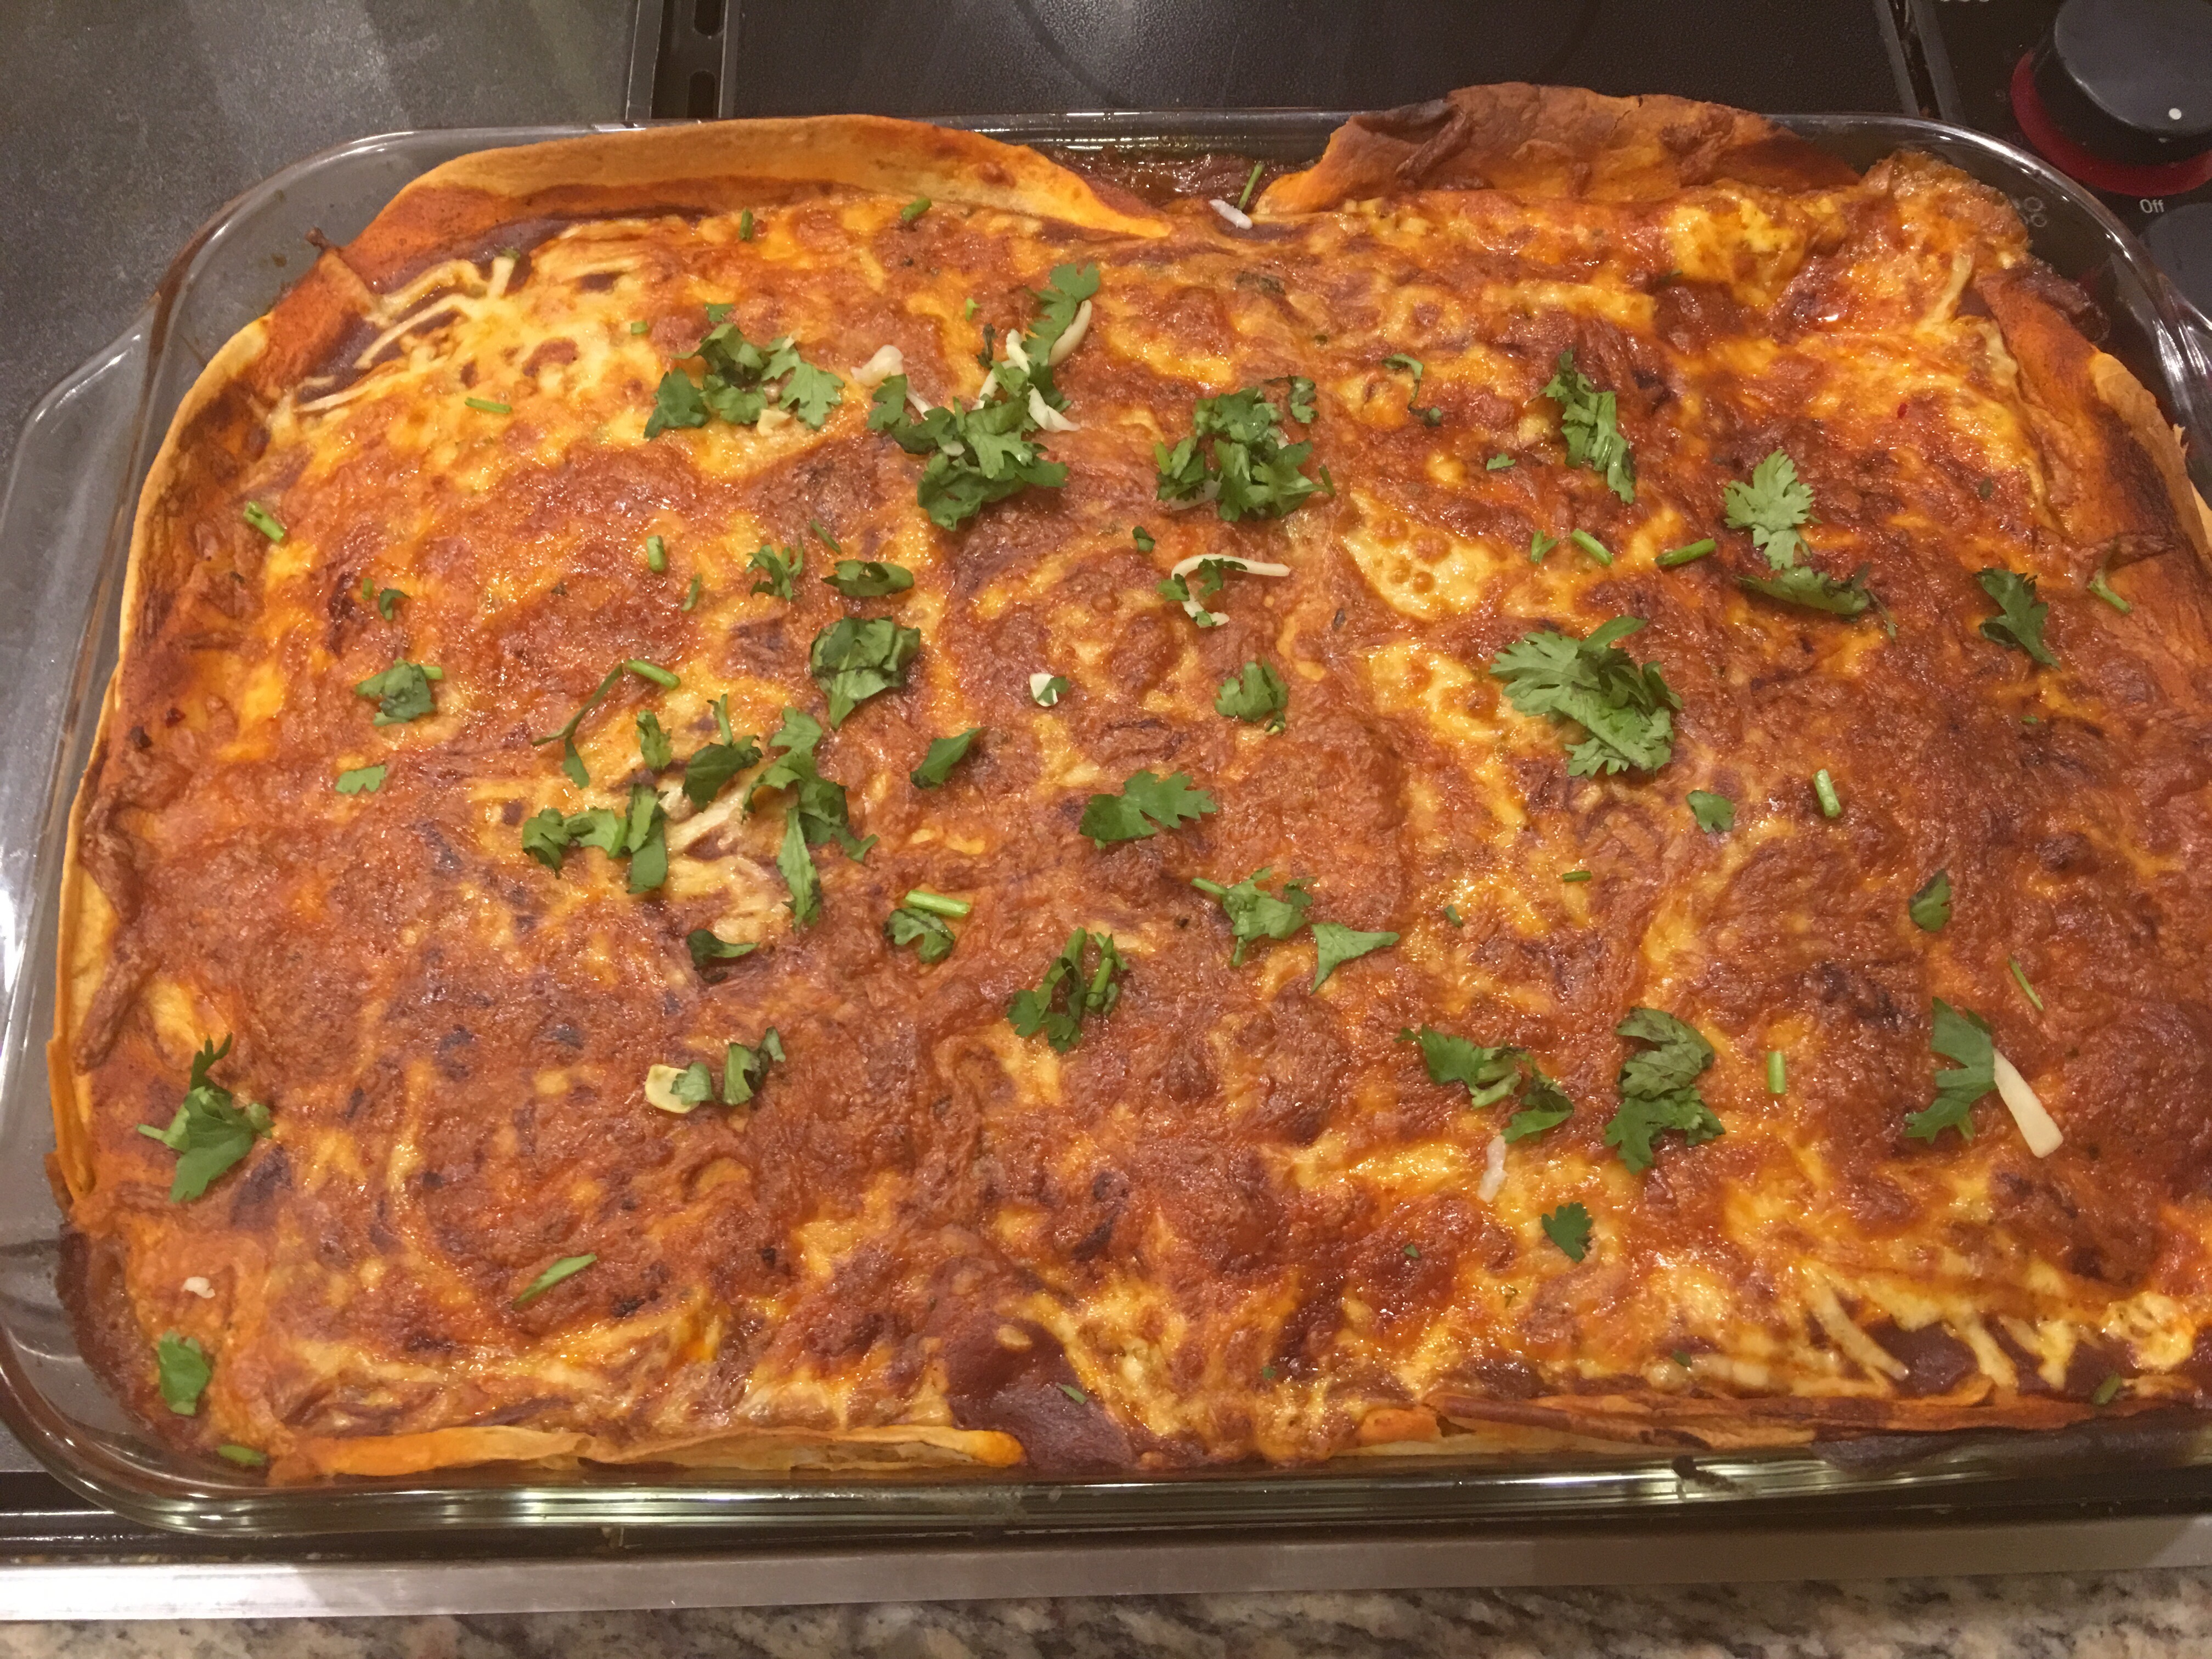
Mexican Lasagna - "Saved by the Dinner" Recipe
 The kids didn't nap yesterday and I needed a "Saved by the Dinner" recipe. Why? The Cowboss worked the cows all day, our Top Ranch Hand had football practice all afternoon and our two little guys were a mess all day. Some days are just harder than others. However, a good family dinner can turn everything around. No TV, phones or any sorts of gatgets. Over a good dinner, our teenager talks to our toddler, the Cowboss and I get to catch up about our day and the baby babbles to all of us. The rule is just good things are discussed over dinner. I can't tell you how many hard days were "Saved by the Dinner" and ended on a good note.
Anyways, here is a 30 minute recipe that you can pull off on any hard day you may encounter!
http://www.theslowroasteditalian.com/2012/09/simple-mexican-lasagna.html?utm_source=FBRC&m=1

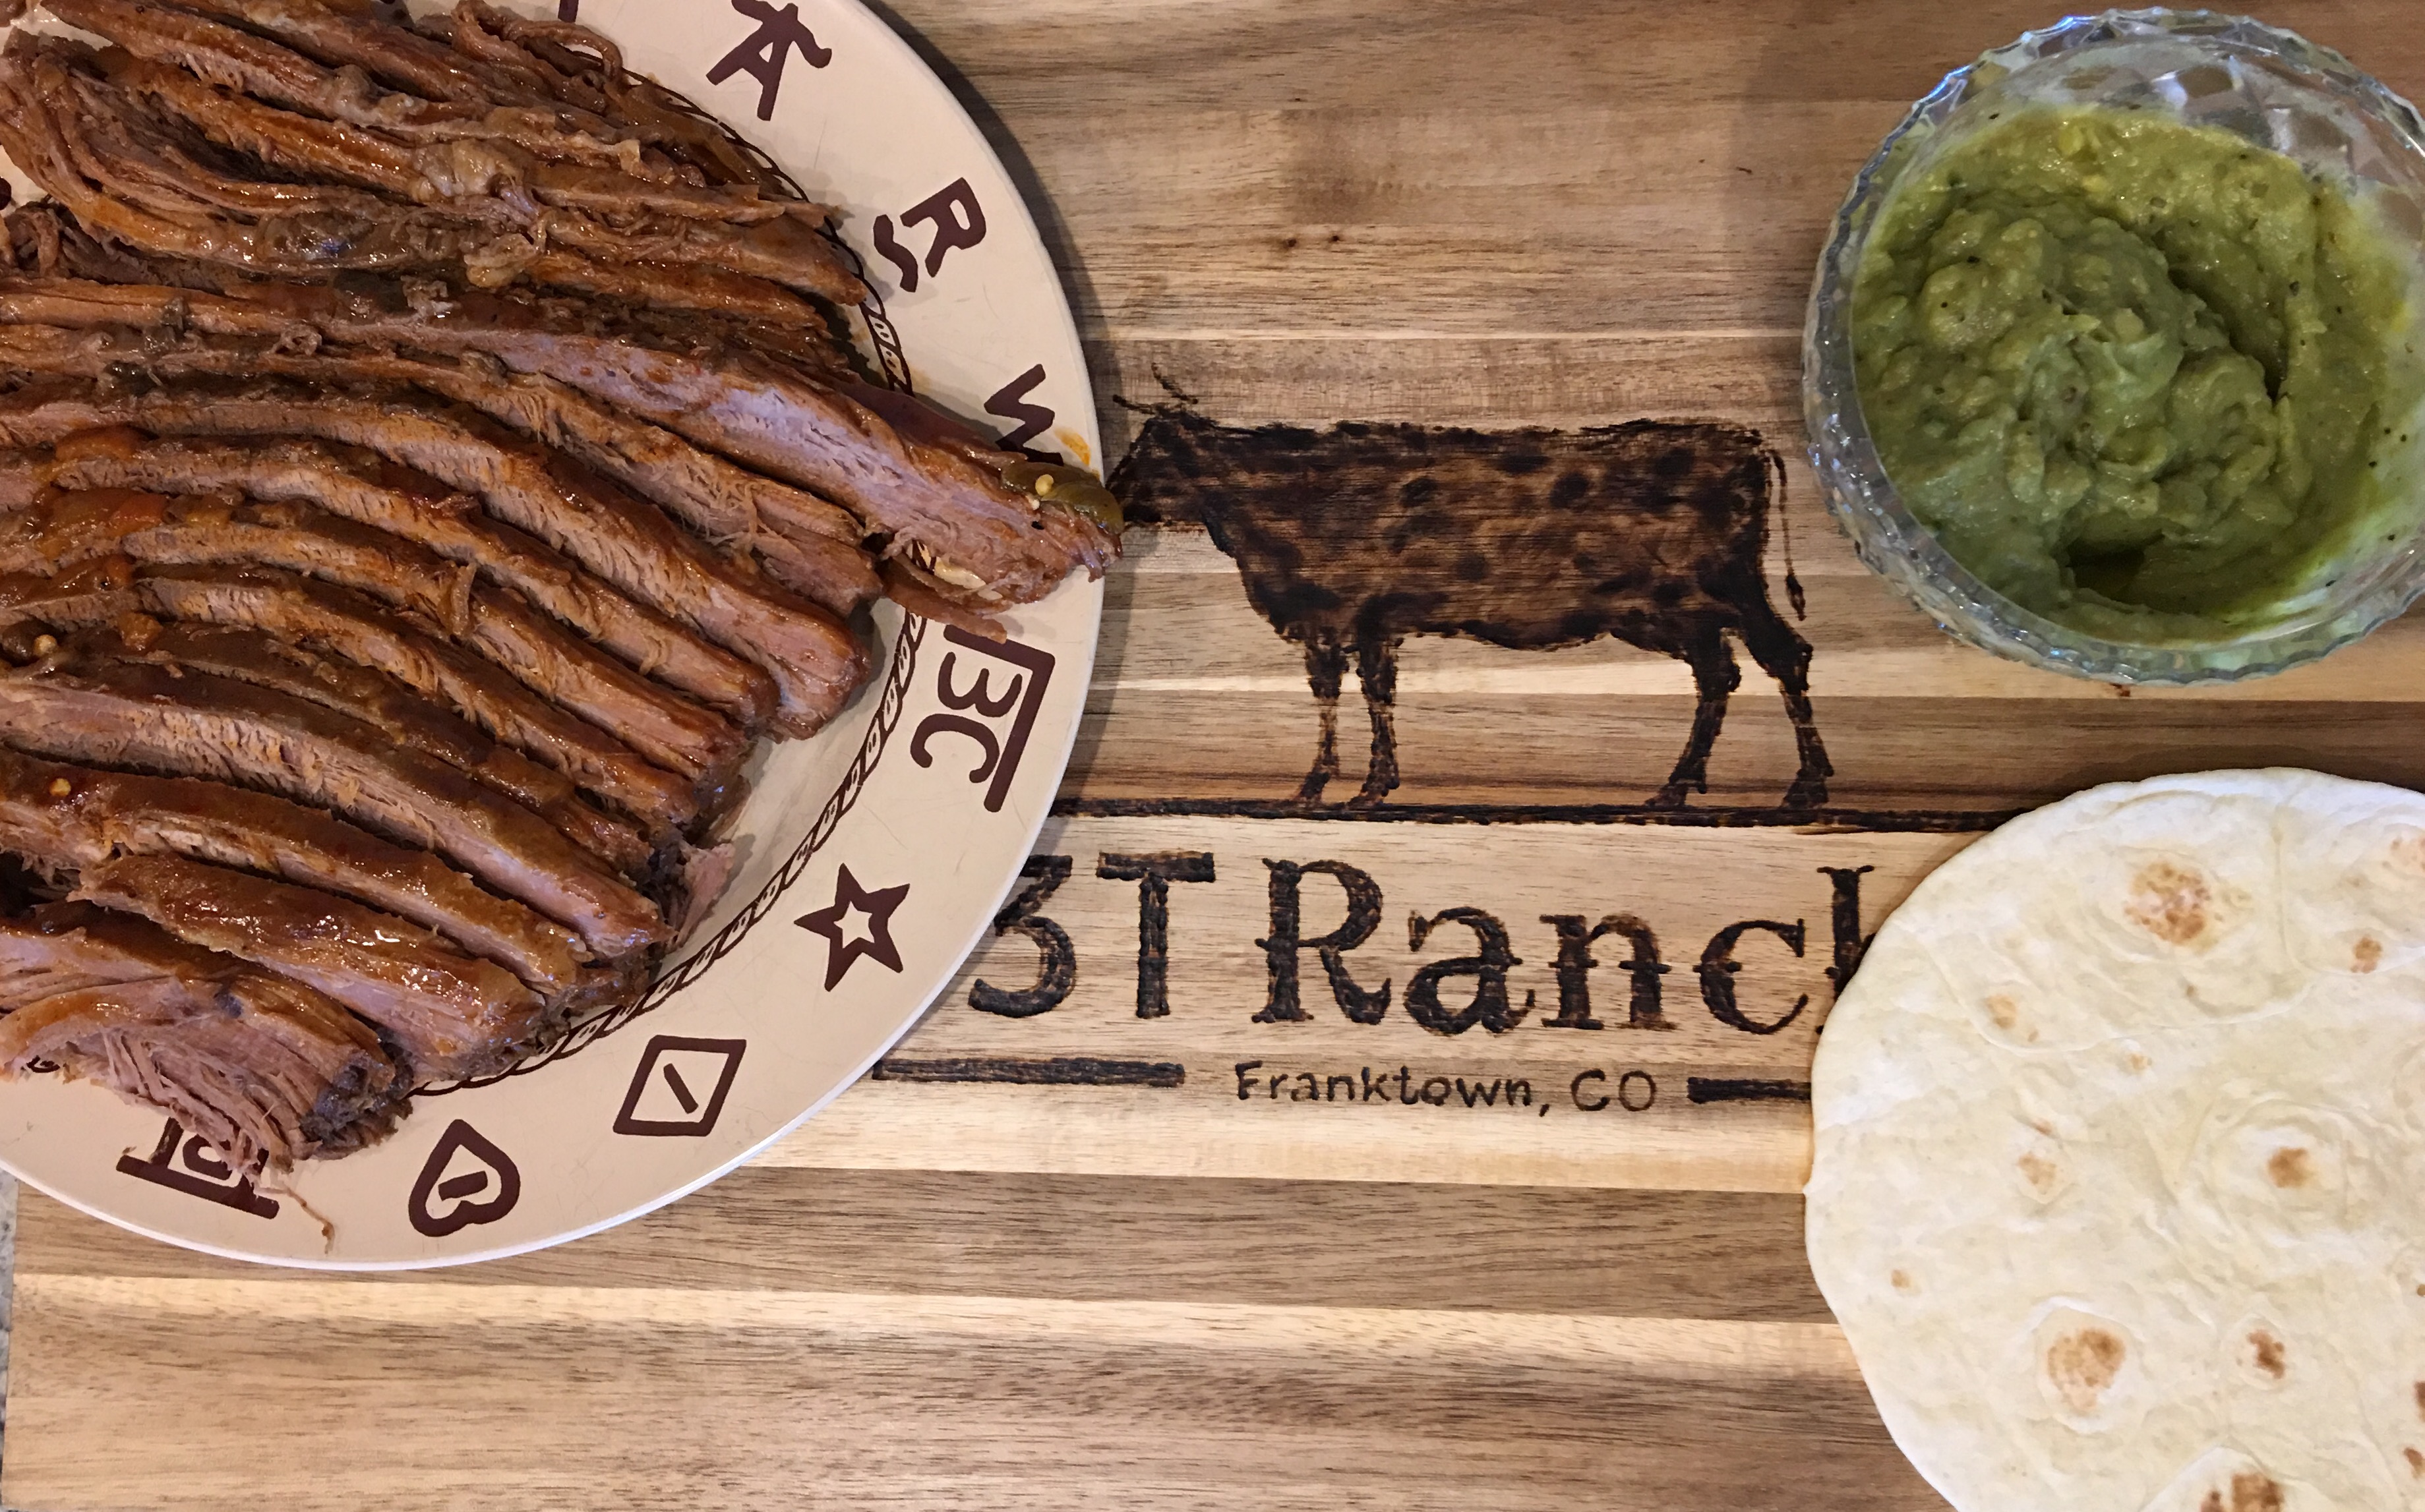
Texas Style Brisket
This recipe was so good. Our family ate the whole brisket last night for dinner. I have made this dish for my cowboys the day came home from hunting. They are not exactly roughing it when they go hunting as the cabin is quite comfortable, but I wanted to have a nice dish ready for them. We did miss them and were happy to have them home.
They came home, shared their hunting stories, took showers, wanted a quick grilled cheese sandwiches and hit the bed. Well, change of plans! Brisket will be served the next night, when they can keep their eyes open.
This recipe came from the Pioneer Woman. I was catching up on her cooking show while the guys were away. It is delicious. We typically smoke all of our roasts, especially brisket, but I had to try this recipe. We have all licked our fingers and ate it all!
Ingredients:
- 3T brisket
- 2 sliced onions
- 1 head of garlic - just peel it
- 2 teaspoons ancho chile powder
- Kosher salt and freshly ground black pepper
- Two 15-ounce cans red enchilada sauce (We like Hatch brand).
- 1/2 cup water (Check half way through, if your sauce needs more liquid).
Directions:
- Put the garlic and onions into a 6-quart slow cooker.
- Place the brisket on top.
- Sprinkle over the ancho powder and 1 teaspoon each salt and pepper.
- Pour in the enchilada sauce.
- Cover and cook on low until the meat falls apart, about 8 hours.
- Check your liquid and add water, if necessary.
- I have sliced the meat vs shredding it. We like the texture of the beef better.
- I have served the beef with Mexican style rice, flour taco tortillas, guacamole, salsa and cheese.
Dobrou chut!

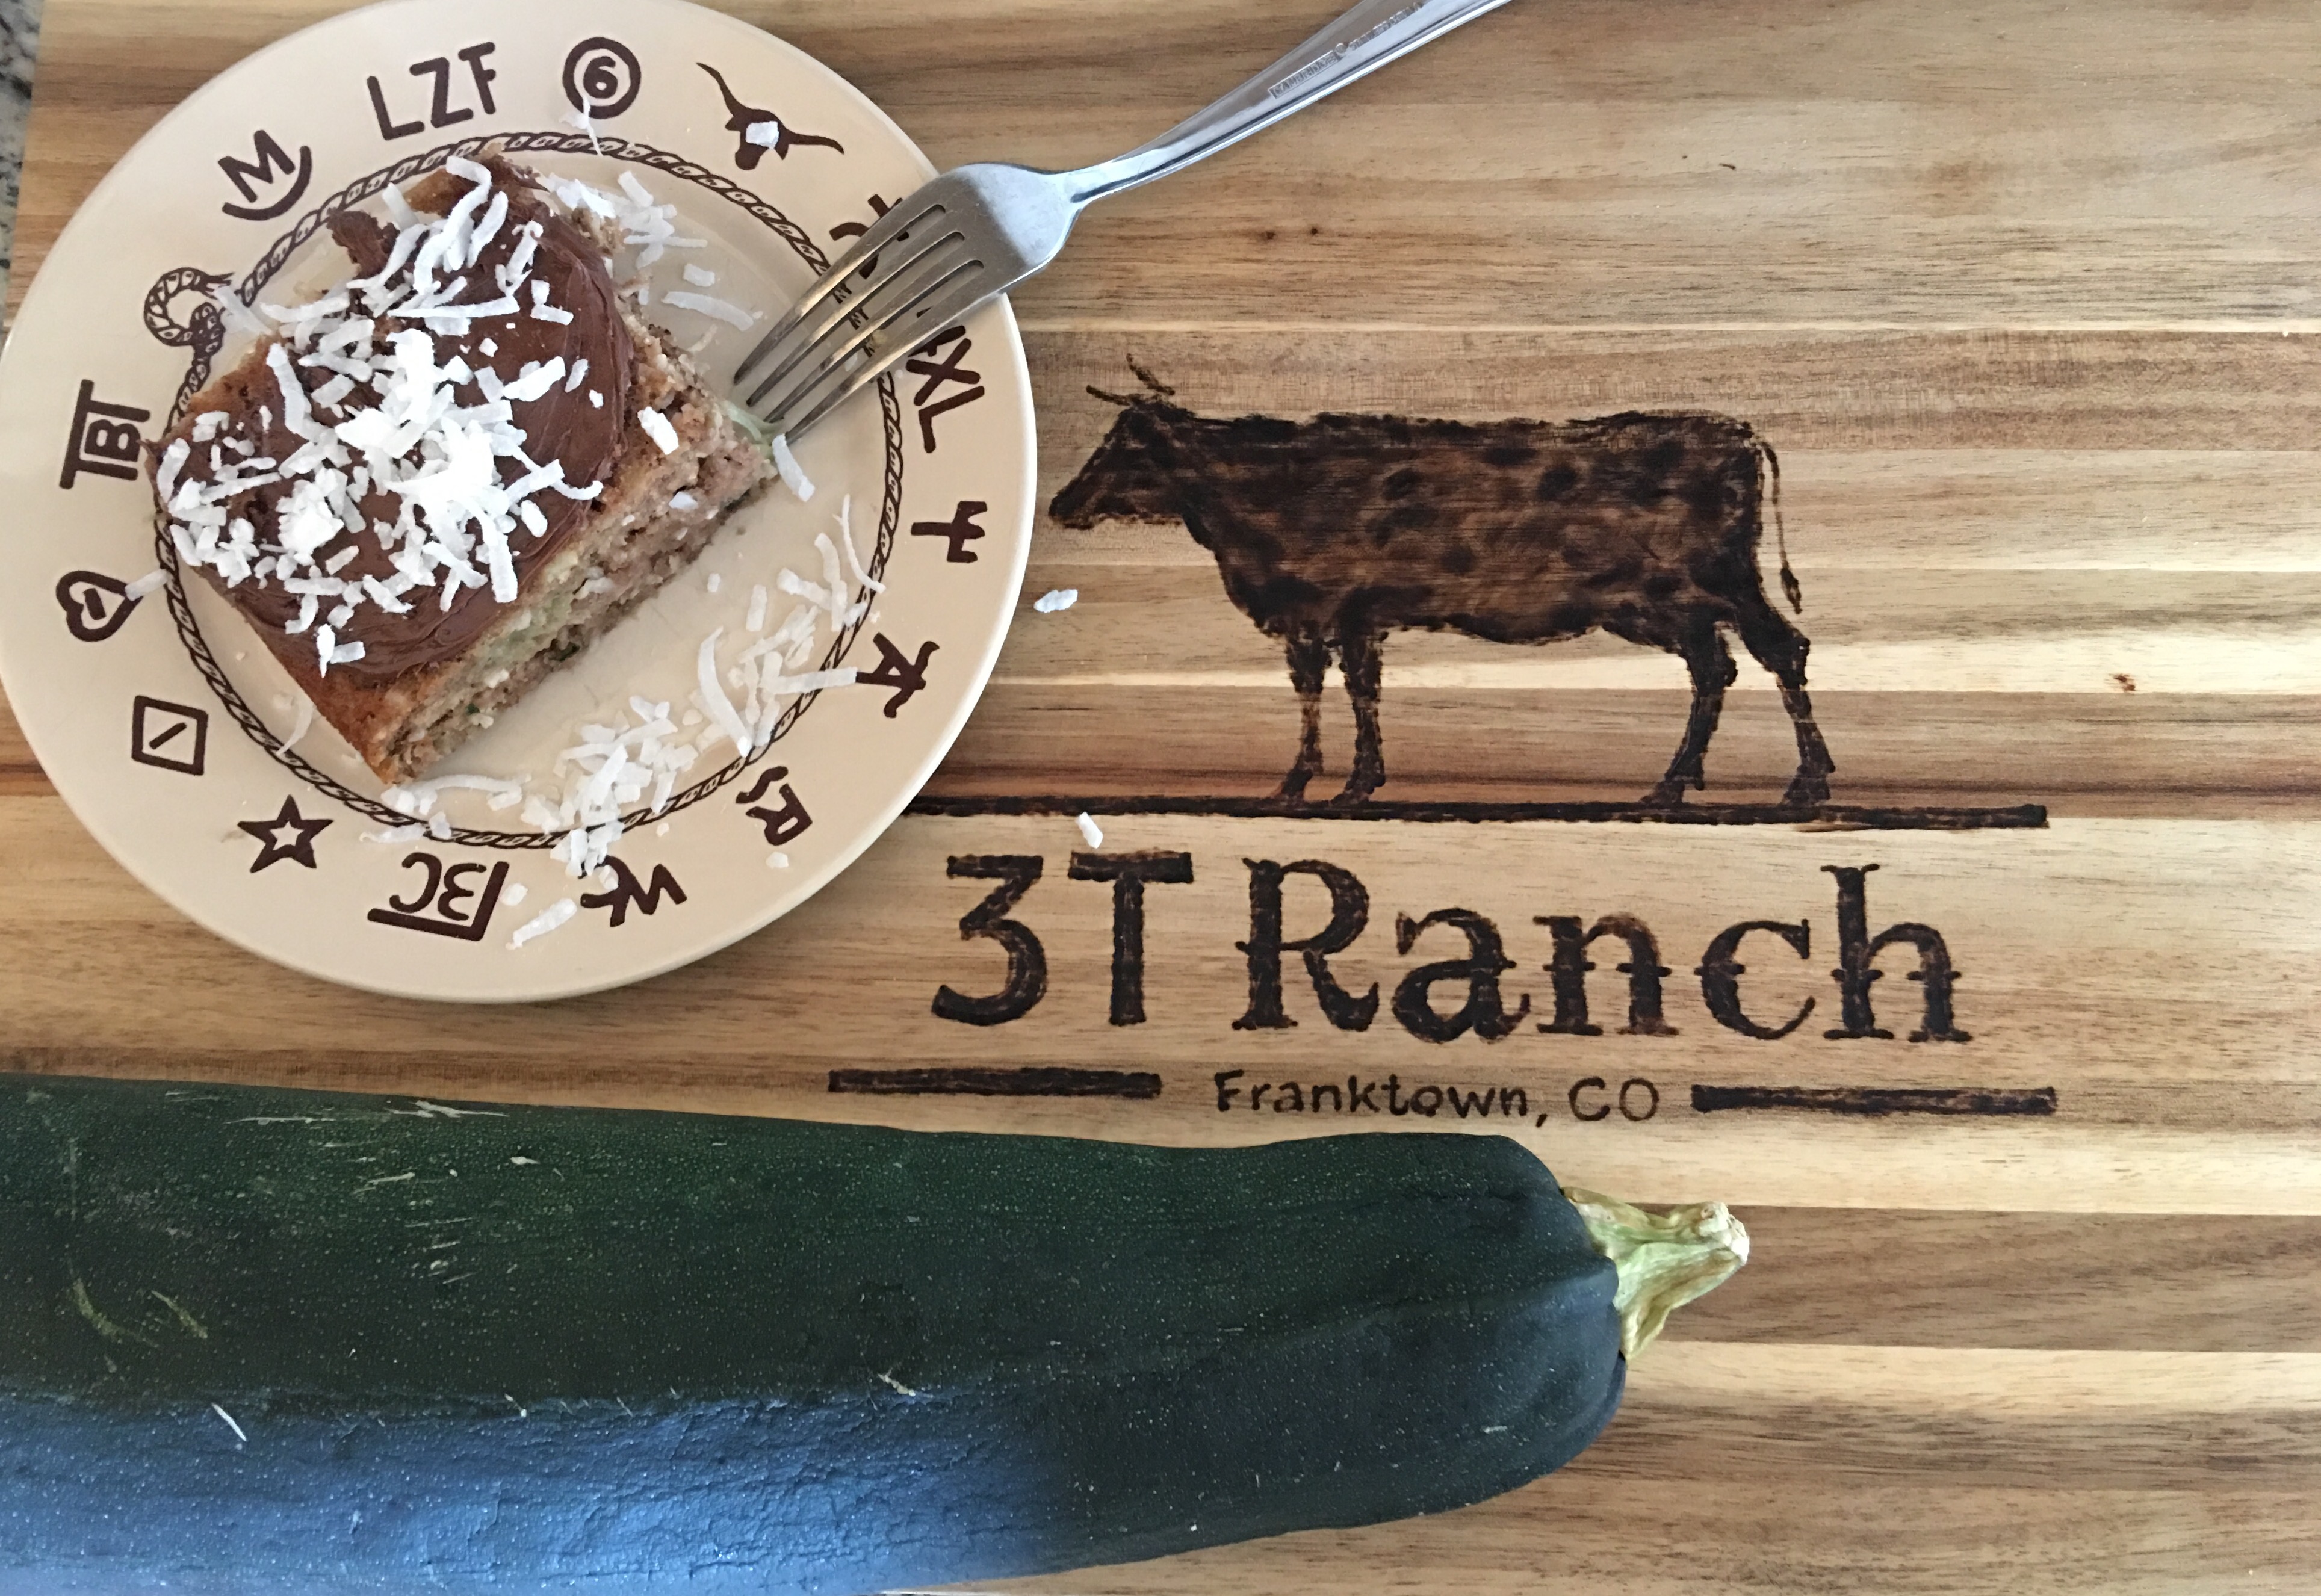
3T Zucchini Chocolate Coconut Cake
Well, we got our first snow this week and my garden is officially done for the season. The past weekend, I have tried to harvest as much as I could before the snow storm. I will have to remind the Cowboss to "remind me" next spring that I shouldn't plant that many zucchini plants. It was a little too much, but our chickens sure liked the leftover squash.
The cowboys were hunting pronghorn this past weekend and the little guys and I "manned" the ranch. So, we have picked our zucchinis, carrots, beets, tomatoes, peppers and somehow we still had strawberries?! That was a first one for sure.
As I had plenty of time on my hands at night, I decided to shred, freeze and can everything I could. Zucchini processing was one of them. I have packed two cups of shredded squash into freezer safe ziplock bags for baking. Pre-measured and ready to go.

My sister was "manning" her own household and yet again we ended up talking about food and cooking. She baked this zucchini cake while her kiddos finally went down for the night. It is an old family recipe that our grandma used to make. Easy and tasty and versatile. You can use shredded apples instead of the zucchini. Grandma aka babi was so good with using up all of the produce from her garden. I sure do miss her. Actually, I so miss both of them. Best grandparents and great-grandparents.

Ingredients:
- 2 cups all purpose flour
- 1 cup sugar
- 1 cup milk
- 1 cup shredded coconut
- 1/2 cup canola oil
- 1 tablespoon cocoa powder
- 2 eggs
- 1 & 1/2 teaspoons baking powder
- 2 cups of shredded zucchini or apples
- jam, Nuttela or melted chocolate for the top of the cake
Directions:
- Spray 13x9 pan with canola, so you can get the cake out of the pan.
- Mix all ingredients really well. You don't even need a mixer!
- Pre-heat oven to 400 degrees and bake for 40 minutes.
- Let it cool for 20 minutes and your cake should come out as "piece of cake"!
- You can spread your favorite jam or Nuttela or melted chocolate over the top. Grandma even did powdered sugar and milk glaze. All are wonderful!
- The kids like it and it is even better with a friend that just showed up for an afternoon coffee or tea.
P.S Here is the cake my sister baked. She is today 32! Funny girl she is!


Homemade Beef Broth
The weather is getting colder, well at least on the 3T, and the leaves are starting to change. Our favorite part of the year. Cool temperatures mean jeans, cowboy boots and long sleeve shirts, our choice of attire. Well, we kind of wear that in the summer as well to avoid sunburns while working outside, but this weather makes it more comfortable. You learn very quickly to cover up during the summer months while fixing the fence.
It also means that we are in the "crock pot" and more recently "instapot" cooking season. I have recently purchased an instapot and so far I have been impressed. Still playing with new recipes, but hoping to post a few good ones soon.
Good hearty soup and sauce can't go without a good broth. You would be surprised how easy and delicious it is to make your own broth. I think there is a big difference in the store-bought and homemade broths. I only use beef soup bones, celery, carrots and water. I don't include any salt or pepper. This gives me a tasty broth and I can later season the soup of sauce I'm making without the worry that something will be over salted, yet I'm getting the deep and rich flavor of the broth.
Storage: I pour my cooled down broth into quarter size plastic jugs and put it into our freezer. I also use ice cube trays. Sometimes I just want a little bit of broth and two ice cube size portions are just right. Once the broth has been frozen in the trays, pop them out and store in a freezer safe plastic bag.
Leftover meat and veggies: You will end up with really mushy veggies. I usually discard them, but right now our 10 month old little cowboy totally digs the soft veggies for dinner. You will also end up with a little bit of tender meat. Again, great baby food for older babies or you can use it in hearty soups. Don't feel bad, if you just keep the broth and toss everything else. The goal is to make the broth.
Ingredients:
- 3 packages of 3T Ranch beef soup bones
- 1 lb of celery stalks - chopped up
- 1 lbs of carrots - chopped up
- 10-12 cups of water - you can do more or less, depending of your likings
Directions:
- You don't even have to defrost the bones. Just unwrap and put the bones into the crockpot.
- Chop up your veggies and throw into the crockpot.
- Pour 10 cups of water into the crockpot.
- Cook on low for 6-8 hours. Check on your water levels throughout cooking. I have added 2 cups of water about 1/2 through cooking.
Dobrou Chut!

Tomato & Serrano Ham Tarts
Our freezer has beef soup bones and T-Bone steaks left. It shows that we don't like sharing our T-Bone steaks that much, they are too tasty. I'm counting down the days when our freezer will be restocked again.
It is the middle of the week and the Cowboss felt like grilling. Can't blame him, the weather has been so nice, not as hot, but warm enough to enjoy our summer evenings outside. He grilled our T-Bone steaks to perfection. I made "potato boats" as the Easton Clan calls them. They are really twice baked potatoes, but I go with the Easton tradition and call them potato boats. I also wanted to try a new side dish - puff pastry tart. Our greenhouse is producing tomatoes left and right and I wanted to use them up in a different way than just in a salad. I have recently made peach tarts and they were hit, so I thought, why not a savory tart.
So, here goes the recipe for Tomato and Serrano Ham Tarts. Perfect addition to our tasty dinner.
Ingredients:
- 1 defrosted sheet of puff pastry
- 2 tomatoes (I have used Roma as they were the perfect size for the tartlets) - sliced
- 9 tablespoons of cheese of your choice - shredded - I have used Gruyere
- 5 slices of Serrano Ham - sliced
- salt & pepper
Directions:
- Pre-heat oven to 400 degrees.
- Defrost the dough - use instructions on the box.
- Unfold your dough and cut into 9 squares (tip: pizza cutter works well on this)
- I did 4 tomato and 5 Serrano ham squares.
- Sprinkle each square with 1 tablespoon of shredded cheese.
- Top with sliced tomatoes or cut up ham.
- Put squares on a cookie sheet lined with parchment paper.
- Bake for 20 minutes.
- Sprinkle the tomato squares with sea salt.
Dobrou Chut!